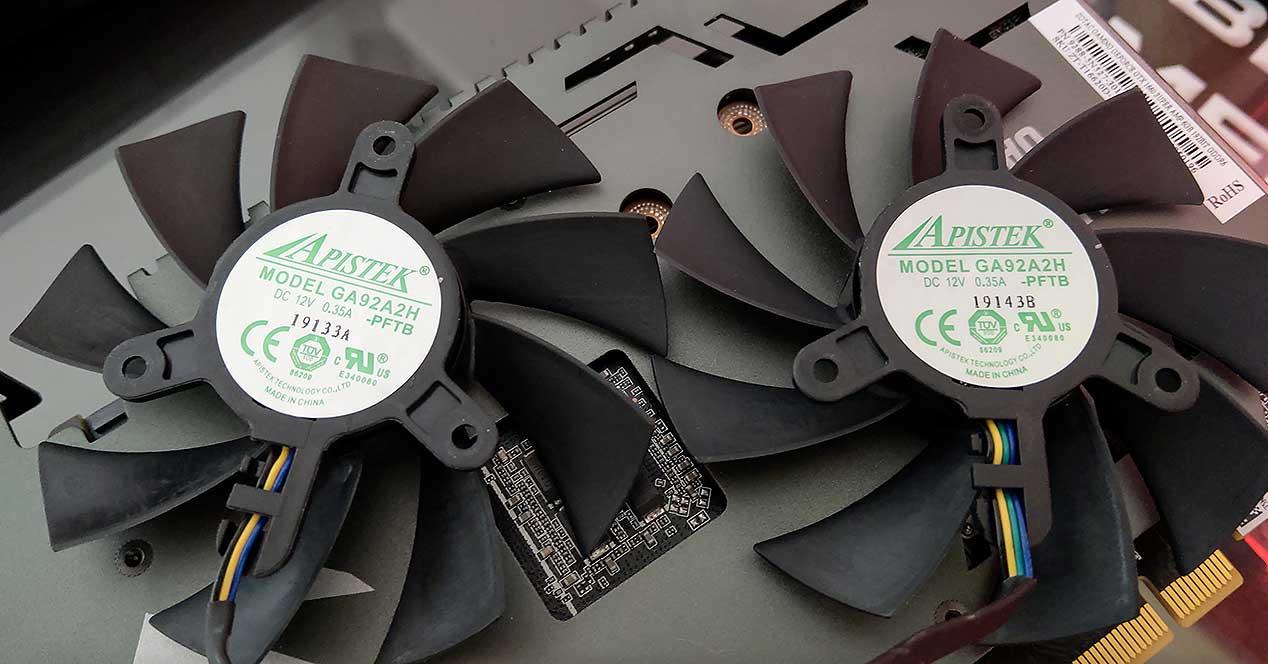
Many users find noise levels that they are not ready to support in their GPU, either because they need maximum silence while sleeping or because they value maximum silence. or because the manufacturer has simply put a very aggressive curve between temperature and speed. For this reason, we will be using the famous MSI Afterburner, with which what we are going to achieve is to control all of this as we please.
How to check the fan speed of a graphics card?
We assume that we have downloaded the MSI Afterburner program from websites like Guru3D or the developer’s own website, after which we need to install it. Keep in mind that the program includes Rivaturner, so we will have two installers, that is, we will have to install both programs, which is completely automatic when running MSI Afterburner, because first , it starts to install this and in the middle of it we will ask instalar RivaTurner, once it is finished, it will continue to install Afterburner.
Therefore, after the PC is installed and restarted, we will proceed to open the program, after which we will have an interface like this:
The interface is simple, it is even customizable, but the parameters can change places, so we will continue with this one, which is the standard within the same program.
The first step to change the speed is to click on the button where it says auto, in the% fan speed section, because there we will tell the program that we want to take control.
Once the slider is unlocked, we can adjust the percentage of the PWM fan at will, reducing it or raising it as we see, after which we will have to click on the checkbox as shown in the image below.
Once applied we will see how the RPM of the fans changes. There are cases where even though the program says we can really change the revolutions, the fan (s) will not allow it because they are fixed, but it should be in older models where there is a false reading.
We can also save this setting in a preset, so that every time we open the program it is applied, or it is only applied when Windows starts up. To do this, once we’ve applied the percentage RPM via the slider mentioned above, we’ll go to the bottom right section: Profile
We see up to 5 different buttons to press as shown in the image above. We will only have to right click on each of them and confirm with the left mouse button on the same number to define it, after which we will give the floppy disk icon it’s just to the right of those buttons.
This is how the profile will be applied when we click on this number. If we want this to be automatic when Windows starts, what we will have to do in addition to what has been said is to click on the button Start, located on the left in parallel with the profile buttons.
This way the profile will be applied correctly every time you start Windows without having to touch anything else, as the speed of the fans will be changed by themselves.


