A simple tutorial that allows you to manage your diary to erase the numbers that do not interest you.
The mobile phone book is usually quite busy when it comes to storing numbers. This is because it is powered by many phone numbers of establishments, personal, others that come from WhatsApp groups, etc. When there is one you no longer need, you can delete contacts from iPhone quick.
If you don’t know where to start, we show you a guide so you can erase the numbers that are left in the calendar. They don’t have to be contacts that you no longer want on your iPhone, they can also be duplicates or no longer exist. On top of that, you might be interested in eliminating them all to sell the mobile and leave it completely out of the box.
First step, activate and configure Contacts in an account
A recommended technique before deleting contacts is to set up iPhone calendar and leave everything ready to start cleaning. iOS lets you set up your email accounts to share numbers with iPhone’s own Contacts app. This serves both personal and business use, since you can include a contact directory from a business, school, or any other institution.
Follow these steps we’ll show you to set up contacts your way:
- and one Settings on your iPhone.
- Click on “Contacts:“and select”Accounts“.
- To touch “Add an account“.
- Tap the service you have an account with. Otherwise, press “Other“to create a contact account, such as LDAP or CardDAV.
- Enter your information and password.
- Press “Next”.
Keep in mind that you can combine multiple accounts in the Contacts app and you can see them in the “Groups“located in the upper left corner. From there it allows you to choose the default account where to save new contacts.
How to delete contacts from iPhone
Now is the time to filter and get rid of all those numbers that are left in the calendar, either because you don’t use them, they are duplicated, they are no longer available or you are going to sell the terminal. . There are two methods for this that you can practice from iOS, combining a more selective and slow method with a more drastic and immediate one.
If your case is more about deleting some numbers that you are not interested in, you can browse calendar and delete contacts one by one on iPhone. Keep in mind that when you do this, you permanently delete the number from the phonebook even if you have an iCloud backup. The same happens if you delete a contact from your email, which also disappears on all devices where you signed in with that email. You need to do the following:
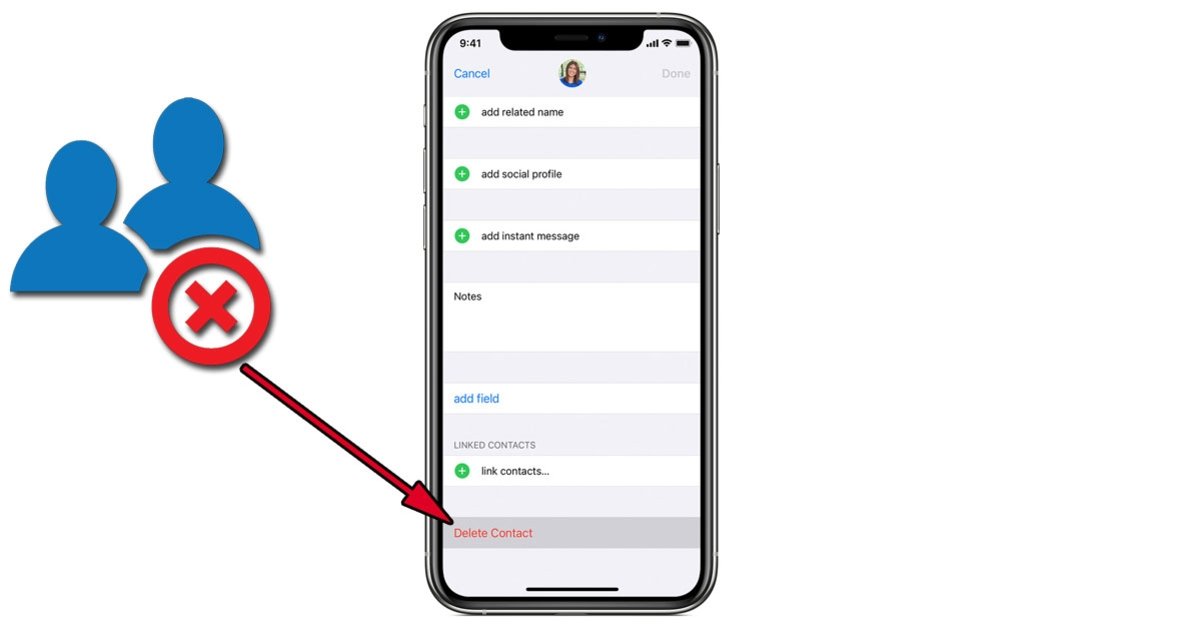
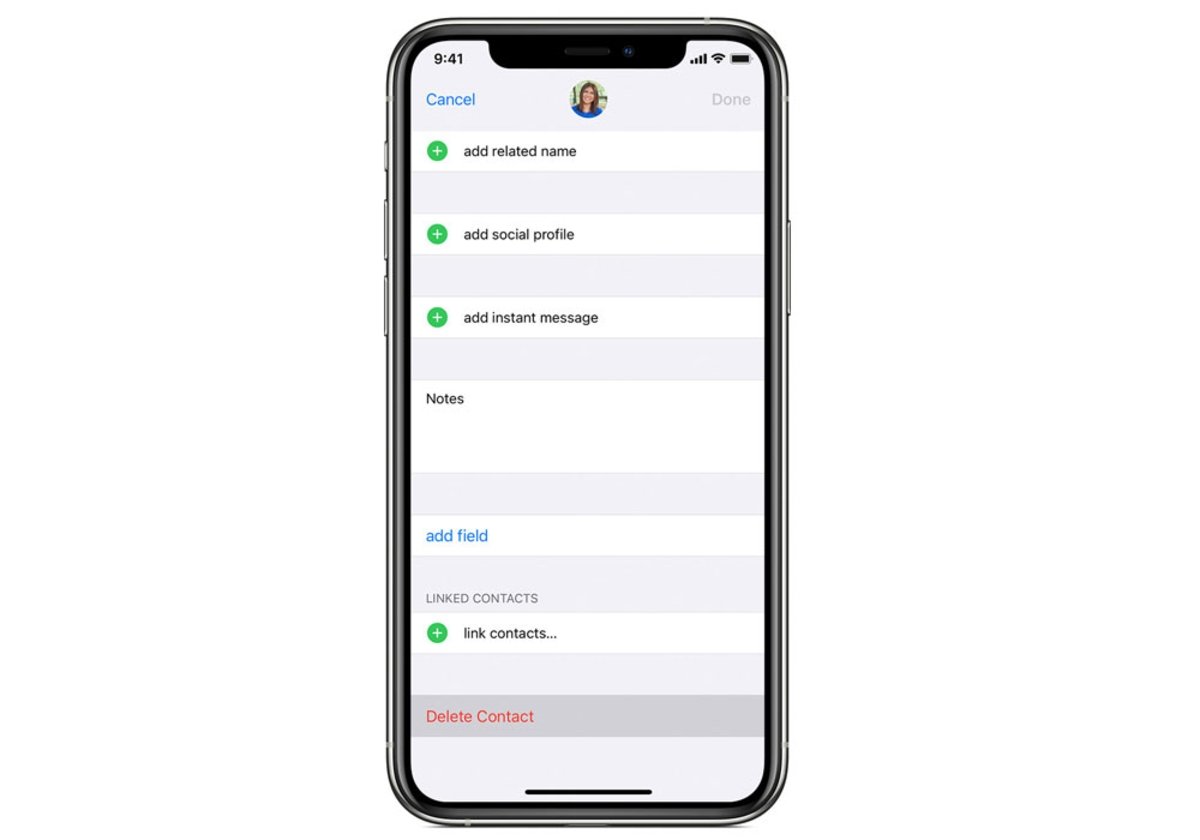
- Open Contacts and press contact that you want to delete.
- Press the option “Edit“.
- Scroll down, press “Delete contact“and click on the red button again”Delete contact” to confirm.
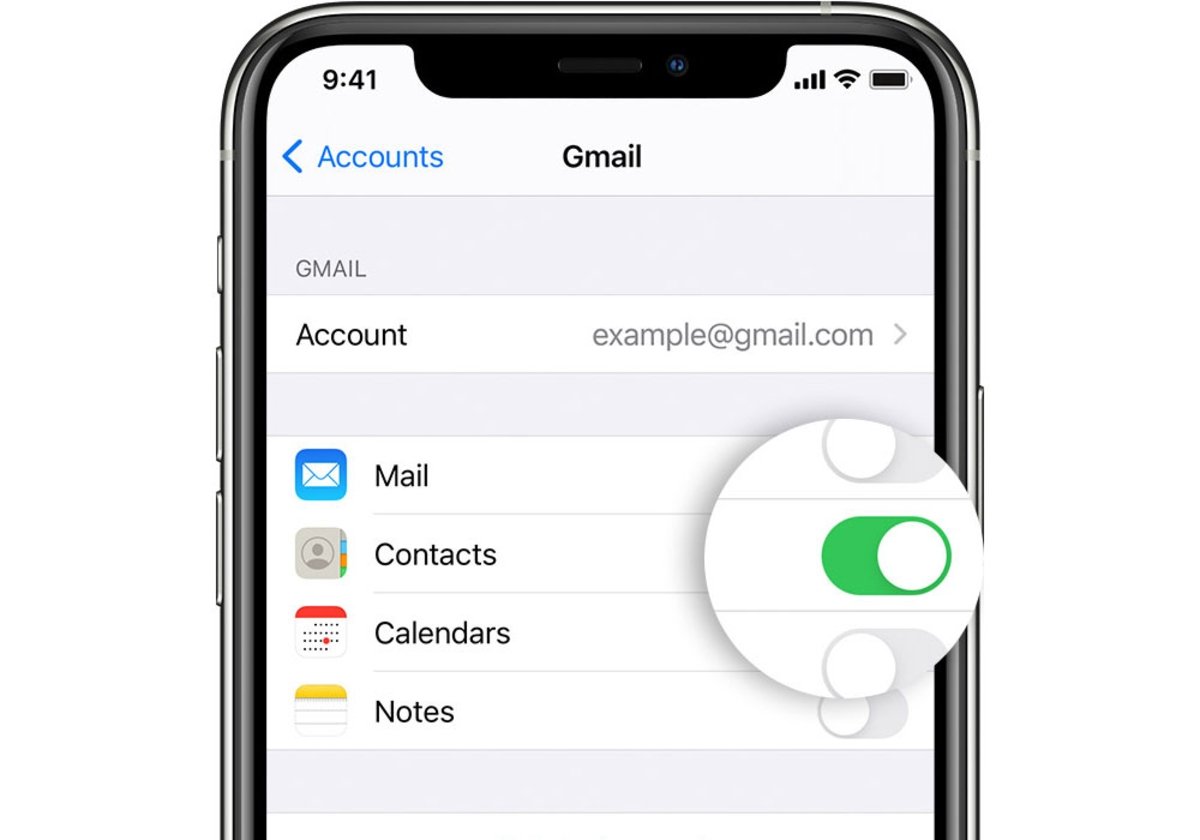
Now it’s the turn of the most drastic method, which is to delete all contacts from that account without having to go one by one or make any unnecessary additional adjustments. Each email account has a number of basic services, which can be turned on or off. Besides contacts, it has Mail, Calendar and Notes service. To turn off contacts for the account you’re using, follow these steps:
- and one Settings again.
- Click on the “Contacts:“and select”Accounts“.
- Tap the account that you use frequently and that contains the contacts you want to add or remove.
- You have surely already activated this service, so to delete numbers you must deactivate the option “Contacts:“and click”Remove from iPhone“.
At this time, all numbers on the device will disappear. If you make a backup copy to iCloud or transfer these contacts to another account, you will always have backed them up in case you want to restore them.
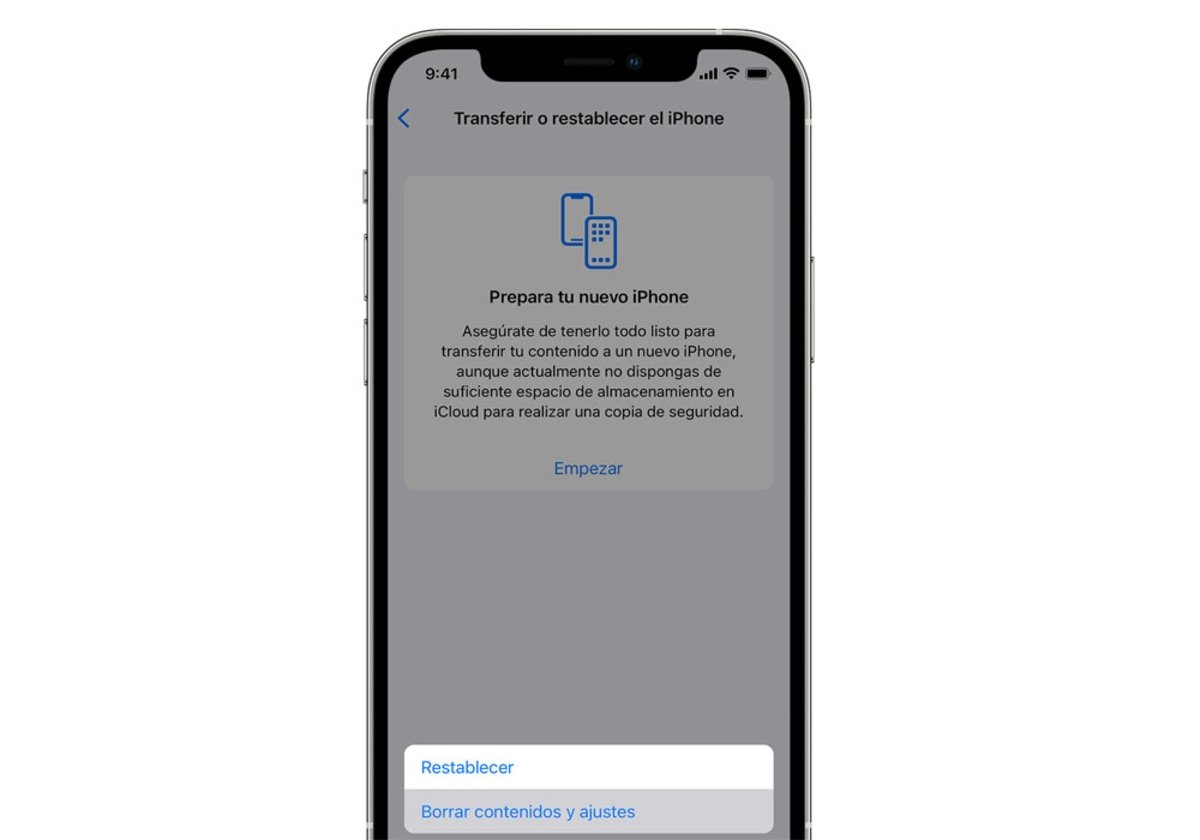
On the other hand, if you want to change your mobile and sell the iPhone you own, there is another, easier way. You don’t have to go to your contacts, just reset the device so that it leaves the factory completely.
Obviously, all the apps and the rest of the data on the terminal will also be deleted, although you should already take this into account. To do this, you just need to go into Settings and navigate to “General“, where you will see the option of”Restore“.
Related topics: Tutorials
Subscribe to Disney + with a 75% discount, only until November 14!

