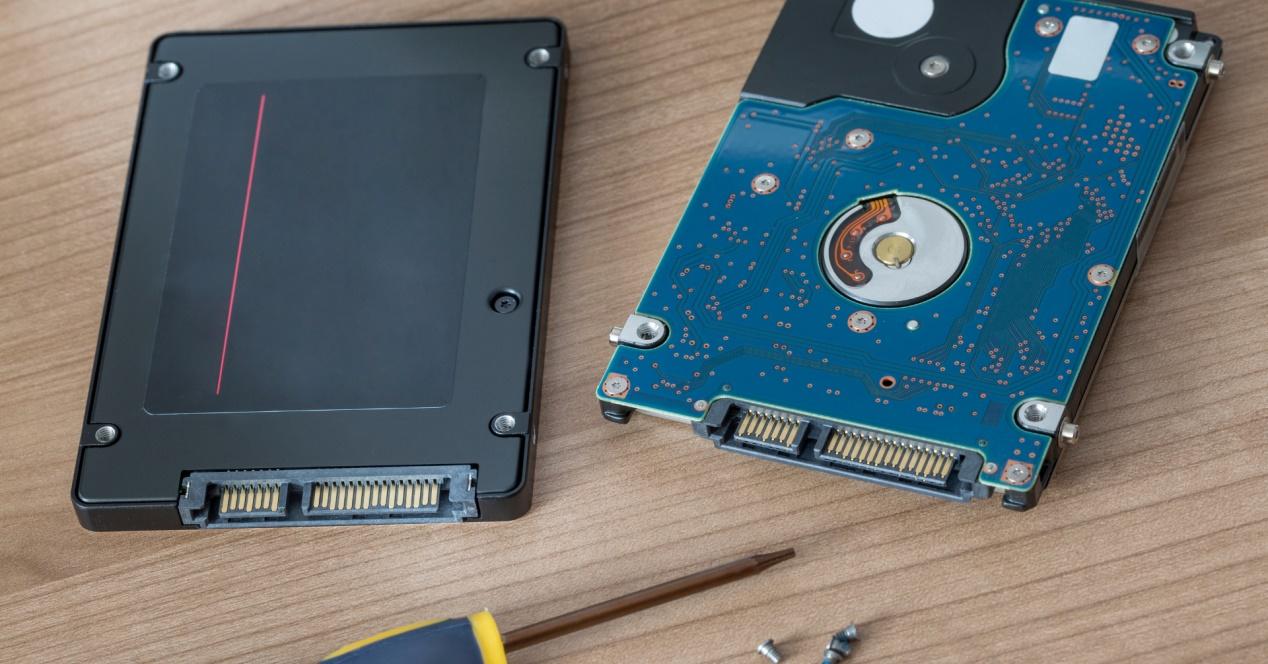
All components of a PC or laptop have a unique number that gives us information about them. This information is needed to repair the equipment or when we need to process the warranty. Well, we are going to tell you how to find the serial number of a hard disk Hard drive or SSD no need to disassemble anything.
Nobody has checked the serial numbers of all the components of your PC or laptop. This information can be very important in case you need to send a component for repair. But occasionally it can be used to find out if a component belongs to a batch that has been defective.
How to see the serial number of an SSD in Windows
The serial number is a unique product identifier that the manufacturer gives him. This numbering is generated completely randomly according to parameters specified by the manufacturer. Each manufacturer uses its own identification system. This information is primarily important for warranty processing, as well as for finding out more about a product or for purchasing spare parts.
This information is printed on SSD or HDD, but getting there can be very difficult. This becomes especially difficult if we are talking about an M.2 SSD, which will surely have a heatsink on top. For this reason, we may ask Windows to provide us with th is information. There are two methods that we will explain to you.
All these methods to see the serial number They are ideal for units HDD, SATA SSD and M.2 SSD.
Using the Command Prompt
The first is perhaps most comfortable and easiest In every way. The command prompt itself will give us this information and any other information we need. We only have to follow the following steps:
- In the searcher from the bottom bar the Windows we have to introduce CMD or system symboland press enter
- A window with a black background will open.
- Now you will need to enter the following command: wmic diskdrive get model, name, serial number and pressing the enter key
- We will now see the unit modelthe name assigned by Windows and the serial number
- Once we’ve copied it, we can close the sale
Using PowerShell
This system is a little more advanced
- In the searcher from the bottom bar the Windows we have to introduce PowerShell, and press enter
- A window with a blue background will open, in this case
- Now you will need to enter the following command: Get-WMIObject win32_physicalmedia | Format list tag, serial number and pressing the enter key
- We will now see the name assigned by Windows and the serial number
- Once we’ve copied it, we can close the sale
Thanks to these two methods, we will see the information on our storage unit without having to disassemble half of the computer. We hope this little tutorial has been useful to you.


