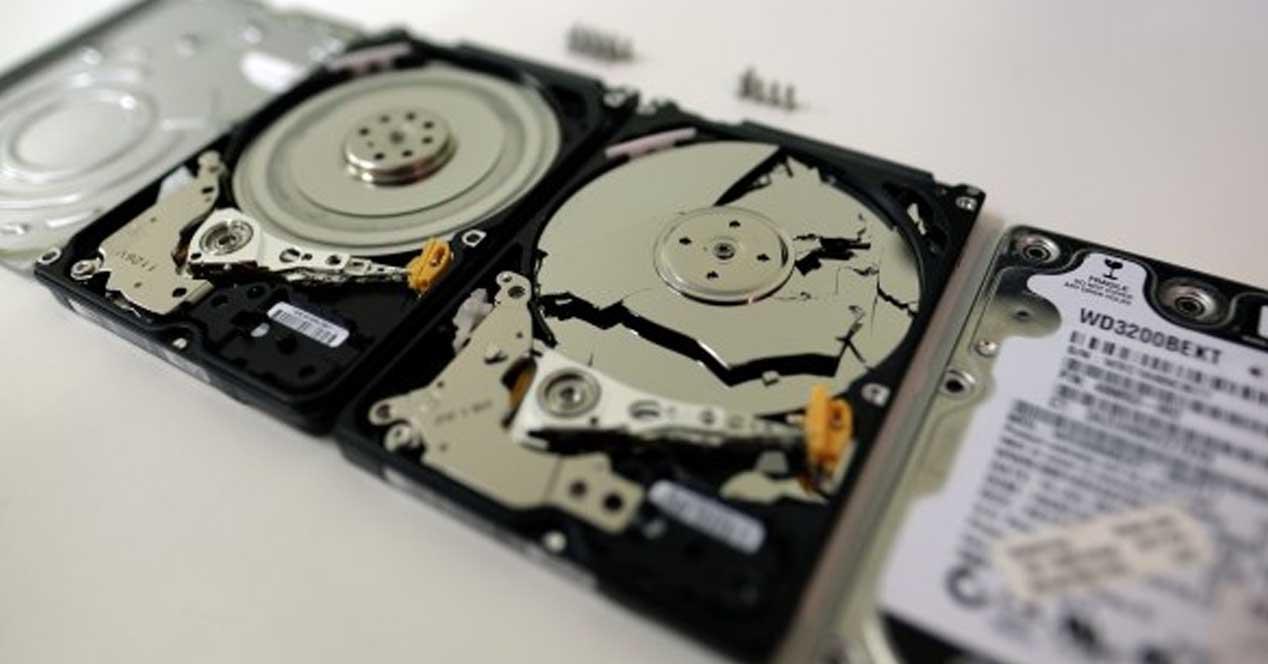
The hard drive is like the soul of the PC, the place where everything from our photos and documents to the operating system the PC runs on is stored. When it starts to cause problems, inevitably it starts to go wrong on the computer, and there it doesn’t matter whether you have a classic mechanical hard drive, a 2.5″ SSD or a latest generation NVMe SSD: the modus operandi is the and you have to find a solution. And nothing better than these free tools that we are going to tell you about below for that.
Check if hard drive is malfunctioning from BIOS
Unless you have a very old PC, almost every motherboard manufacturer offers a utility to check hard drive status from the motherboard itself. BIOS of the system. Many times we have told you how to enter the BIOS and here we leave you our linked tutorial, since it depends on each manufacturer, but usually it is to press DELETE repeatedly after turning on the PC.
Once in the BIOS, usually in the advanced options, you will find the option we are looking for, and its name and location also depend on the manufacturer. In the example above it is called “NVMe SSD Self-Test” and is under Advanced Options, and although it says “NVMe SSD” it is also useful for testing a mechanical hard drive which according to you, malfunction.
This will launch a utility which has a big advantage over any program you run on Windows, in that you will be running it before hard disk data is loaded into memory, which means the hard disk n is not used and therefore a more exhaustive analysis of your state of health can be carried out.
Optimize (SSD) and defragment (HDD)
For a long time, Windows has integrated the “Defragment and optimize disks” tool, which is not only used precisely to defragment and optimize disks (in the case of SSDs it optimizes them and in the case of hard disks it defrags them , which is also actually optimizing), but it will also check for some sort of error.
Just press Start and type “defrag” and you will see that you have a shortcut to this utility. Select the unit you want to analyze and click on the corresponding button, Windows will do the rest of the work (in fact, if it finds an error it will try to fix it automatically).
In the old days (on MS-DOS and back then) the system came with the SCANDISK utility for this, but you should be aware that the defragmentation tool now comes inherently.
CHKDSK will check if the hard drive is not working properly
Another tool built into Windows is CHKDSK (which literally means “check disk”). This utility will check again if there is a problem with your hard disk, but also with your file system, and will try to repair it automatically. To run it, right-click on the Start button and select “Command Prompt (Admin)”.
Then you just need to run the command: “chkdsk x: /F” where X: is the name of the drive to scan, usually C. The system will tell you that it can’t run because the disk is in use and ask if you want it to run automatically next time you restart your PC. Answer yes, restart the PC, and the program will see if there is a problem on the hard disk and fix it if possible.
Third-party tools that also help
Of course, there are plenty of other free tools that can help you check if your hard drive or SSD is malfunctioning, starting with the manufacturer’s own tools, such as Samsung Magician for branded hard drives and SSDs, or LifeGuard Diagnostics. for Western Digital drives. . However, we really like Information about CrystalDiska utility that we use a lot in our tests and which, in addition to being free, portable (you don’t need to install it) and very light, will show you the status of the hard drive at a glance .
Obviously, not all of these tools will help you fix the problem (although as we told you, some will try), but at least it will help you find out if the hard drive or SSD is the culprit of the PC malfunctioning , and will tell you which component you need to change to fix the problem.
Table of Contents


