Scientific methods is the first side quest in the dead space remake, which sees our hero Isaac Clarke following the moves of his partner, Nicole Brennan, through the ill-fated planetary cracker, USG Ishimura.
This side quest is spread across most of the Dead Space campaign, starting in chapter 2 and ending in chapter 10which means you’ll be working on it for most of the game. If you’re curious where the next step is or need help finding Nicole’s tracks, check out our walkthrough below. below.
For more help exploring USG Ishimura, we have pages on weapon locations, how to get security clearance, and how to beat the hunter.
On this page:
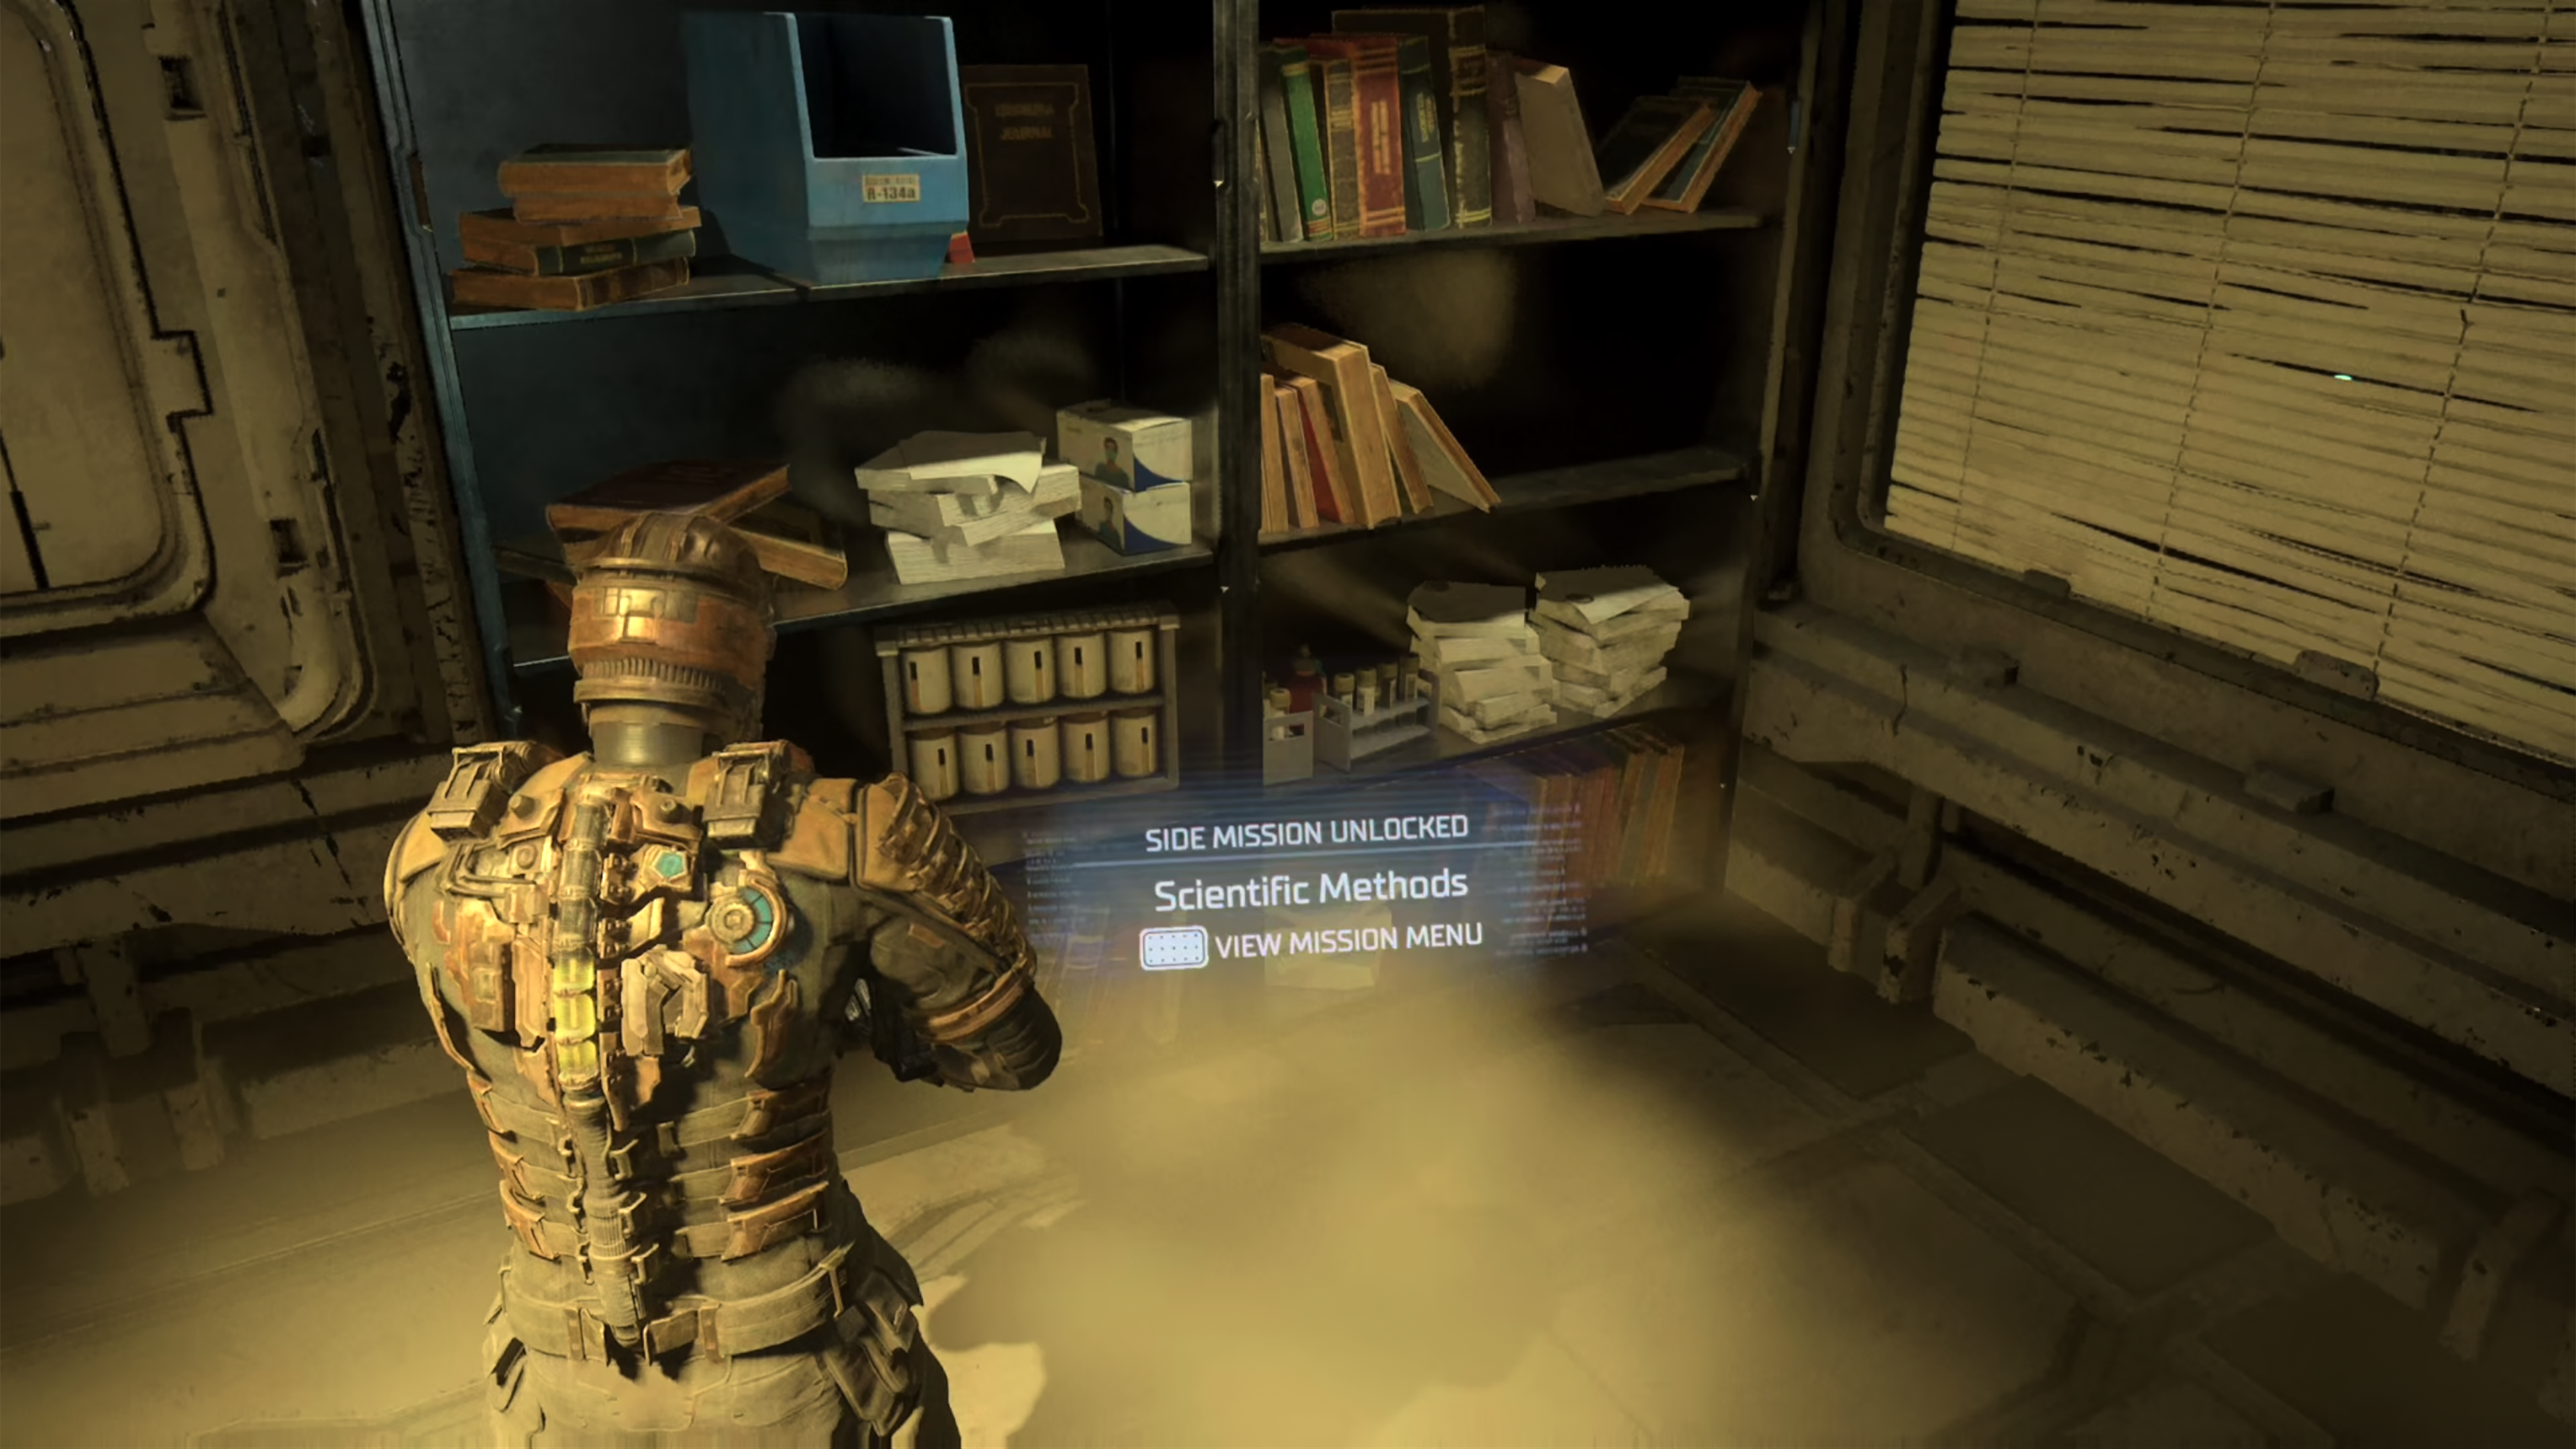
How to Unlock Scientific Methods in Dead Space
Accessible from Chapter 2: Intensive Care
Location: Medical, Main Laboratory
You will need to visit the Main laboratory in Chapter 2: Intensive care within the scenario. There will be a lockdown as the room is quarantined (two words that are scarier than all of Dead Space combined), and you take out a bunch of enemies.
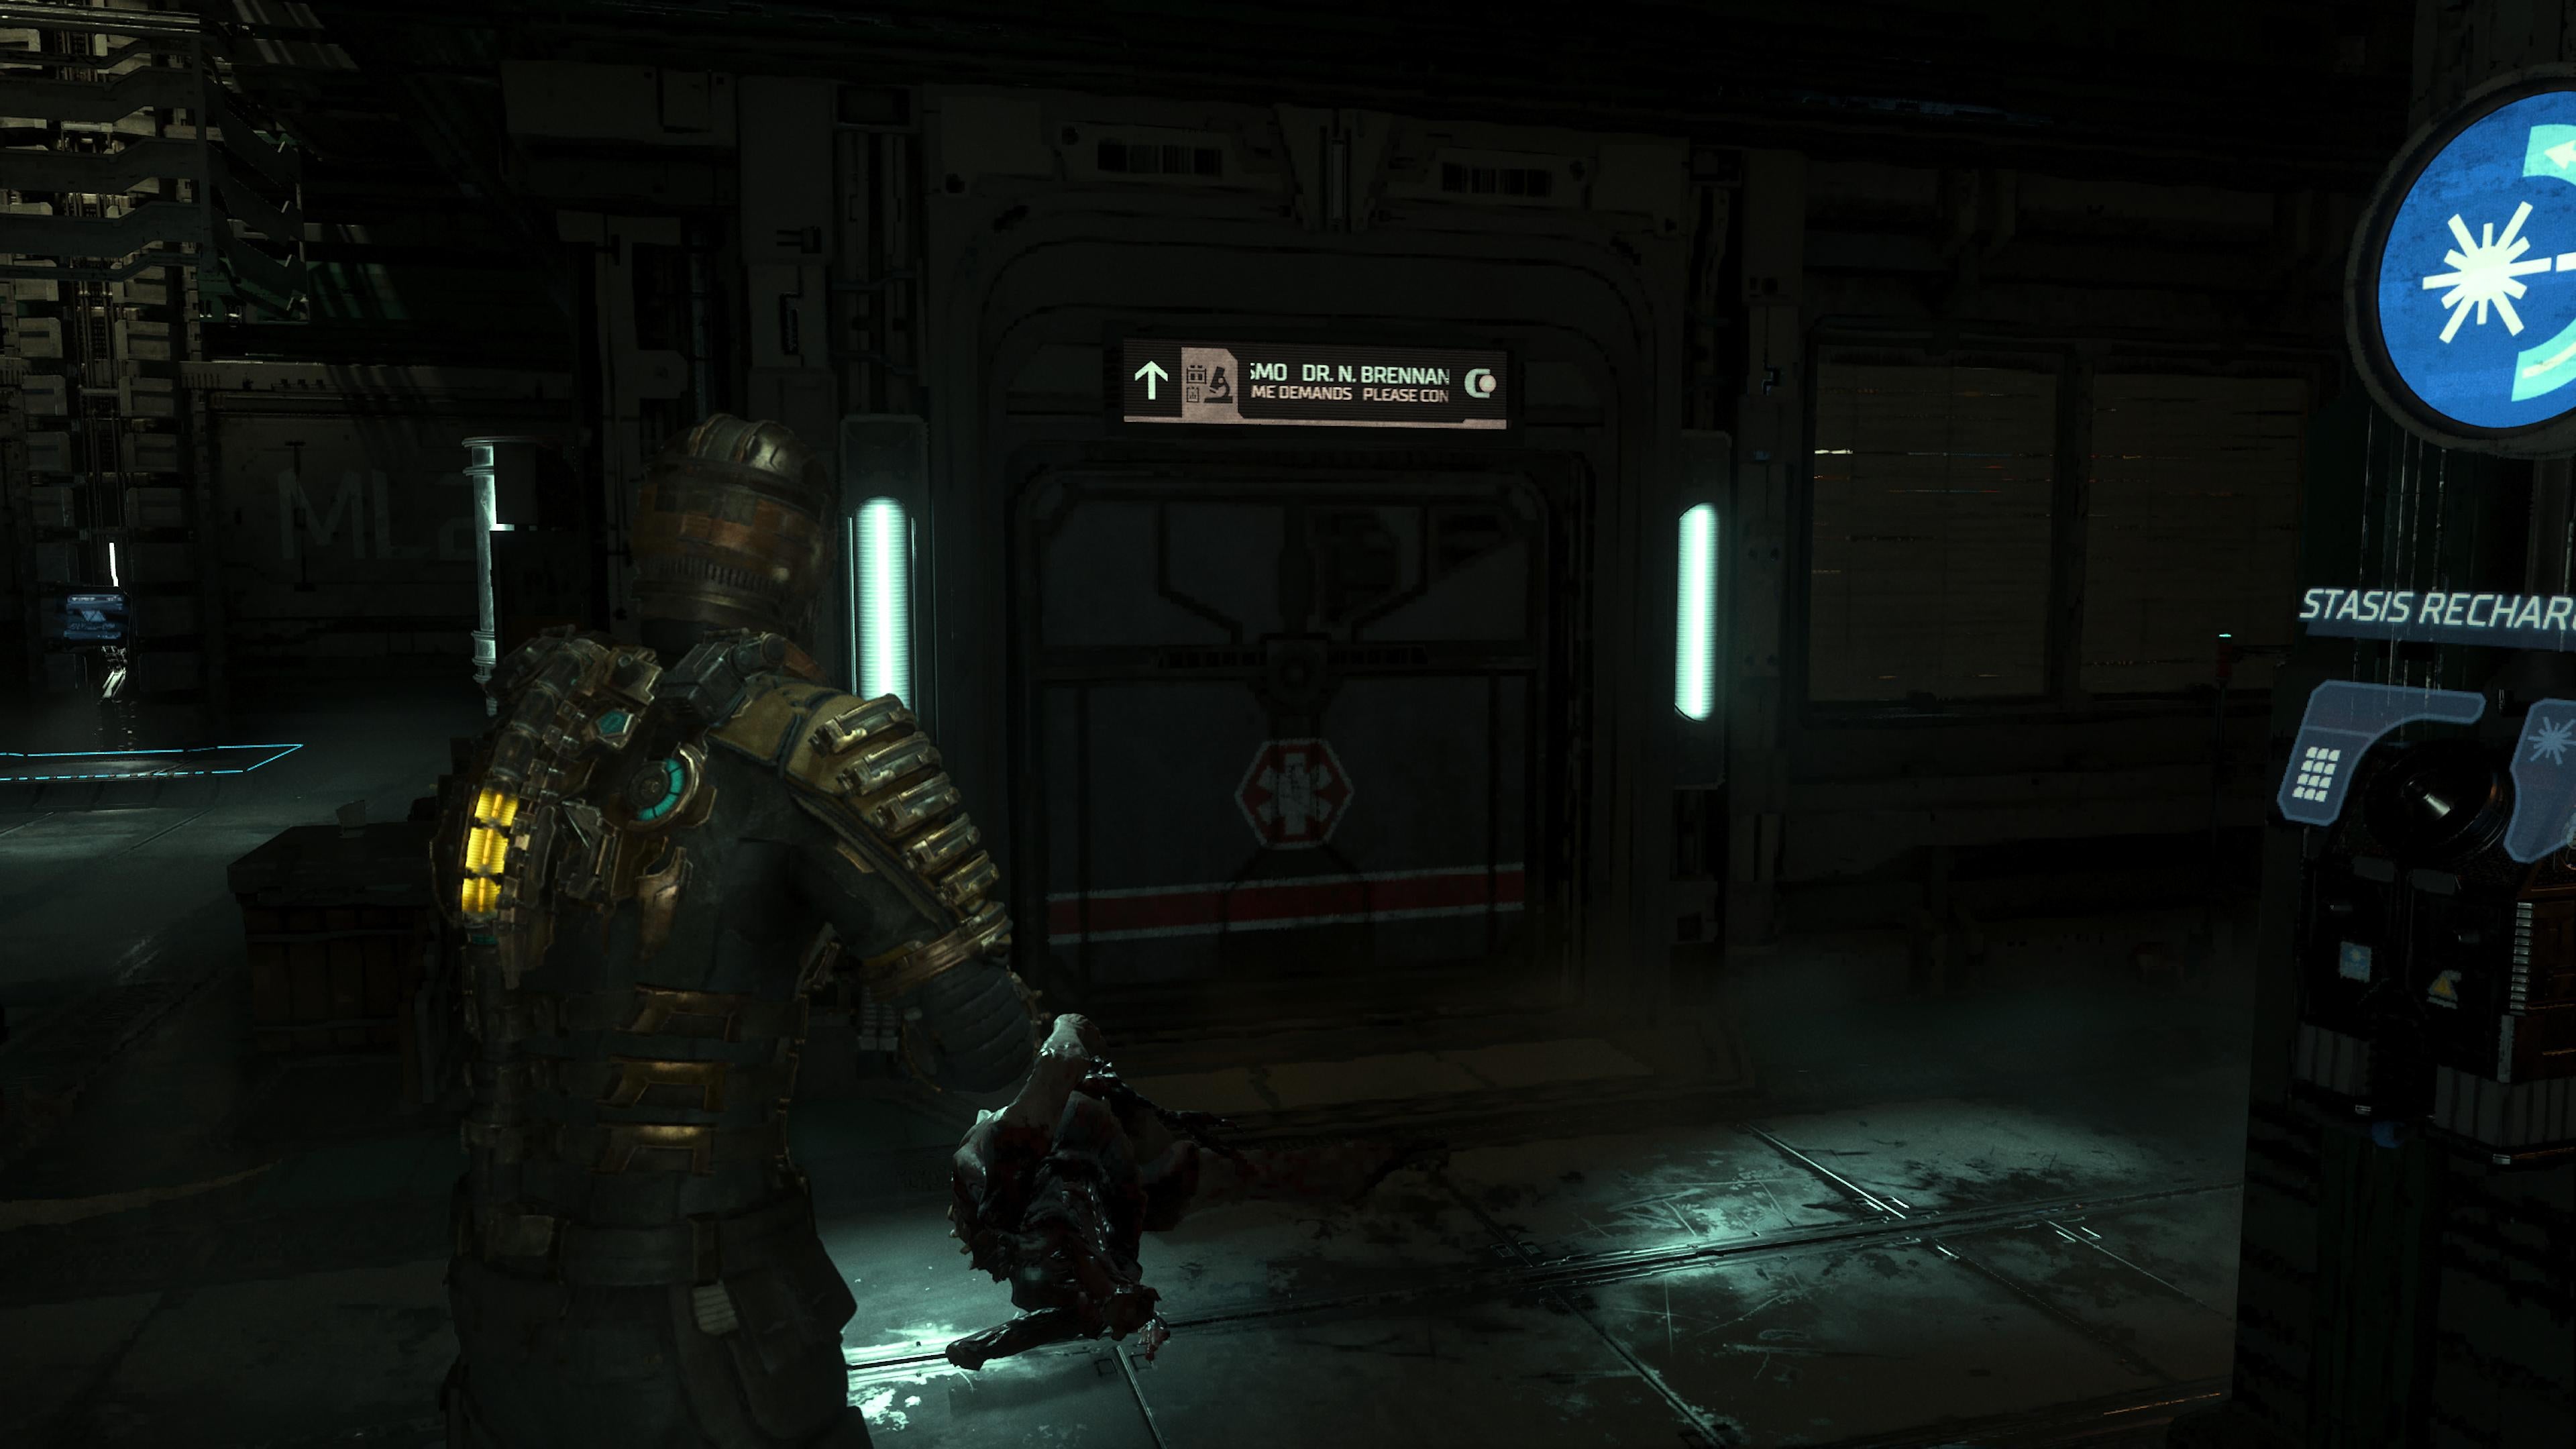
Once shipped, look for Nicole’s office – it’s next to the Stasis charging station.
From there, all you have to do is go to his office and grab the Audio Log from his desk!
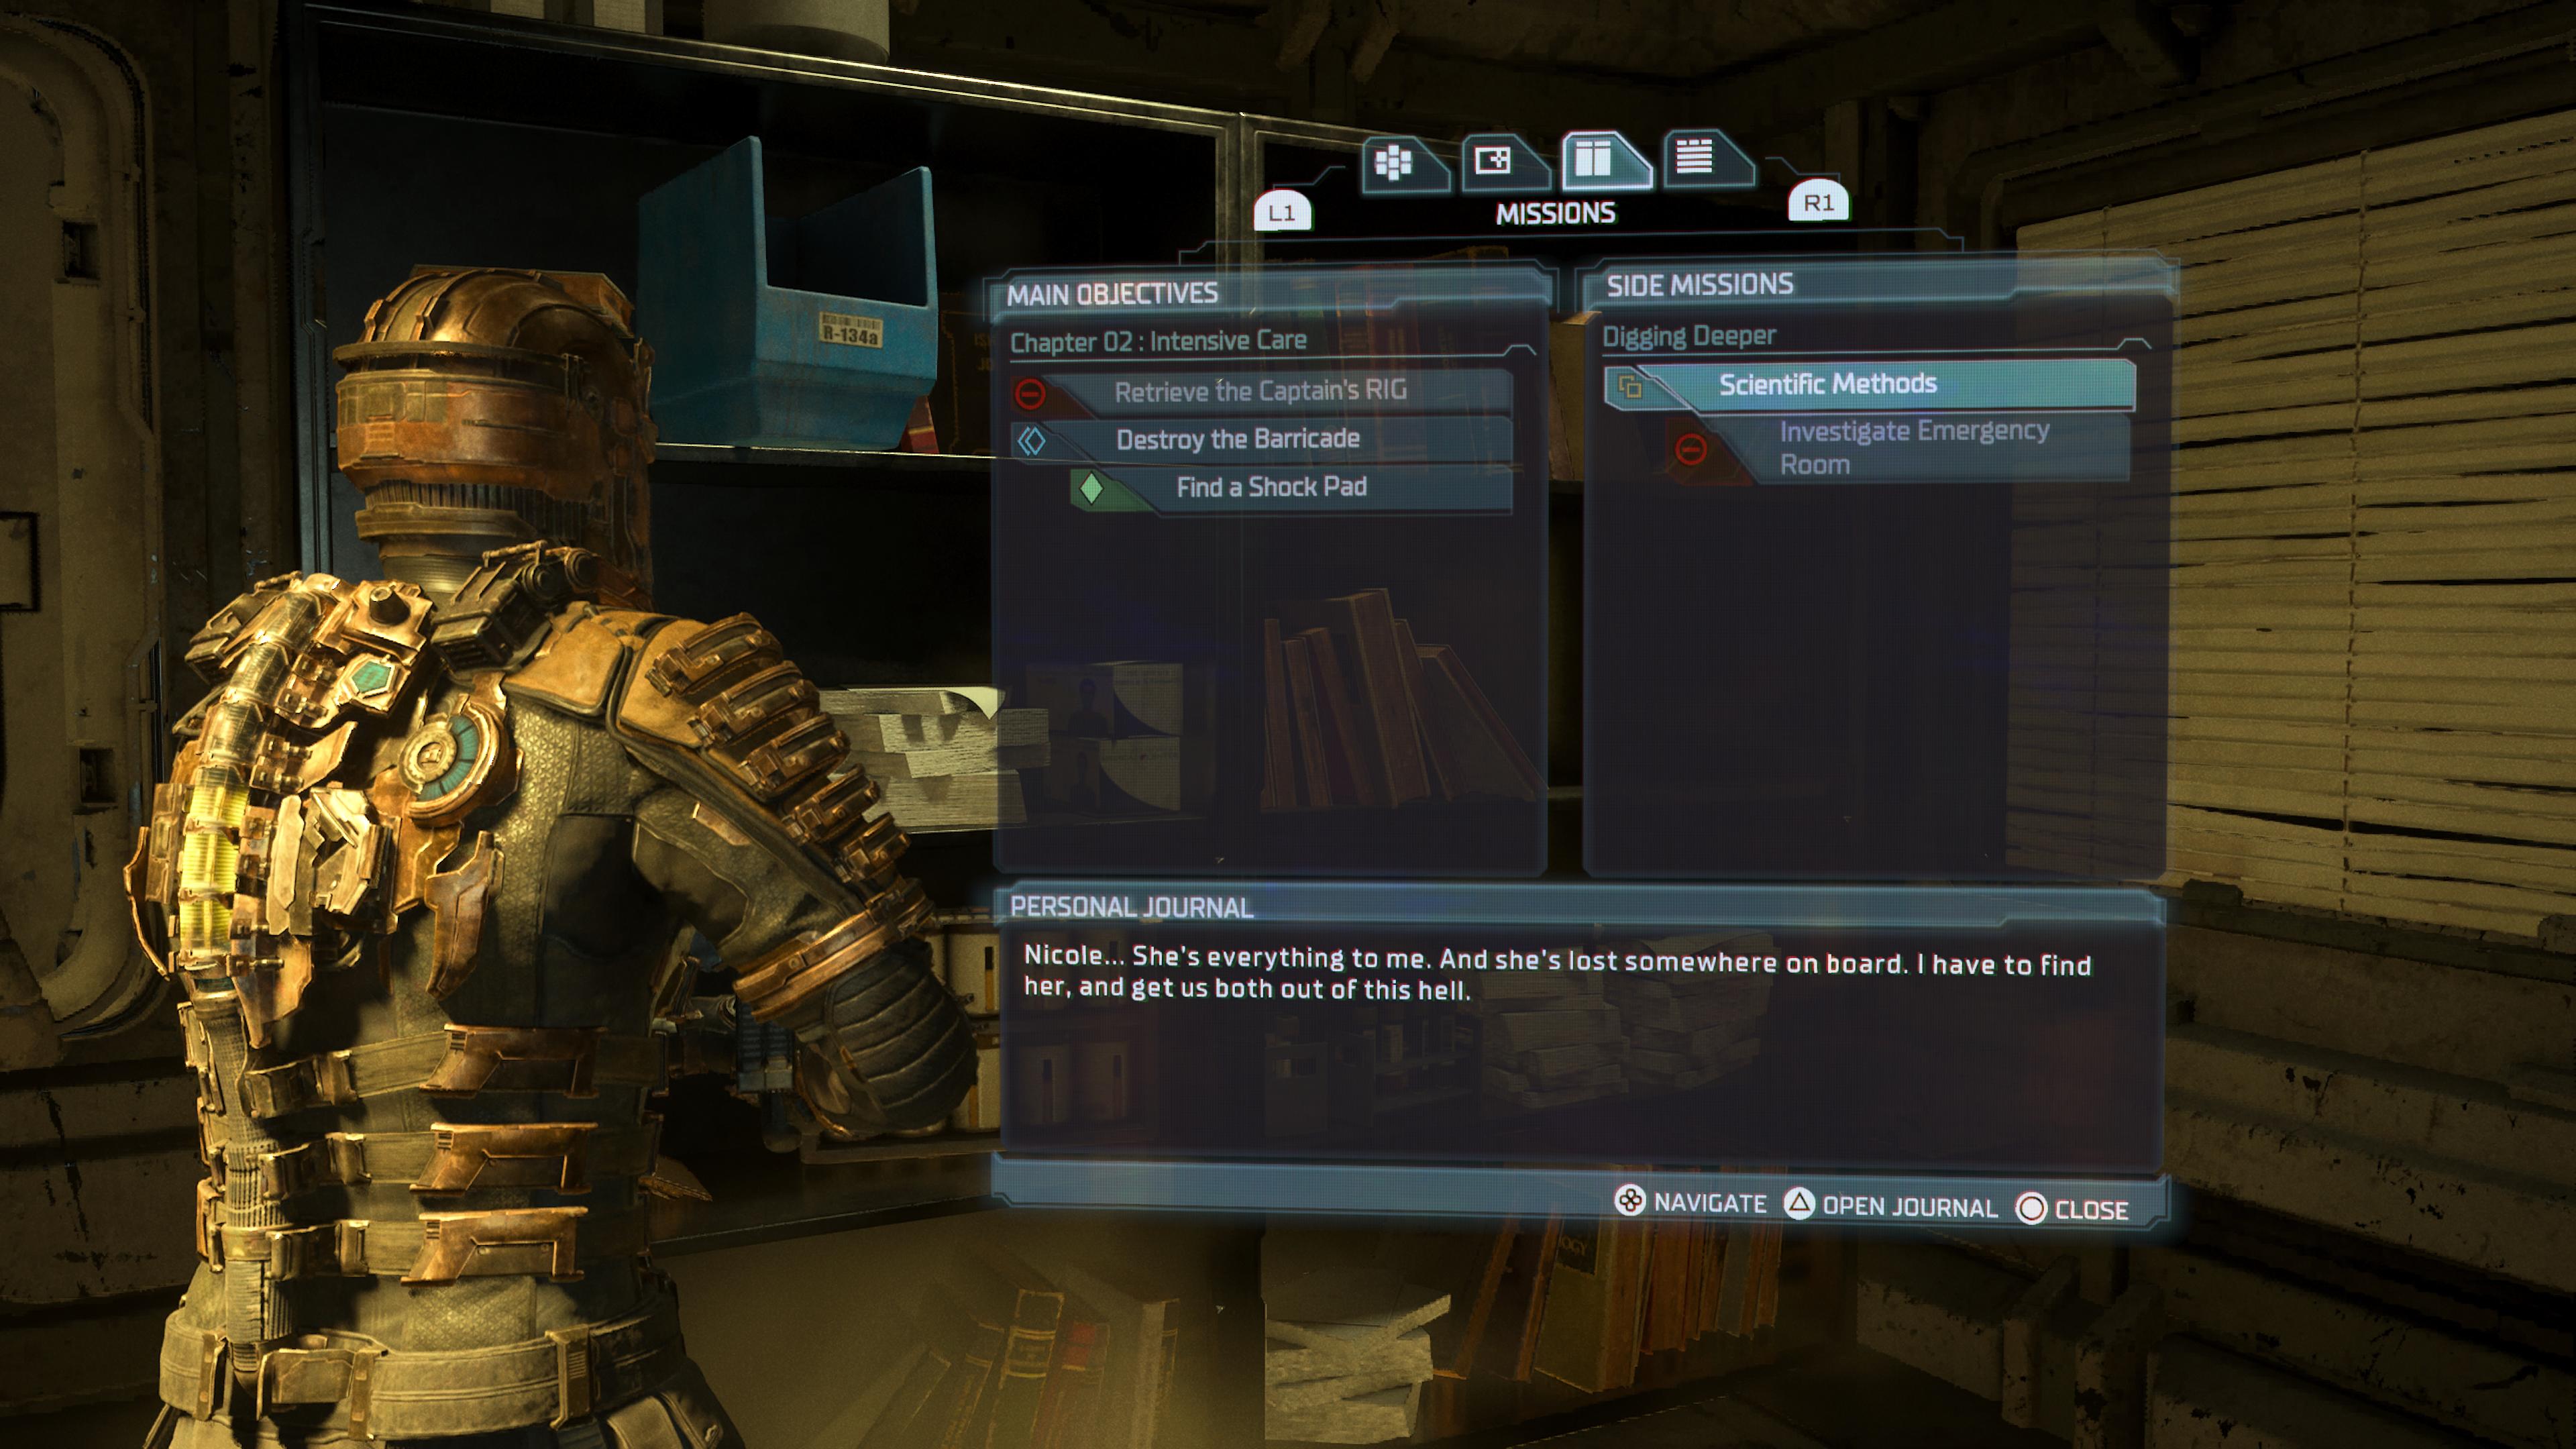
The mission, according to your diary, is as follows:
“Nicole…She’s everything to me. And she’s lost somewhere on board. I need to find her, and get us both out of this hell.”
We can help guide you through the Ishimura with pages on weapon and suit locations, how to get security clearance levels and master replacement, the science methods side quest, and the location of the Peng treasure. We also have solutions to the Communication Network Satellites and Centrifuge puzzles, a list of trophies and achievements, and strategies on how to beat the Hunter, Leviathan, and Leviathan Remnant bosses.
Scientific methods Step 1: Investigate the emergency room in dead space
Accessible from Chapter 2: Intensive Care
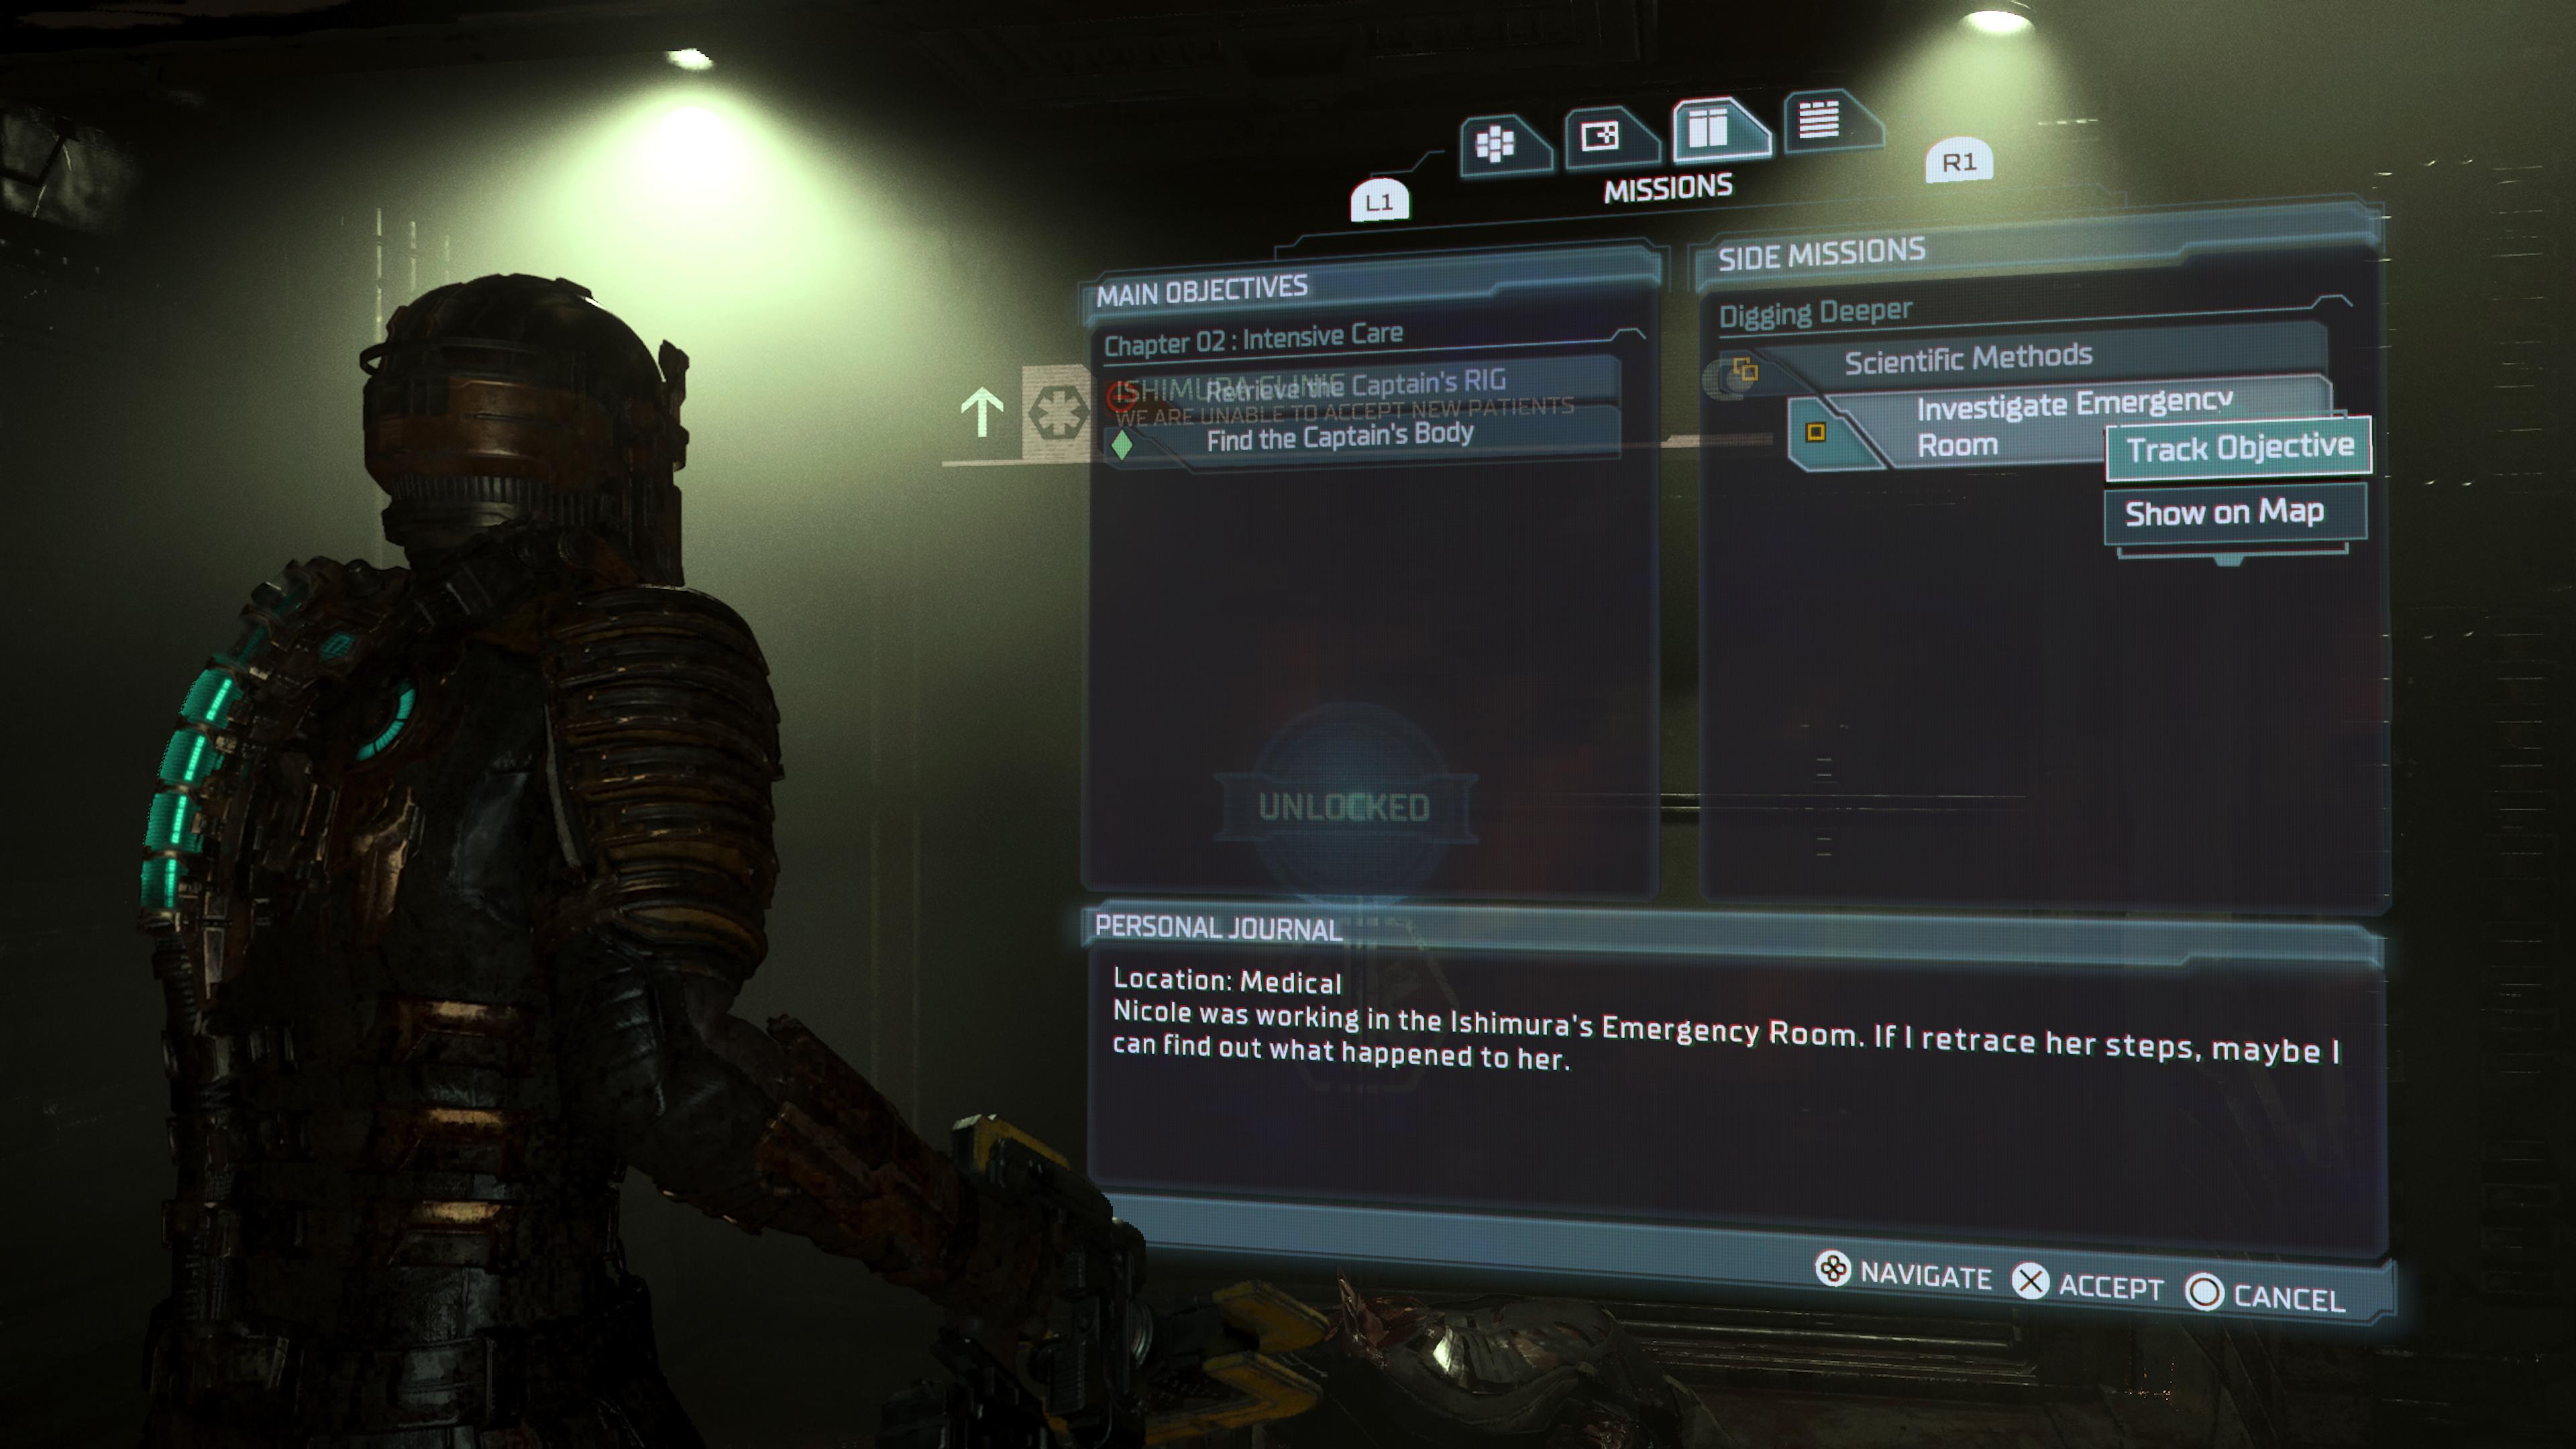
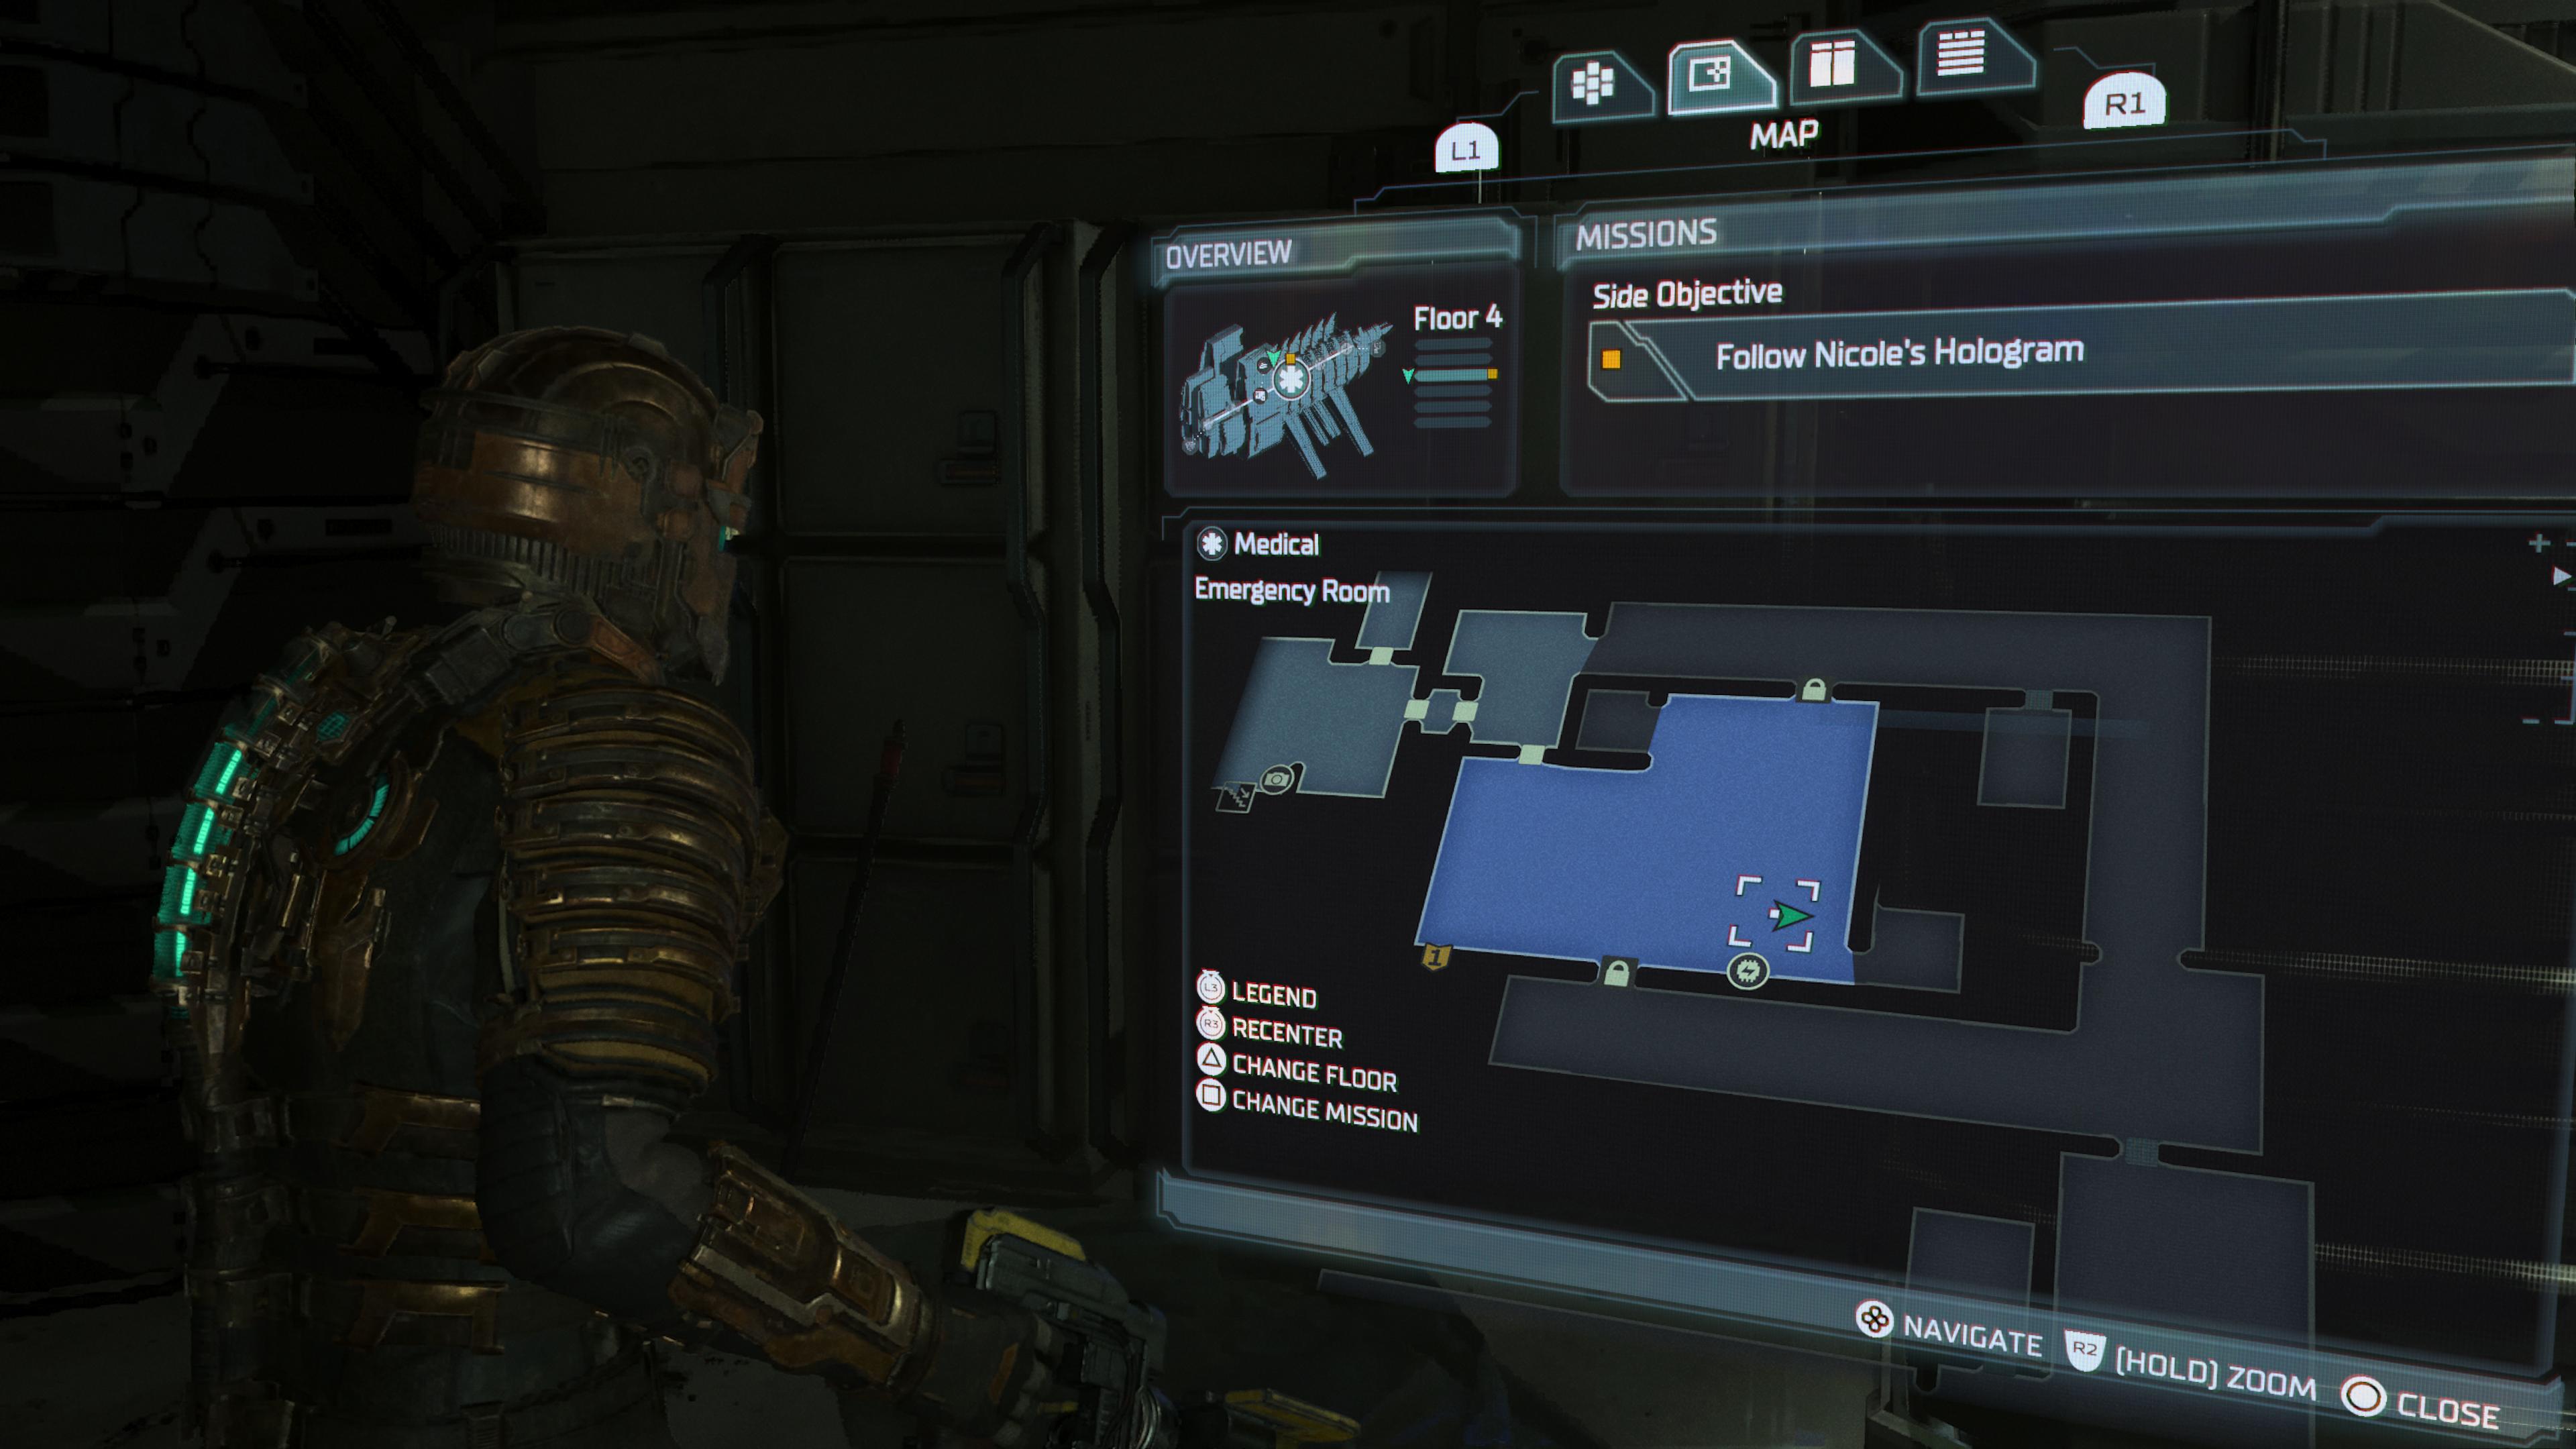
Location: Medical, Emergency
“Nicole worked in Ishimura’s ER. If I retrace her steps, I might be able to find out what happened to her.”
It seems quite simple, but the most important thing is that you have to cross the barricade in Medical to reach the emergency room. Fortunately, blowing it up is part of the storyline, so keep going until you tick off your DIY demolition project.
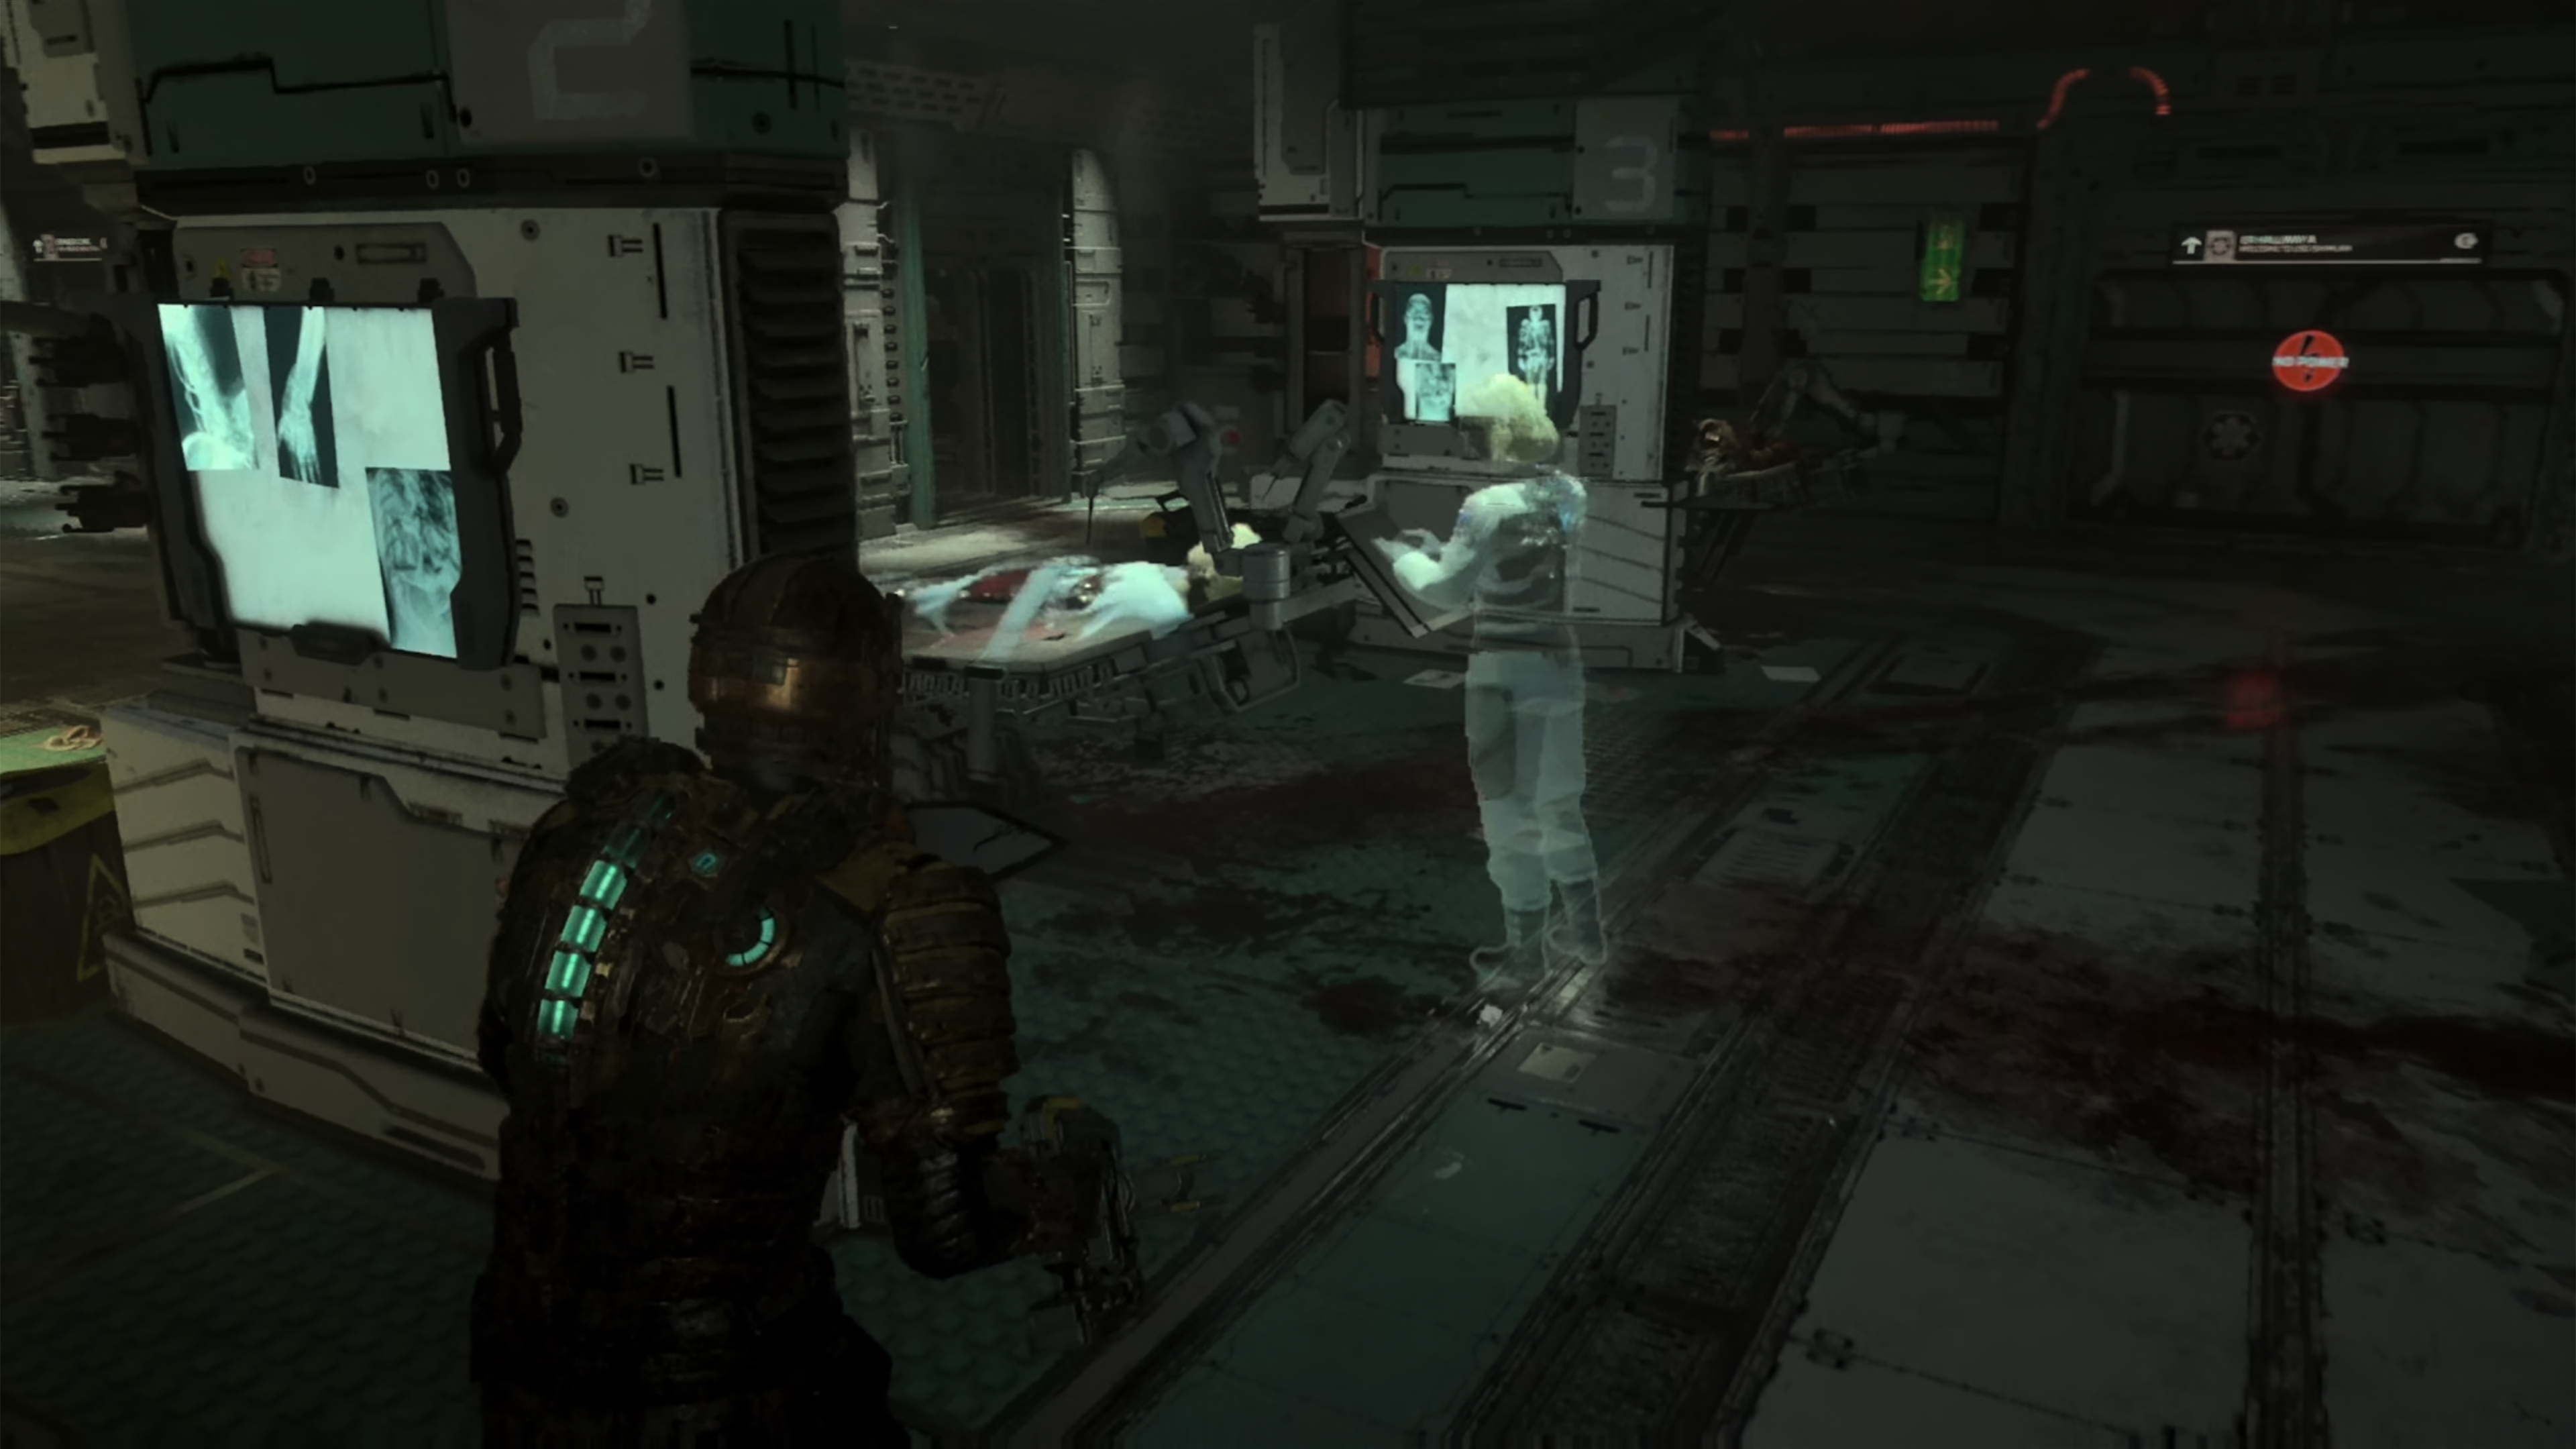
You will enter a room full of stretchers. One of them has a looping recording of Nicole – head over to it.
From there, your goal will update to ‘Follow Nicole’s hologram‘, but there is a slight catch, as your log points out:
“I found a recording of Nicole in the ER. We see her running away, but there’s nothing in that direction but a wall. Either the recording is broken or something else is going on. “
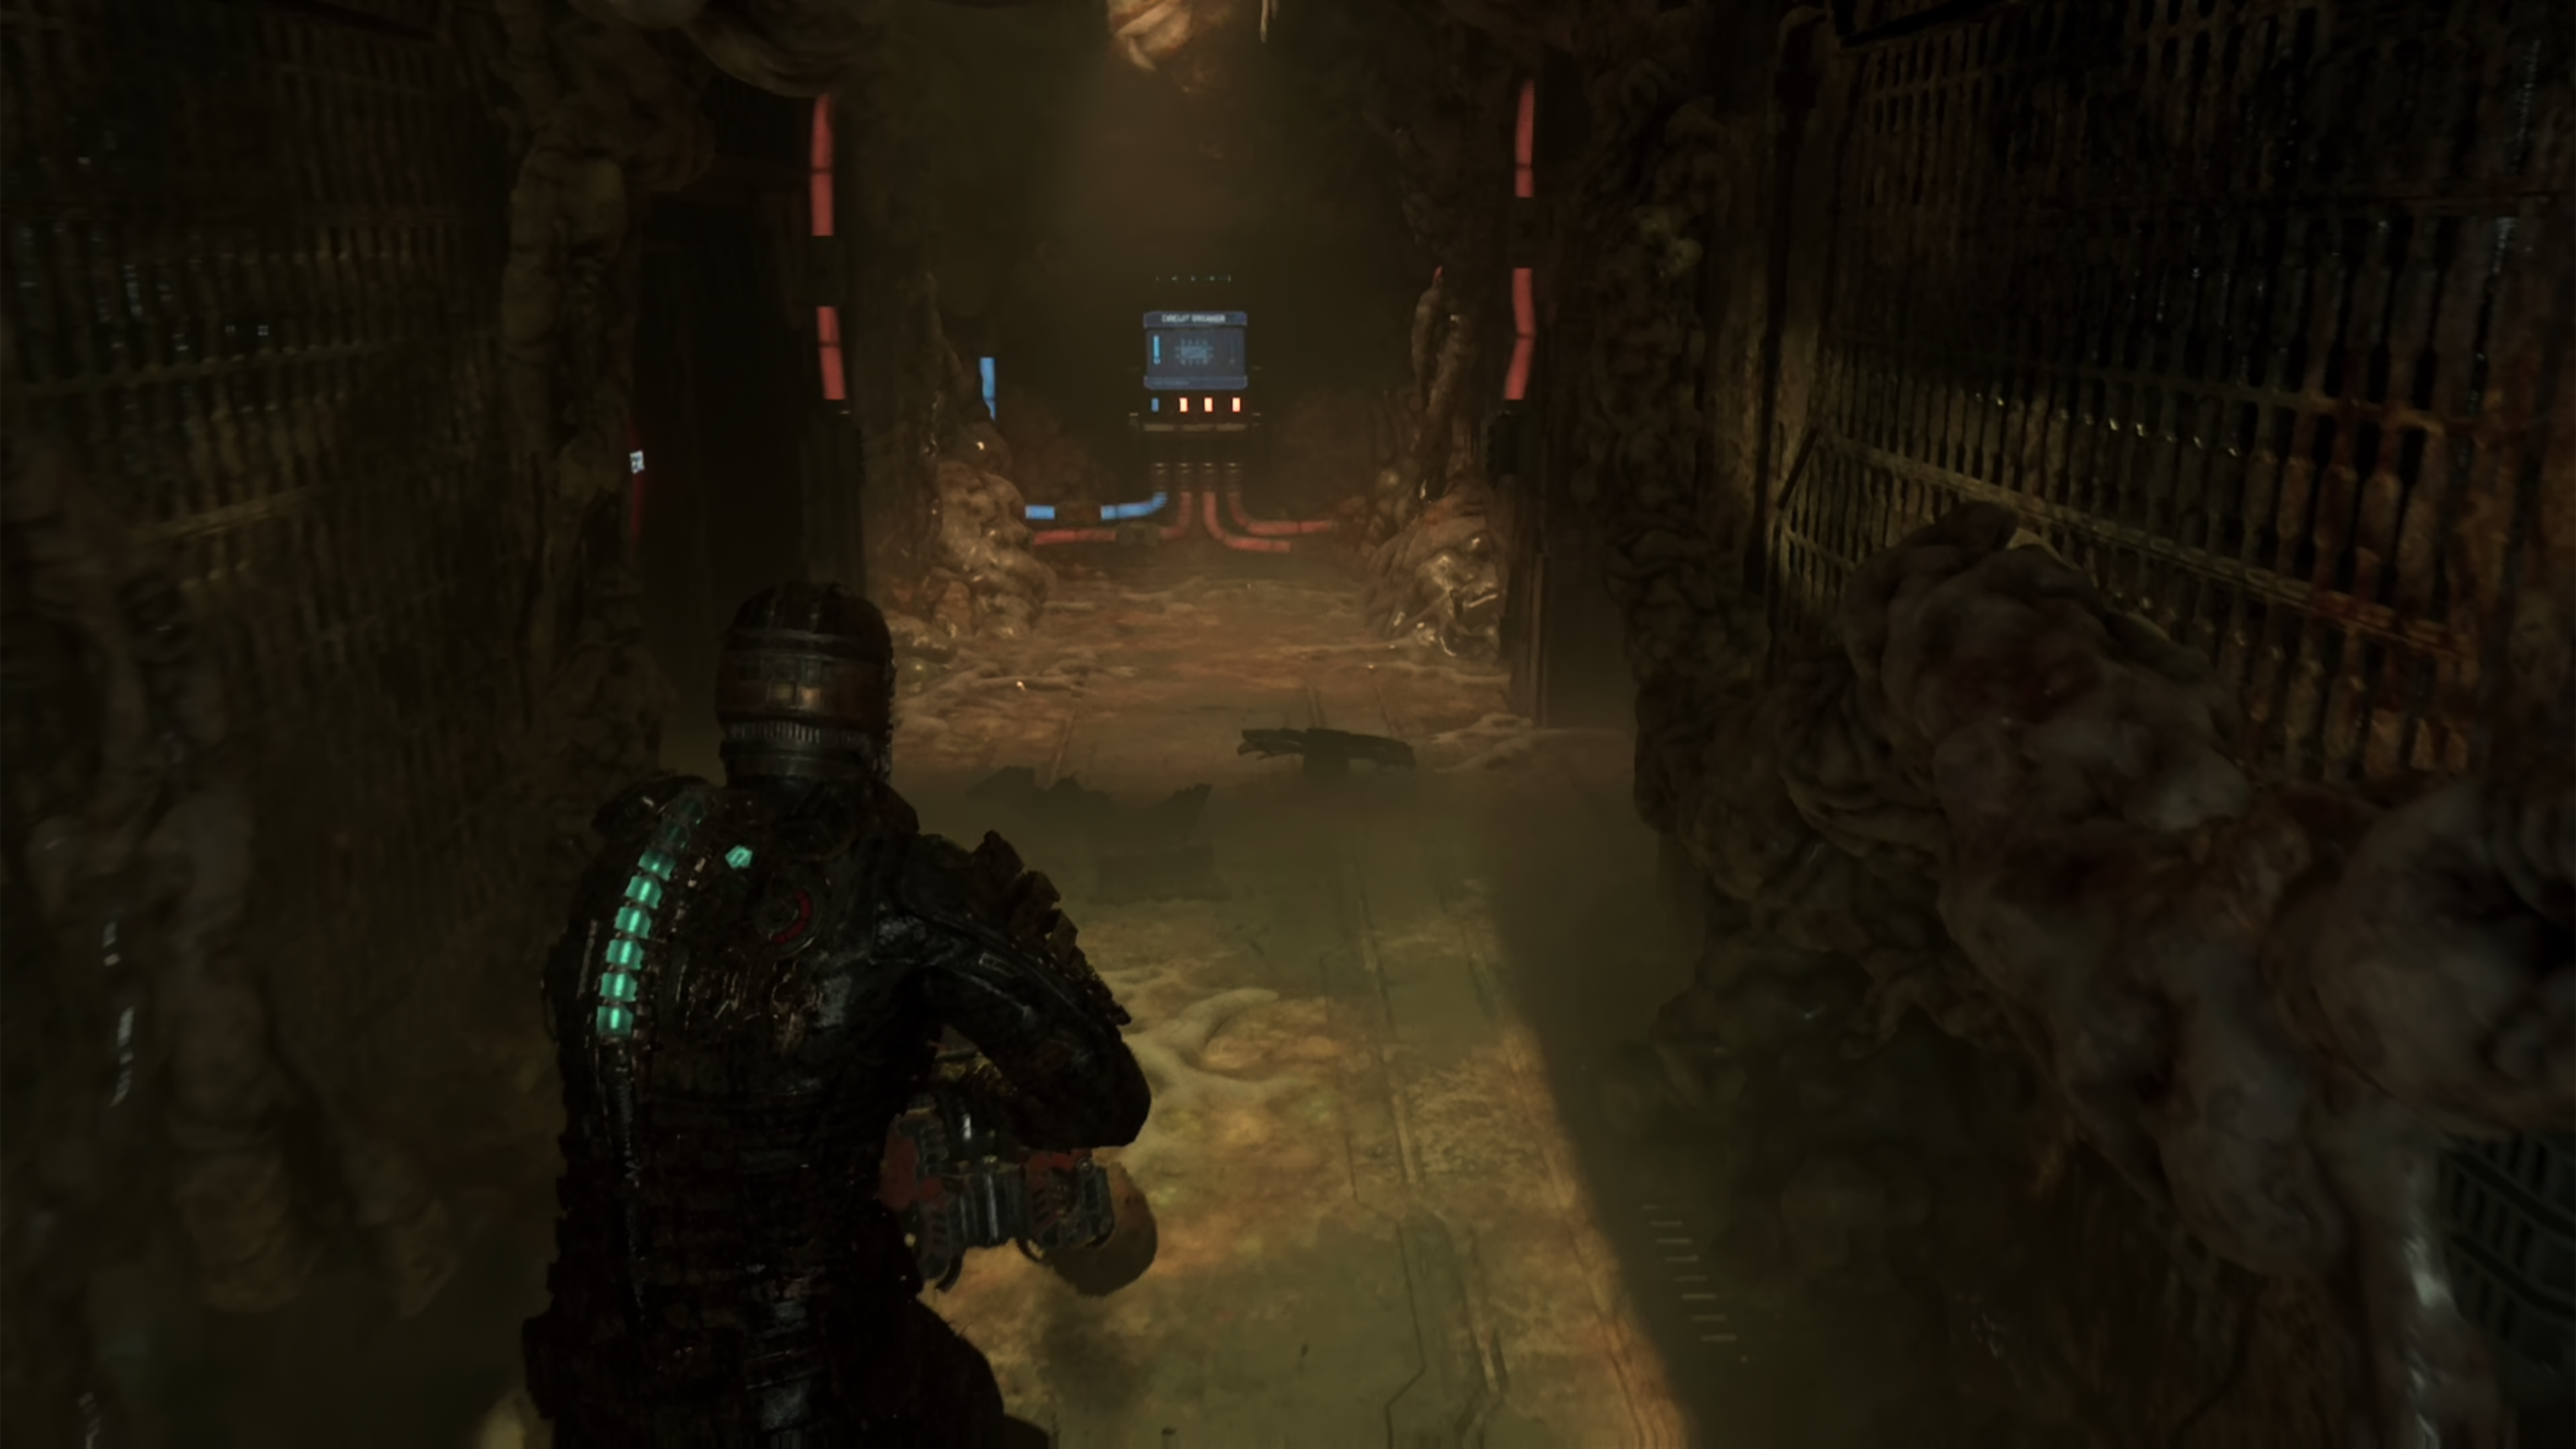
It’s a very simple puzzle – Mr. Clarke just can’t see the door to the boxes. Head to the nearby circuit breaker and look for blocks with the Kinesis symbol – push them aside to reveal a “hidden” door. It’s incredibly easy to spot, especially if you use the map.
Go inside, watch the scene and check off one last thing on your to-do list!
Scientific methods Step 2: Find the autopsy recording in dead space
Accessible from Chapter 3: Trajectory Correction
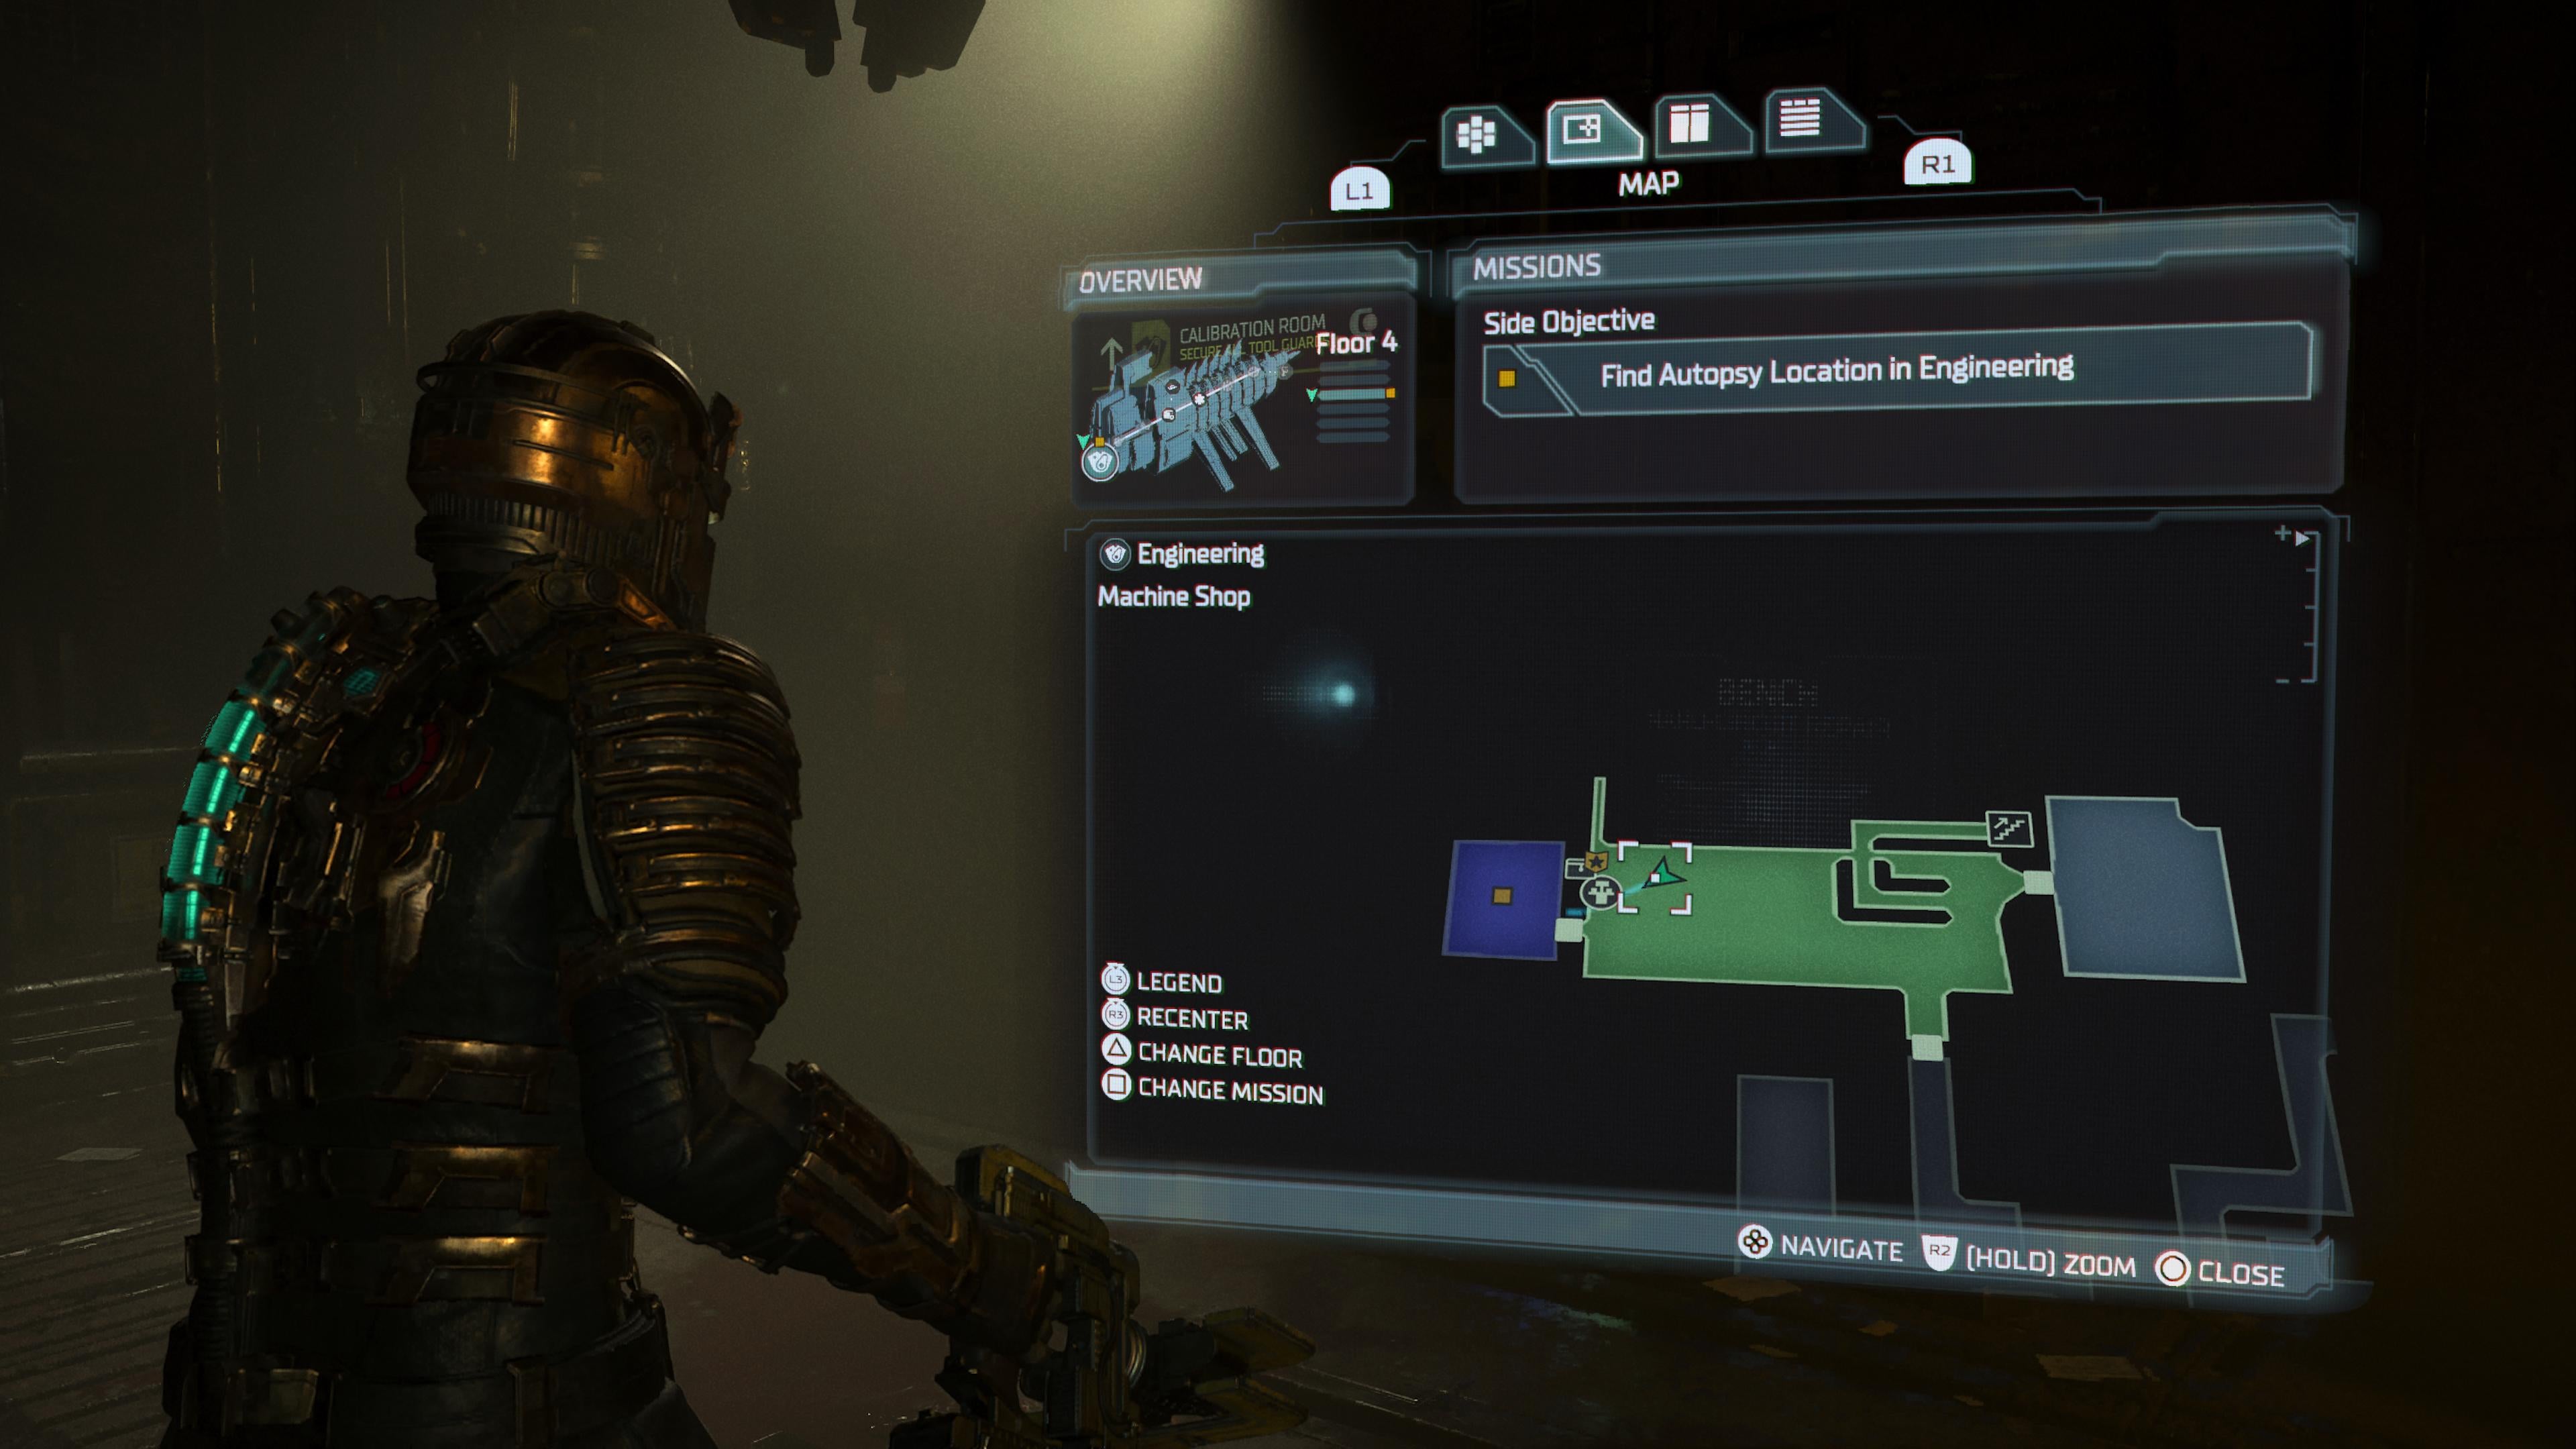
Location: Engineering, Machine Shop
“Nicole planned to autopsy one of these things. Her diary mentions a creature that was dismembered in engineering – I should check there.”
A small jump from the previous step, you access this part of this questline once you access the Engineering deck. It’s right on the mission line, so it’s super easy to find too.
Head to the Security Station – make sure to set your mission tracker to this side mission, then follow the orange line that appears when you hit R3.
Once there, you should see a small hallway leading down Calibration room. You’ll find the next hologram here, along with your next set of instructions.
Scientific Methods Stage 3: Find Kyne’s Secret Headquarters in Mining in Dead Space
Accessible from Chapter 7: Into the void
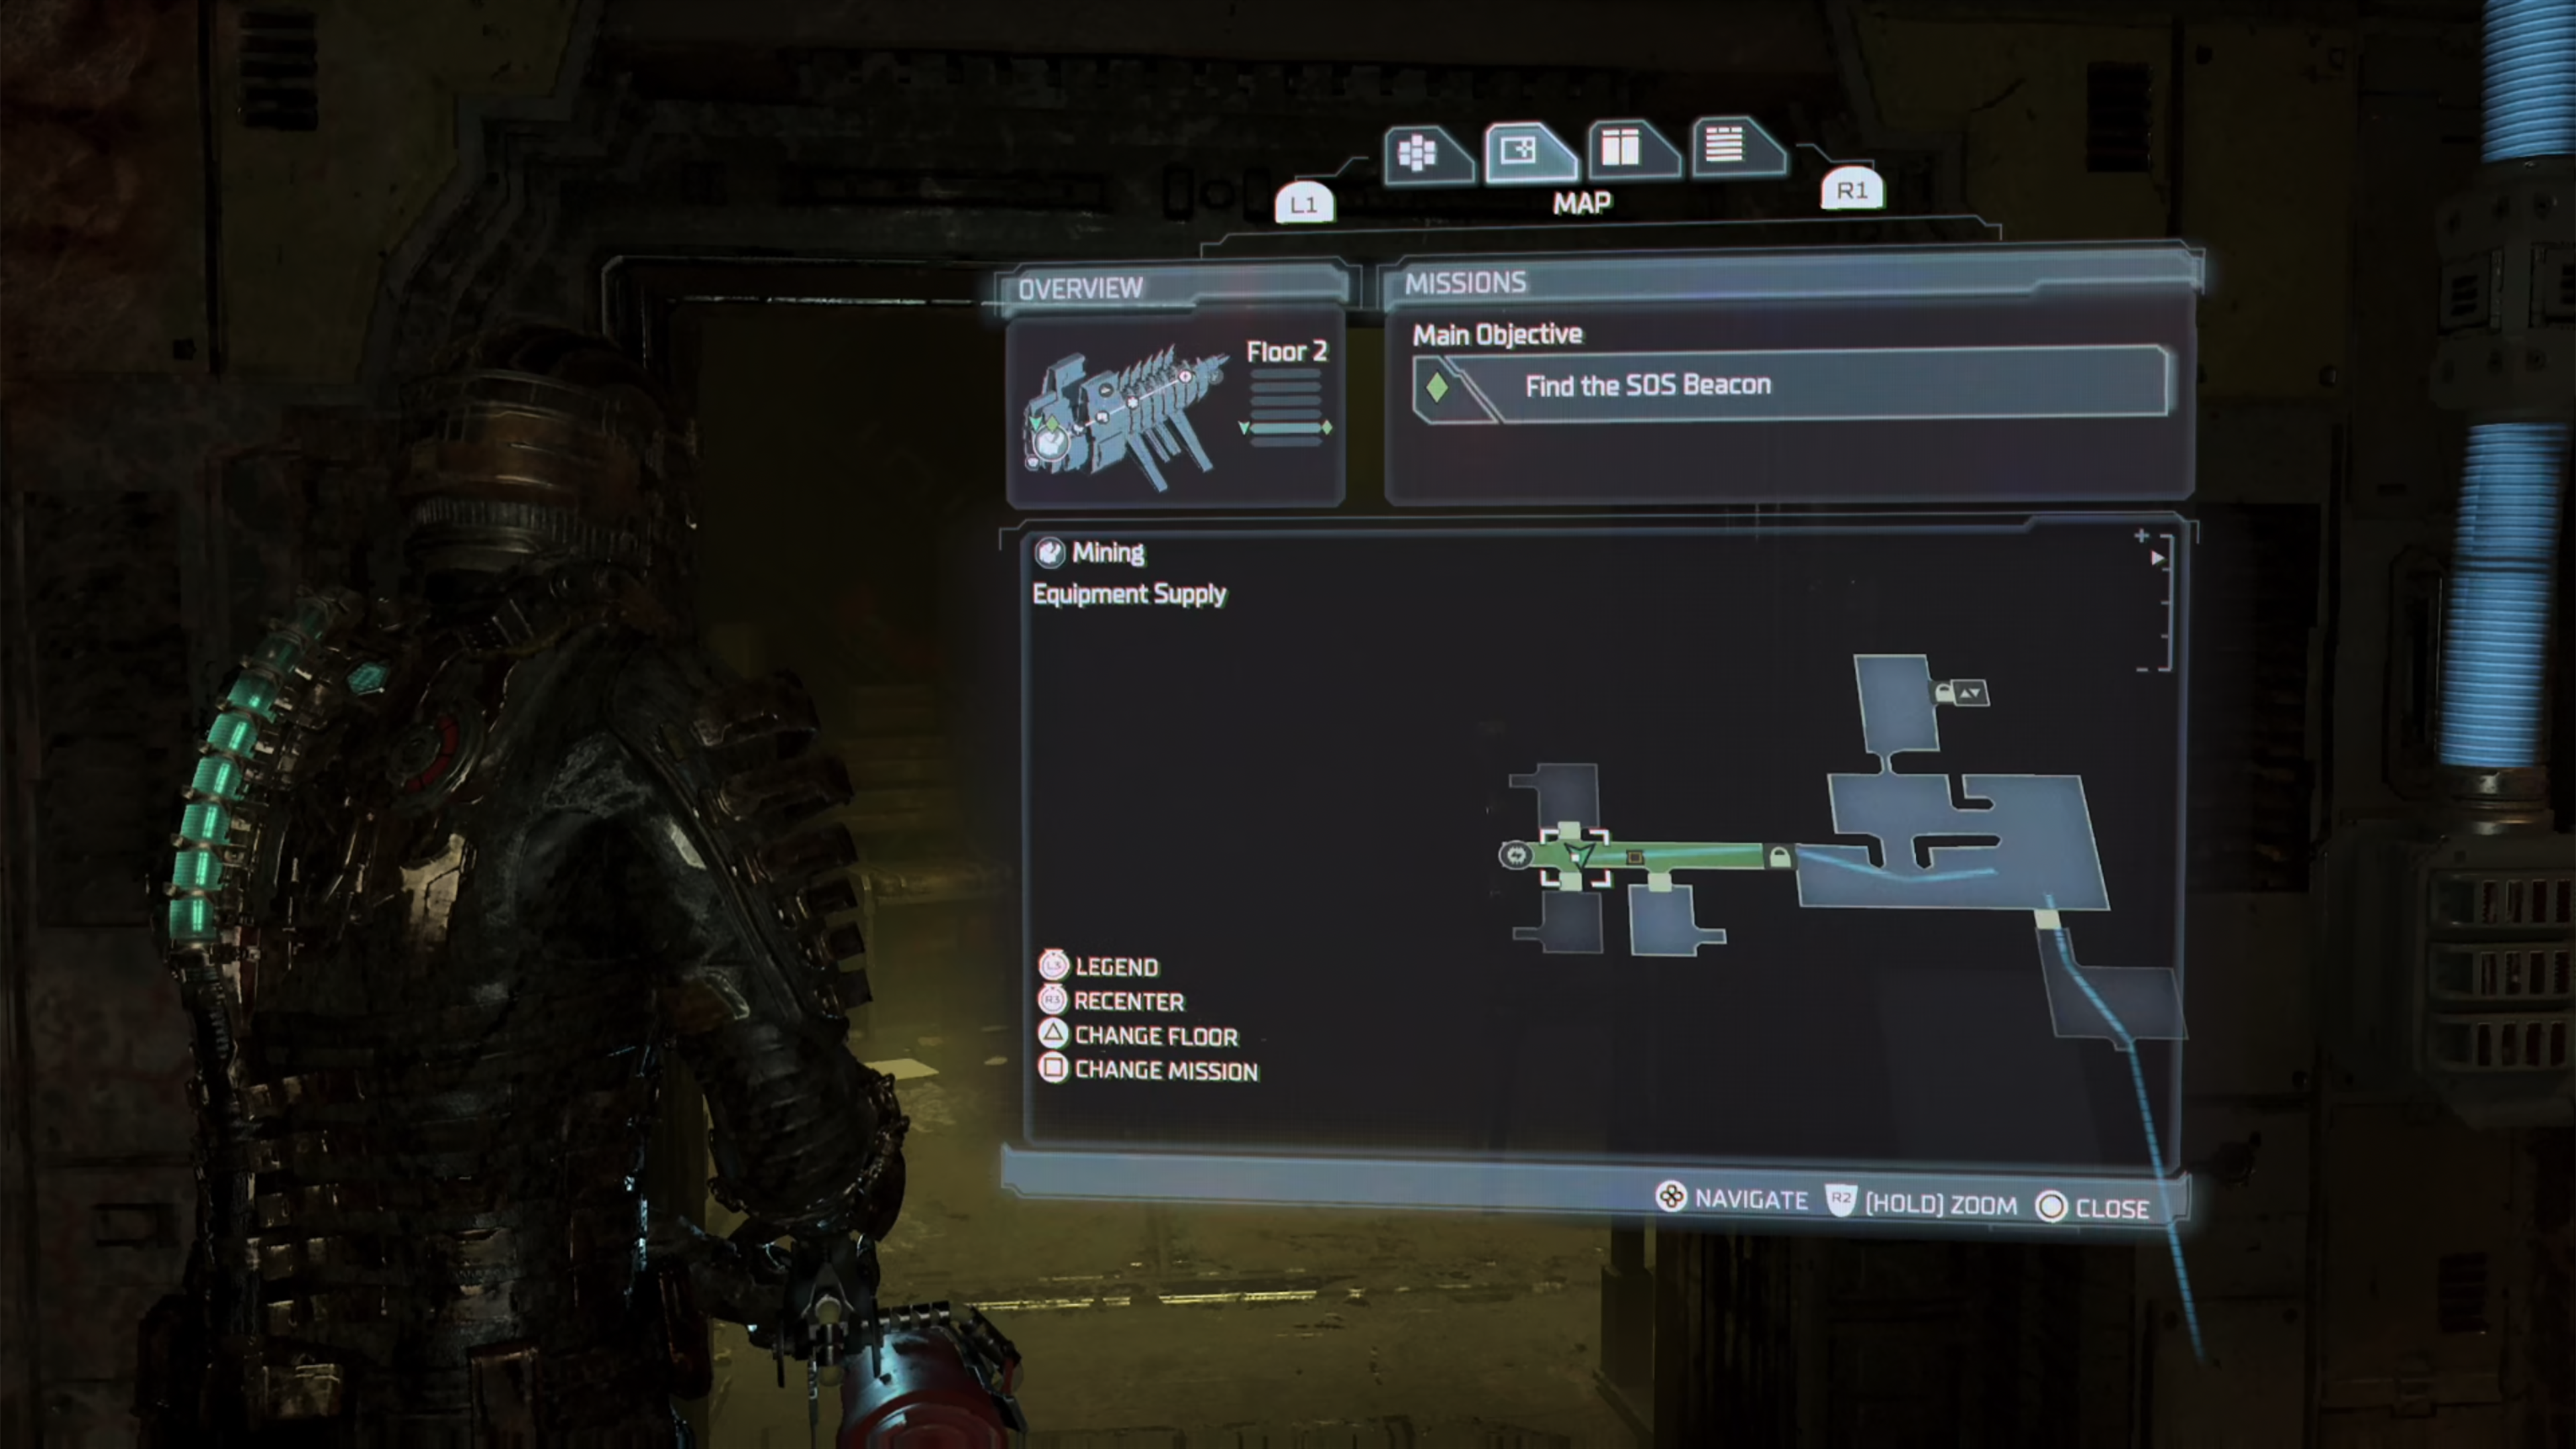
Location: Mining, equipment supply
Recommended Weapons: Flamethrower, Pulse Rifle
“Nicole wanted the help of a Dr. Kyne, to help her find the link between the outbreak and… ‘the marker’. She thought Kyne was somewhere on the mining bridge.”
We need to take a break from this side mission until you unlock Chapter 7, which takes you to the Mining Deck. Follow the quest line until you reach a giant elevator and access its lowest level
So far, your choice of loadout hasn’t really affected things, since you didn’t have much of a choice in Chapter 3. This time around, bringing the right tools to the job will make your life easier.
Once you have reached the last sub-level (Deck D; Maintenance), you will enter a room with four corridors forming a square. There are two flyers here, so dispatch them quickly with the pulse rifle’s secondary fire mode – this will not only kill them, but blast any corpses in the process, which means even if you’re not pretty quick on the trigger, you don’t need to worry about the reanimated necromorph coming to hit you.
Be aware that there is also one of those enemies that cling to the walls with the six tendrils – you know that one; he decapitates you if you get too close and shoots other enemies who shoot at you. Send a third Pulse Rifle mine in its direction to clear the room; if you run out of ammo, there are a few red canisters (explosives) strewn around the room to help you out.
Once it’s done, go through Secure Storage and flip the breaker to Storage 01. It’s not strictly necessary, but it’s worth it while you’re here.
Equip your flamethrower and get ready to burn some of the little robots. Here there’s a locker with Pulse Bullets (you’ll probably need a refill) and a Ruby Semiconductor – grab those then go back to your Pulse Rifle. Two enemies jump on you when you try to leave, so be ready for them.
Storage 02 has two audio logs, including the ones you are looking for for this mission, as well as pulse rounds and line carriers in the lockers.
Note: while you’re here, you probably want to know what’s behind doors 03 and 04. Storage 03 is only a 1-hit wall zombie and 04 is inaccessible due to the grime wall. You can ignore them if you wish.
Scientific Methods Step 4: Investigate Mercer’s Quarters in Dead Space
Accessible from Chapter 10: End Times
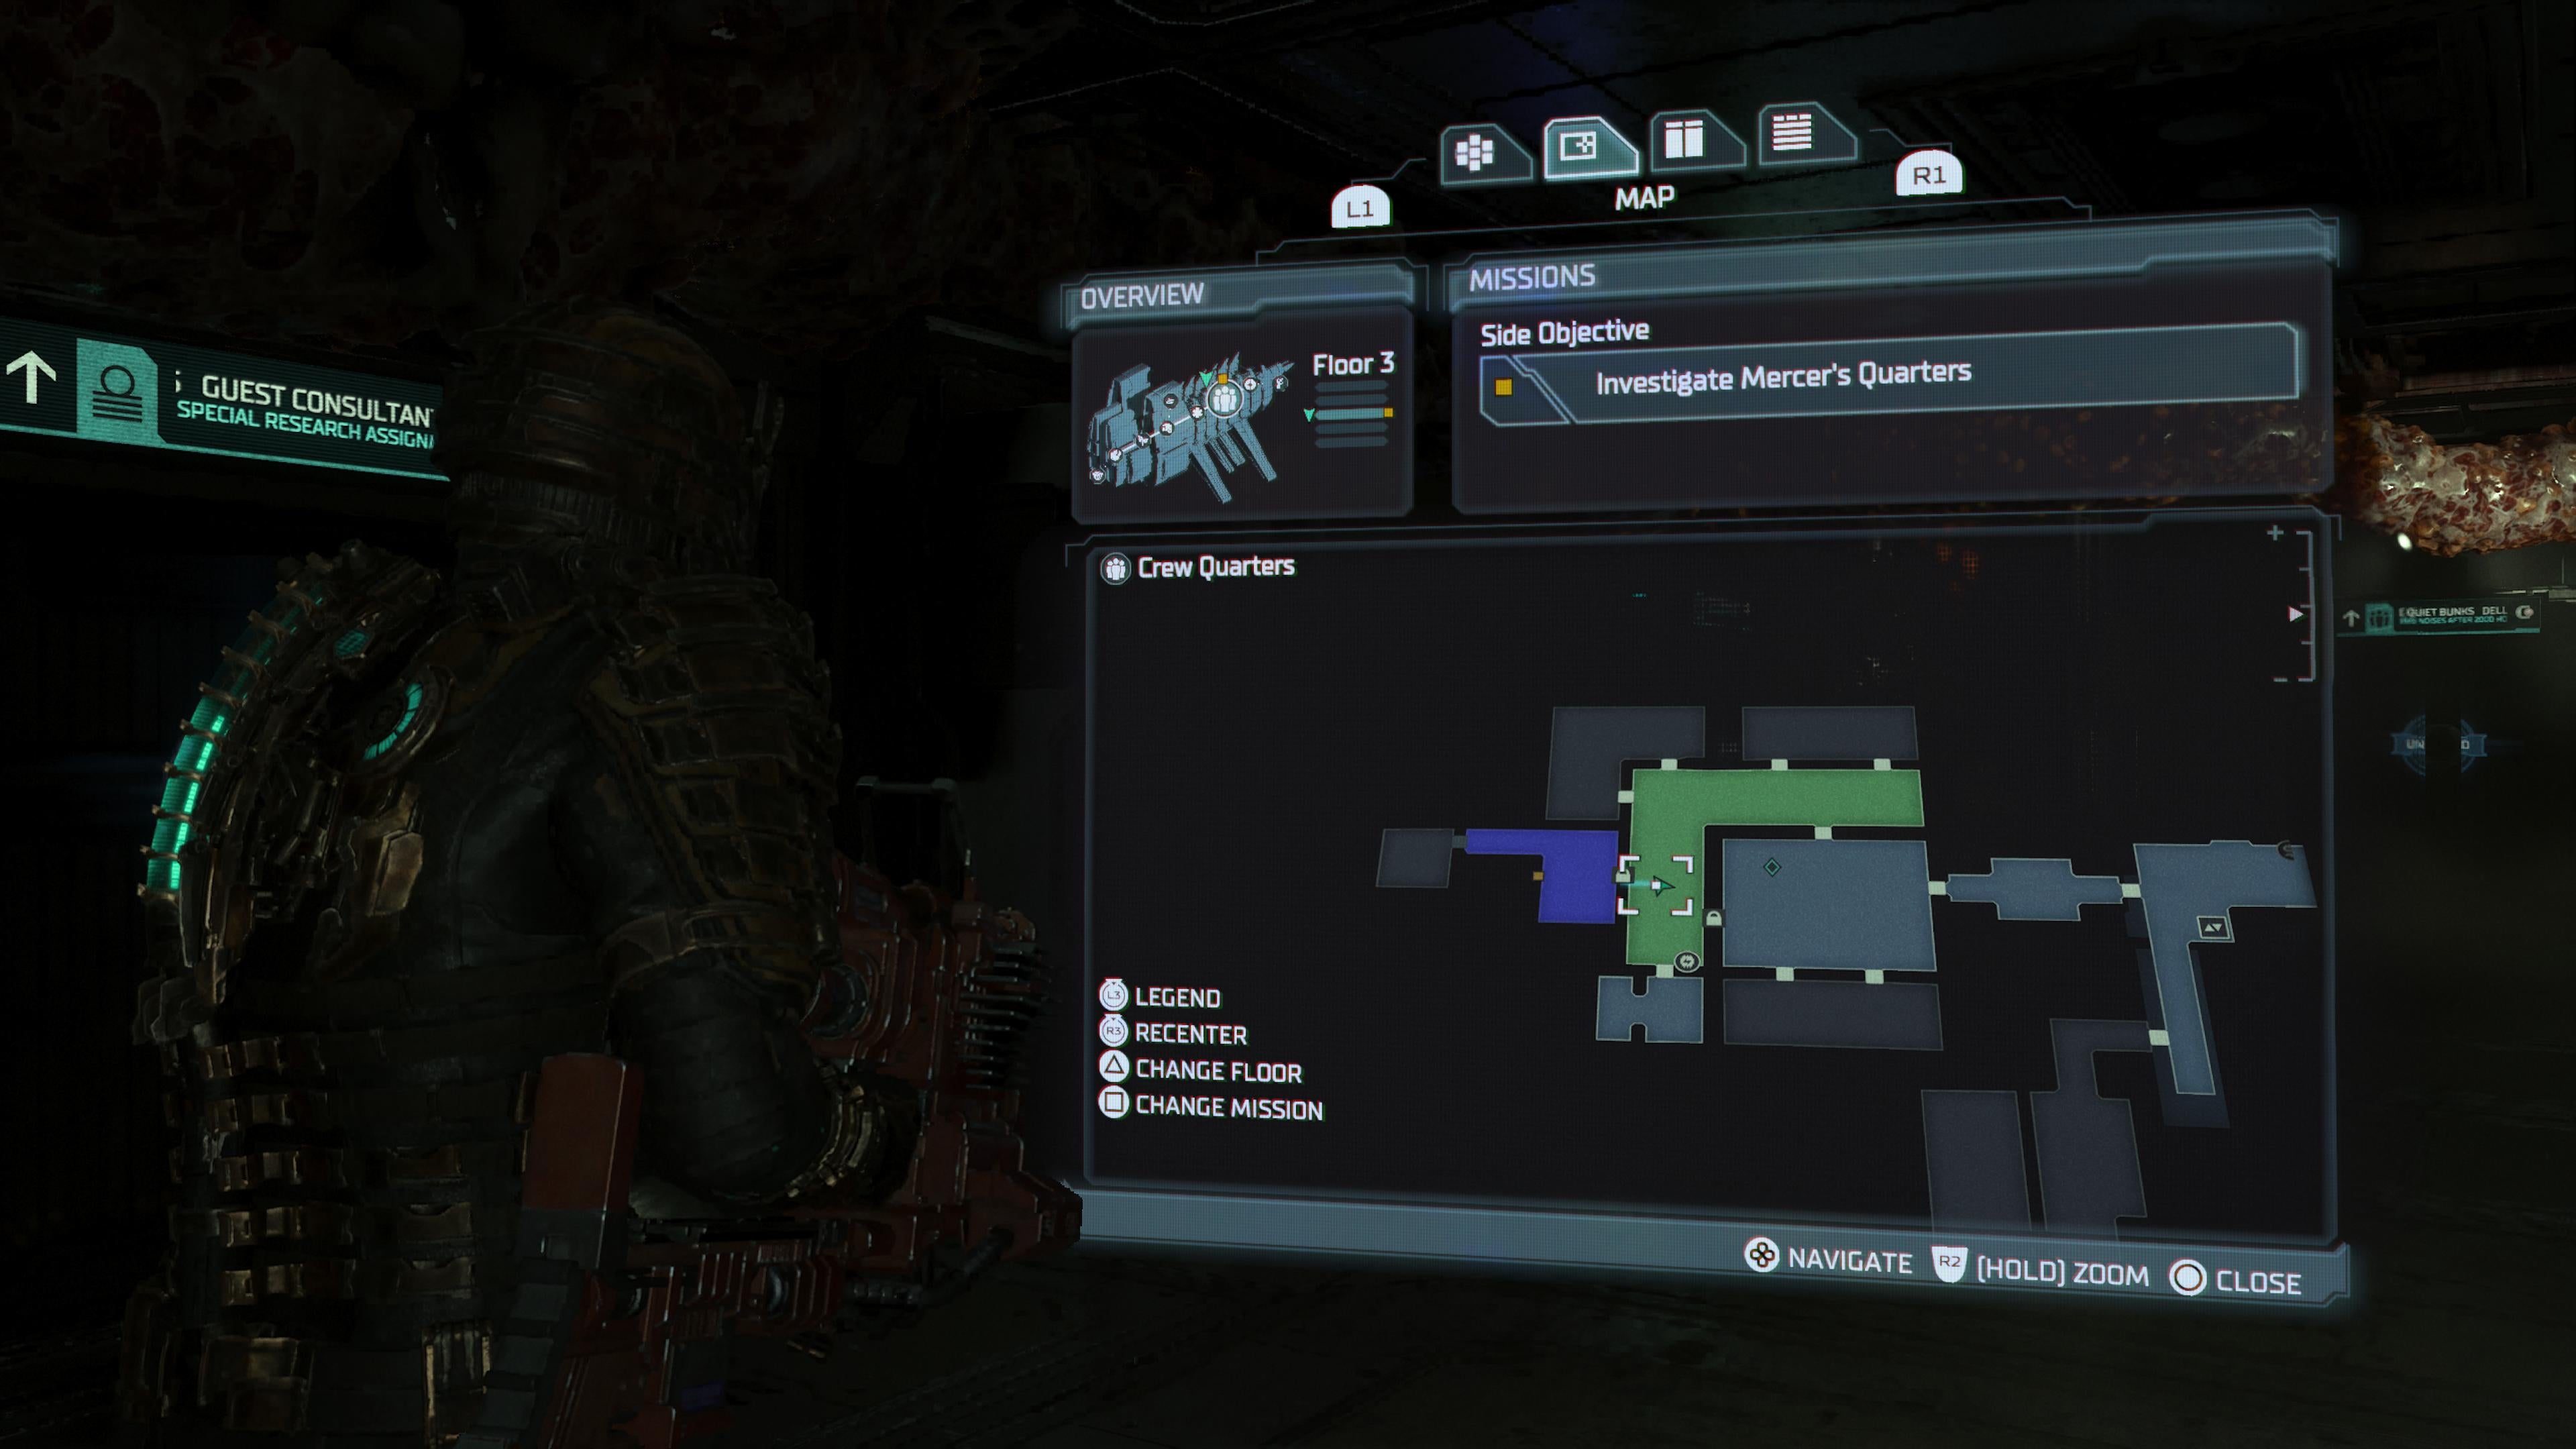
Location: Crew Deck, Crew Quarters
Recommended gear: something explosive, a full Stasis bar
“Kyne said Mercer moved all Marker research to his quarters on the Crew Deck. Nicole… tell me you didn’t fall into a trap. I have to go. I must know.
THE final step of this side mission can be accessed once you get to Chapter 10. There are a few encounters with everyone’s favorite Regenerating Necromorph here – the hunter.
Each time you meet him, blow him up and then Stasis the pieces, this will allow you to put the maximum distance between you two. Remember that as long as you can get two pieces away from him, you can always turn around, go back and pick up whatever you left behind. just make sure to escape him as quickly as possible first!
The route to this stage of the parallel mission is currently blocked by a series of tentacles. When the story mission asks you to destroy the tentacle in the Luxury neighborhoodsyou’re on the right track – switch your tracker to the side mission and follow the orange line to Dr. Mercer’s quarters.
Here you will have to click on the TVs, watch one scene, then go to the back room to watch another scene.
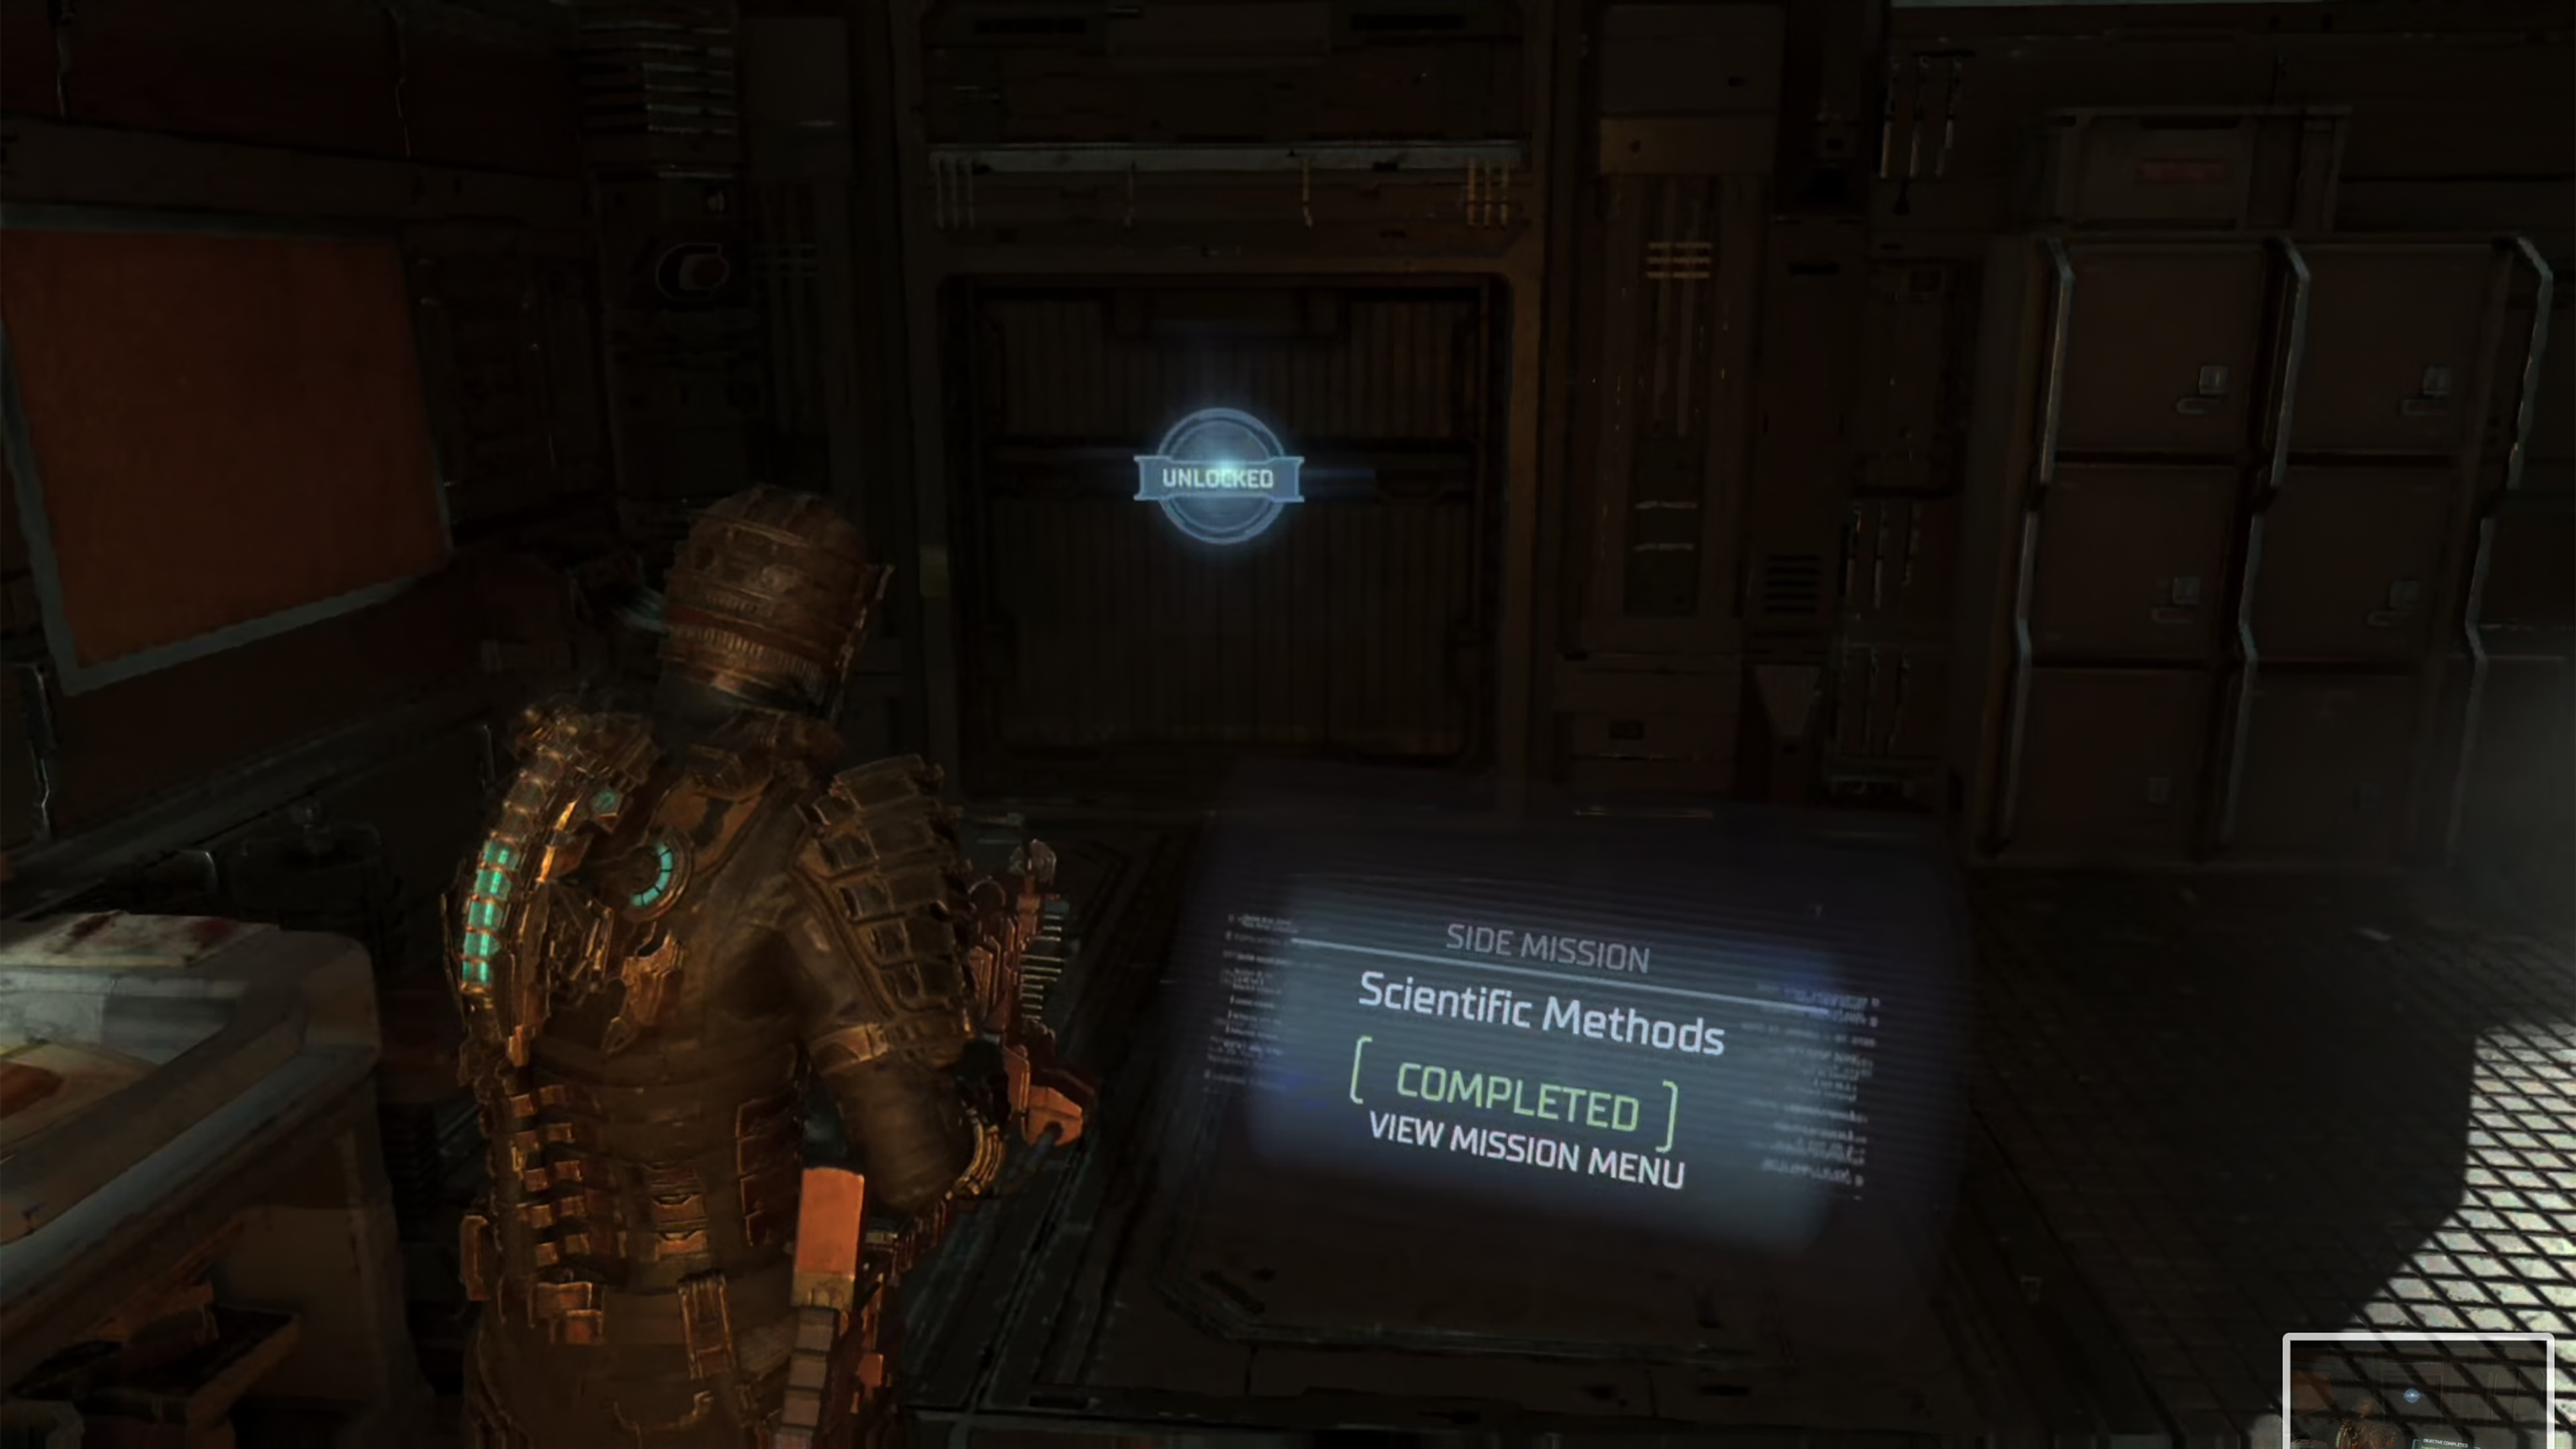
Once done, the Whole Again trophy/achievement will appear. Congratulations on completing the quest!
Table of Contents

