THE Murkwater Catacombs in Elden Ring are a small dungeon in Limgrave.
With enemies that hide behind walls and a handful of useful loot on offer, it’s worth exploring this Elden Ring dungeon when you have the time.
With that in mind, here is our Elden Ring Murkwater Catacombs Walkthrough.
On this page:
Manage cookie settings
Elden Ring Murkwater Catacombs Walkthrough
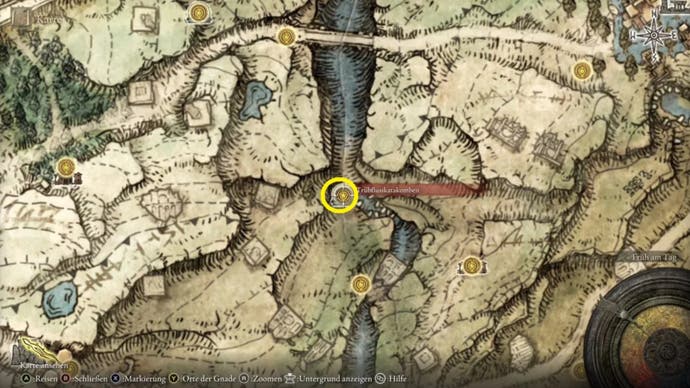
You’ll find the location at the eastern end of West Limgrave, far northeast of the ruins outside the gate, if you follow the river at the northern end of Lake Agheel north. Here’s the location on the world map:
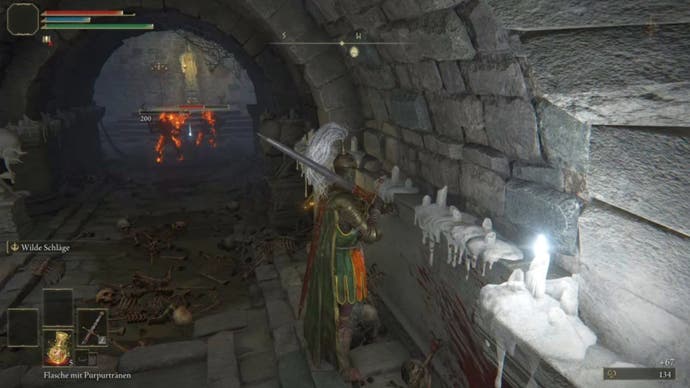
In the first room, there are the same gargoyle-like enemies as in the Stormfoot Catacombs. They stick to the walls and camouflage themselves. A grave gauntlet also grows here.
In the next passage is a floor switch that you can activate to fry the enemies in the room opposite with a flame trap (but take cover to the side yourself).
In the room they were guarding, you will find 5x Root Resin and the lever to open a “heavy door” in the dungeon.
Exit the hallway and take the left hallway on the way back, which will again lead you to a floor switch with a flame trap connected to it.
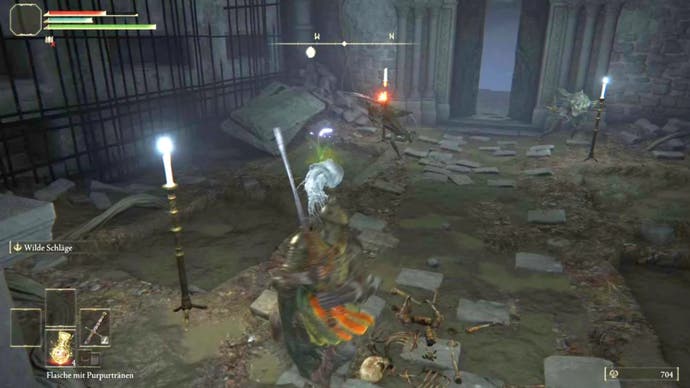
You can also use it to take out the two dwarves next to the open door if you lure them out first. Be careful, another one is coming off the wall wickedly.
Take 1x Ghent Ghost into the room before going through the open door and facing the boss.
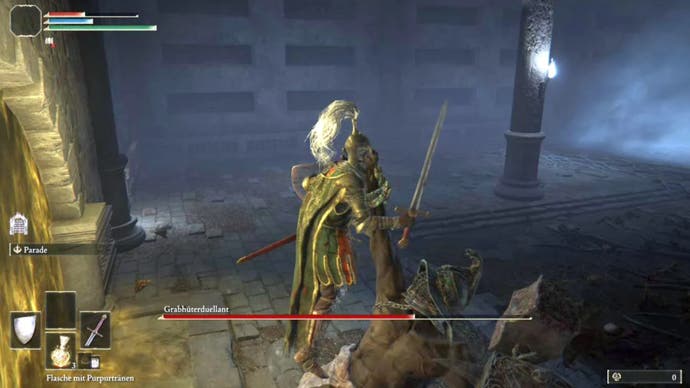
How to Beat the Murkwater Catacombs Tomb Guardian Duelist Boss in Elden Ring
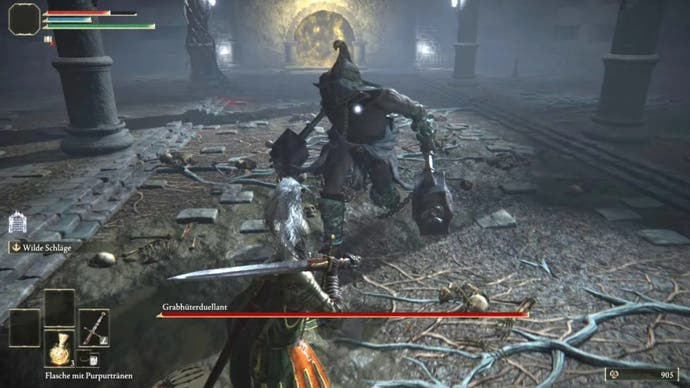
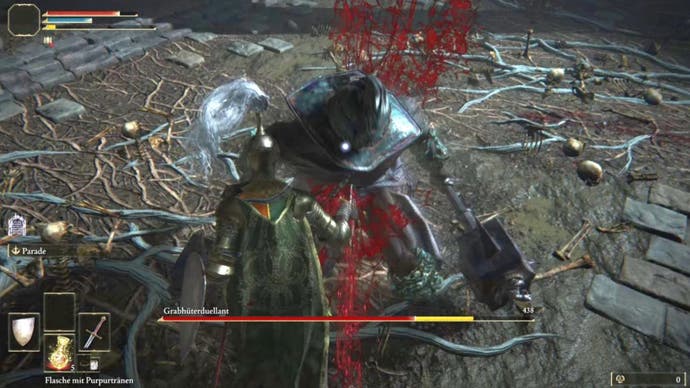
This guy fights with hammers connected by a chain. His attacks are pretty predictable, so it’s easy to avoid them.
First phase
In the first phase, he mainly uses the good old combo of hits and handling, always sideways with the two hammers. Here, you can progress both by dodging and using your shield.
He usually performs four of these horizontal hits before charging up a fifth attack, which really packs a punch (dodge it if possible).
The first four hammer attacks don’t consume enough stamina to seriously knock you down (only the fifth one gets critical). So put up your shield and counterattack immediately after the block is successful.
Every now and then you manage to completely break his position before you can land a killing blow. That’s it for the first phase, which is nothing remarkable.
Very rarely, he tries to grab you with his hand, lifts your body and throws it away. Otherwise, he sticks to standard combos. After a little over a third of his life bar, he enters the second phase.
Second phase
His body glows red and he feels a bit more energetic and faster in his attacks. As in the first phase, the more he charges an attack, the more damage it does and the more it is wise to dodge rather than block (especially if he is preparing the powerful end of a combo).
Basic attacks are the same as before, but you have to be even more careful not to get hit. If you want to cast a summon, this is the perfect time (do it in the middle of the arena if gnomes followed you to the fog gate).
Sometimes he swings the hammers with the chains above his head and covers several meters with the next attack. Jumping attacks are also part of his repertoire (better to dodge here).
Towards the end, he becomes a bit faster and more ruthless, but doesn’t change his attack pattern much. He seems to use jumping attacks more often, so be prepared.
Your rewards for defeating this boss are 1700 runes And Ashes of the Banished Knight Engvall (The Brawl Hammer was previously available here, but this was changed with an update.)
Need help? Return to our Elden Ring boss list or our Elden Ring walkthrough.
Table of Contents


