You can transfer your photos or videos from one cloud platform to another in a single step.
Changing devices is a real hassle, you have to transfer files, images, videos, projects… The same thing happens when you change operating systems, it can even be stressful. Everything is so different… Once you do it, the normal thing is to transfer all your photos to the new platform. In the case of iPhone and iPad, one of the most convenient methods is to transfer photos to iCloud, Apple’s cloud storage system. And if you come from Android, in this guide we explain how you can transfer your photos from Google Photos to iCloud
Additionally, Google Photos’ unlimited storage has ended, so transferring files to iCloud becomes a more than viable option. However, it is not surprising that this is one of the most difficult tasks for you, as well as one of the most important when changing operating systems.
Who would have thought that this would be possible thanks to Google Photos, whose saving of images and videos allows this process to be carried out in a simpler way. In addition, it is possible to do it on both an iPhone and a Mac. Let’s go!
How to transfer photos from Google Photos to Mac or Windows
The mobile version and the web version of Google Photos sync instantly, so support is available in both versions. If you want to completely switch to Apple’s cloud bet, you need to do the following:
- Log in to your Google account and sign in. photo section.
- It will display your entire gallery previously saved in the Google Photos app. NOW select photos that you want to have in your iCloud account.
- Download the selected photos. If you don’t know how to do it, just give click on the three dots located at the top right and click on the option “Download“.
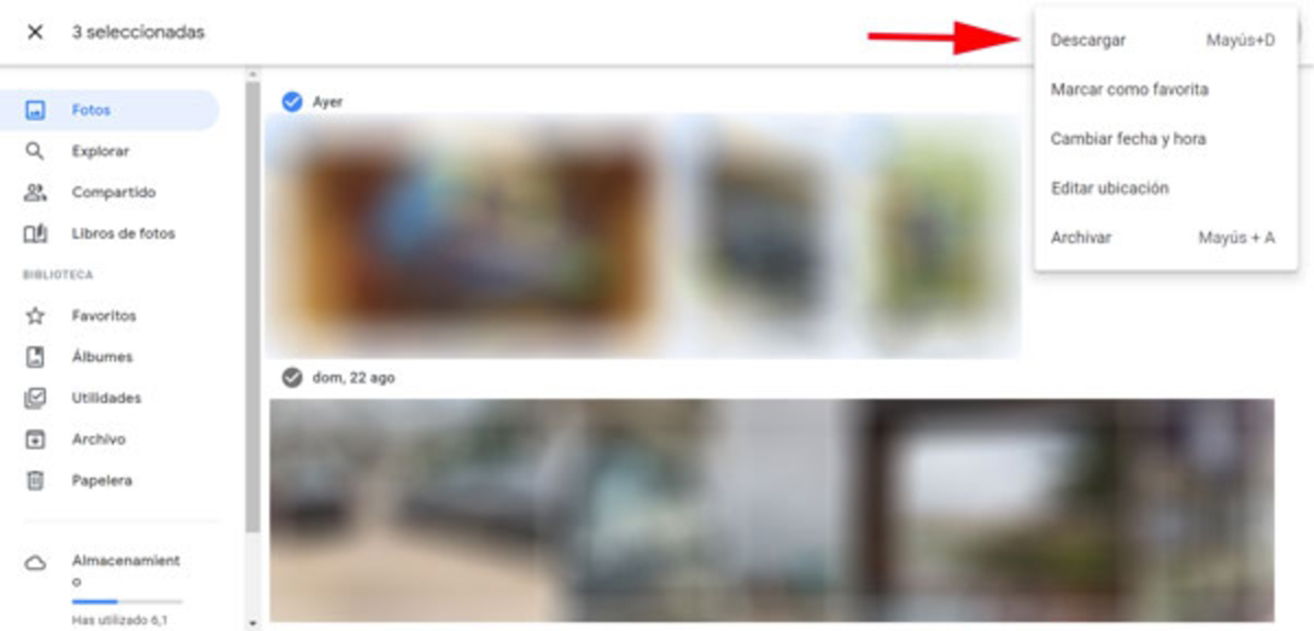
- A process will be launched to download a .RAR file. Then you will have to unzip the file and you will have all your photos and videos.
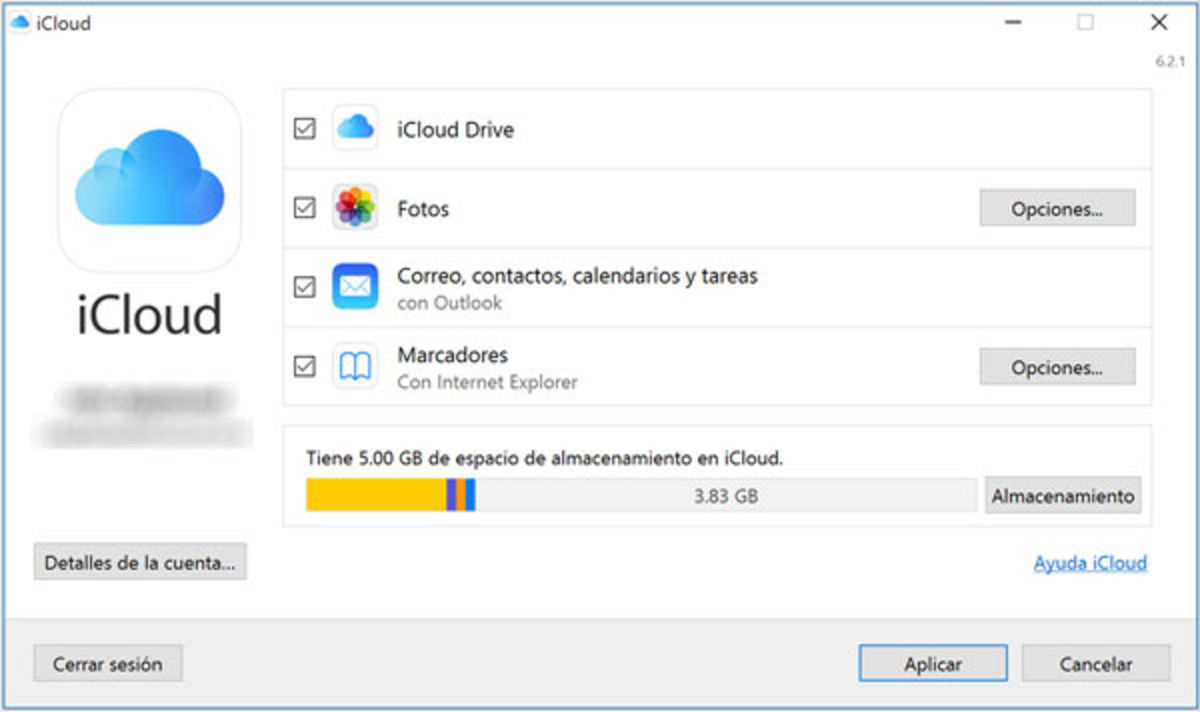
- Log in to iCloud and tap the button photos icon. When you see the cloud symbol, click to download the media files you downloaded previously and click ‘To carry‘. After a short wait, the process will complete and you will have everything in iCloud.
How to Transfer Photos from Google Photos to iPhone
Now is the time to do the same thing as in the previous section, but from your mobile. If you want to have all your photos directly on your iPhone and don’t want to transfer them to your computer, you need to follow a series of steps other than transferring files from Google Drive. Google Photos has its own application for iOS, so thanks to this the process will be much simpler:
- Launch the Google Photos app from your iPhone. If the application asks to enable backup, you shouldn’t give him access.
- Look for the section “Albums” in the application. Your photo gallery is stored there, so select and hold each of the photos you want to save to your iCloud. To speed up the process, if you want to browse the gallery you can click on “Select all“.
- Finally, press the “Share” located at the top and select the option “Save images» and that’s it. If the option does not appear, click ‘Further‘. All marked photos will be saved on your mobile and on your iCloud.
Without a doubt, it is a very personal decision, since you must take into account the space that each platform offers you. Despite the unlimited storage restriction, Google Photos still has 15 GB free, while iCloud only has 5 GB. If you do this, it’s because all your devices belong to the Apple ecosystem.
What if you took the opposite step to switch to Google Photos?
The question is, if you don’t want to pay to have more than 5 GB, you can do the reverse step by switching from iCloud to Google Photos. At iPadizate we have an article that talks in more detail about this process, with the conditions to take into account when transferring these files from Apple to Google. However, at roughly you must do the following:
- Go to Privacy.apple.com and sign in with your Apple ID.
- Now click on Transfer a copy of your data.
- You will enter a page where you will see how many images and videos will be copied from iCloud Photos and how many they will occupy.
- Below you will see a box where the the only option is Google Photos.
- You can specify if you wish transfer photos, videos or both.
- Credit ”Continue” and you will need to log in to Google with your account.
- Apple I will notify by email of your transfer request and when the transfer is complete.
These are all the options you have to transfer media files and keep them safe. Another detail that you should keep in mind is to make a regular backup so as not to run the risk of losing your photos or videos the next time you change your phone.
You can follow iPadized on Facebook, WhatsApp, Twitter (X) or check out our Telegram channel to stay up to date with the latest tech news.
Table of Contents

