It is a video and music player, which allows legal access to streaming platforms, supports loading IPTV lists and is so versatile that it is enough to load an add-on for Kodi to adapt to any multimedia environment. And it is almost infinitely customizable: if you change your skin it will be different.
By default, Kodi’s interface is not very attractive, even if it is functional enough. At least when you get used to using the Media Center, since Kodi can be overwhelming at first. Different categories of content, thousands of additions in the form of add-ons, configurations… And it also includes enormous customization, not very accessible at first glance.
Kodi Skins, completely change your Android TV
Kodi on Android TV with Amazon FireOS interface
As I said, Kodi’s generic look places more emphasis on functionality than aesthetics. Blue background, black menus with white letters and no outline of the buttons… This is what it looked like to me from the beginning, the times I used it I didn’t need anything else. Although I recognize that by giving it a different touch, the experience changes color. And that’s literal.

So how to change the look of Kodi on Android TV? The first thing is to clarify that the operation of the application is similar on all devices, whether it is a mobile phone, a television or a portable music player. They support all skins to give a new look to the interface. And the good news is that these skins (anyone remember the legendary Winamp?) are downloaded from Kodi itself.
- Download the Kodi app on Android TV.
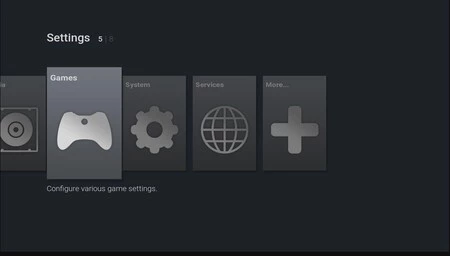
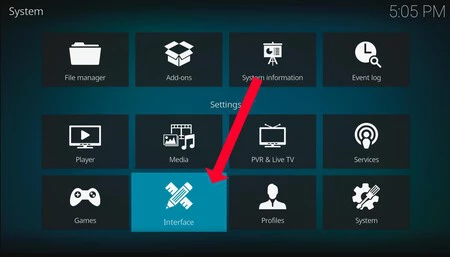
- Tap the gear at the top left of the screen and enter “Interface”.
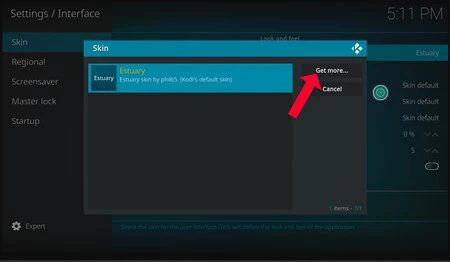
- You will see that, by default, you have the active “Stuary” skin. Hit it there.
- Click “Get More” to download new skins for your Kodi.
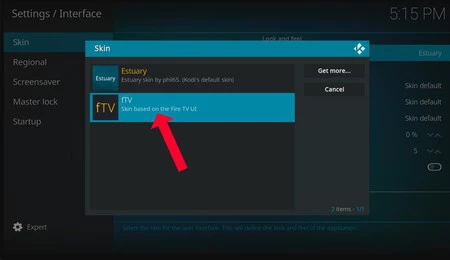
- You have several skins to download and apply directly. You can choose whichever one you want, although you won’t see what it looks like until you apply it to your Android TV (you can get an idea of what it looks like on the web). I opted for “FTV”, an interface that resembles that of Amazon Fire TV.
- Click OK on the desired skin and Kodi will download and install it on your Android TV.
- Return to the interface selector, click “Skin” and choose the one you downloaded. In my case, FTV. Accept with ok on the remote control.
- Accept the “Keep Skin” message. And that’s it.
- You can change skins as many times as you want until you find the one you like the most.
Once the theme is applied, your Kodi will have completely mutated. And each skin allows, in turn, customizations: you can activate or deactivate functions, delete categories from the access menus, from the shutdown menu… The number of options is vast.
All skins can be downloaded from Kodi itself and activated/customized from there
It is worth customizing the appearance of the interface, not only in the graphical appearance, but also in the menus: the more you specify Kodi’s features, the more you will benefit from them. And without wasting time diving with the controller between menus.
Cover image | Modified mid-term
In Xataka Android | This camera app promises something that any stock Android phone already does. It is nevertheless among the most downloaded on Google Play
In Xataka Android | How to access your router from your mobile and configure it with 192.168.1.1