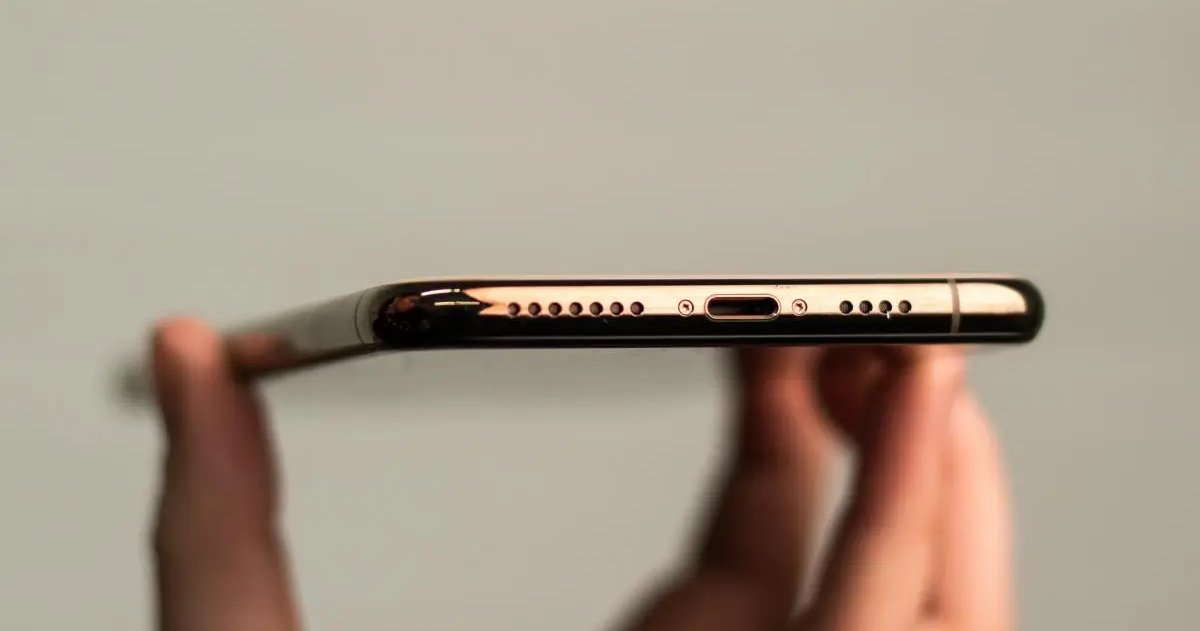
If you are having audio issues on your iPhone, then stay calm and follow these tips to find the possible solution.
A few weeks ago I had problems with audio with him speaker and the microphone from my iPhone XR and was very concerned about the issue. If this is also your case, whatever your iPhone model, know that this is not an irrational concern since Apple mobile phones have a very high price and it is a real nuisance that they have any type. of problem.
Anyway, after several attempts I managed to fix the audio issue without having to go through mic and / or speaker repair on the iPhone. And it was a relief! The point is that the microphone was recording my audio messages poorly, with a very low volume, and the sound was heard with excessive noise.
Most importantly, when I detected this issue, my iPhone had not experienced any bumps or serious issues. It was very relaxed. So I think my experience might help you unravel the decision in case the sound from your iPhone speakers is not working properly, because in most cases it is wear or dust accumulation. Relax, everything in this life has a solution. Let’s get started!
How to fix sound issues on your iPhone speakers
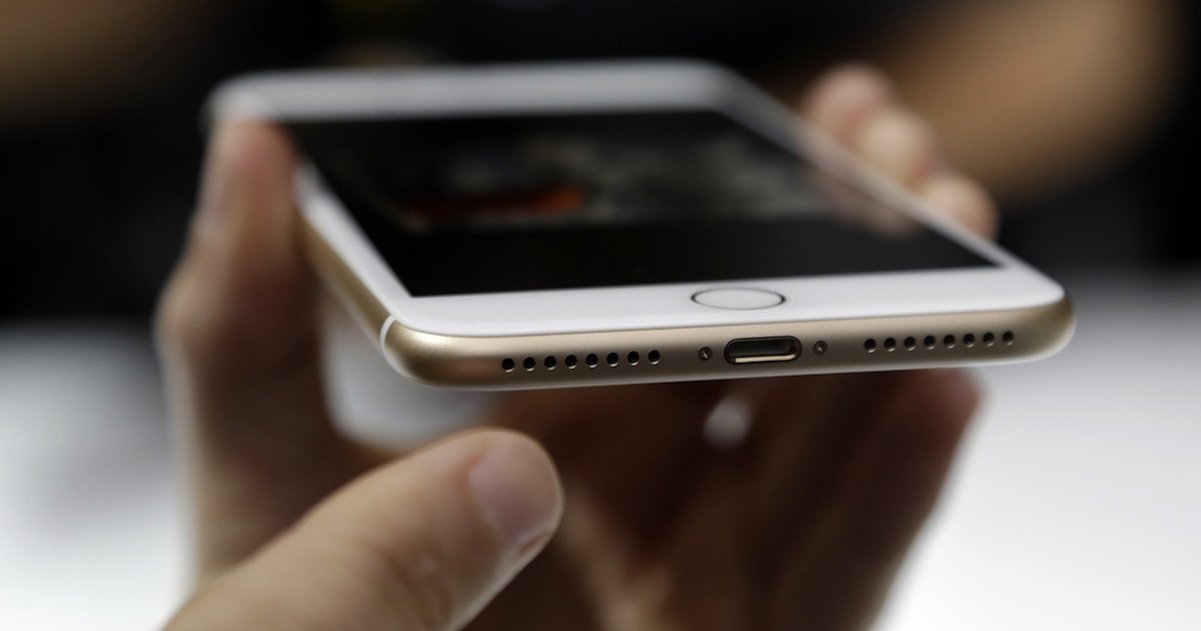
Speakers from a previous generation iPhone model.
Before we start, I will tell you how I could fix my audio problem on iPhone in case that helps or so that you more or less know where to go in a similar situation. I tried various tricks that I knew after so many years of using Apple cell phones.
I first tried with the bristles of a toothbrush, then with the classic earphone, by cleaning the Lightning USB port – which incidentally had accumulated an immense amount of dust – and finally by using VERY CAREFUL a toothpick for cleaning the ears. holes at the bottom of the iPhone. Nothing worked. It did not work.
So finally, as a final measure, I opted for a slightly more drastic method. Since my cell phone is water resistant, I put the iPhone XR in a pitcher of lukewarm water and waited a few minutes, just I shook it lightly several times in the water for more effect. I took it out of the water, dried it thoroughly with a rag, cleaned the holes thoroughly again, and let it dry on a blanket (not covering the holes) for about 10 minutes.
The speaker audio problem has been fixed … and so has the microphone! Of course, at first the sound was a bit distorted from the water, but after 10 minutes it dried up and everything returned to normal. If this little one doesn’t work for you point, there are other alternatives that can help.
1. Check the switch to mute the sound
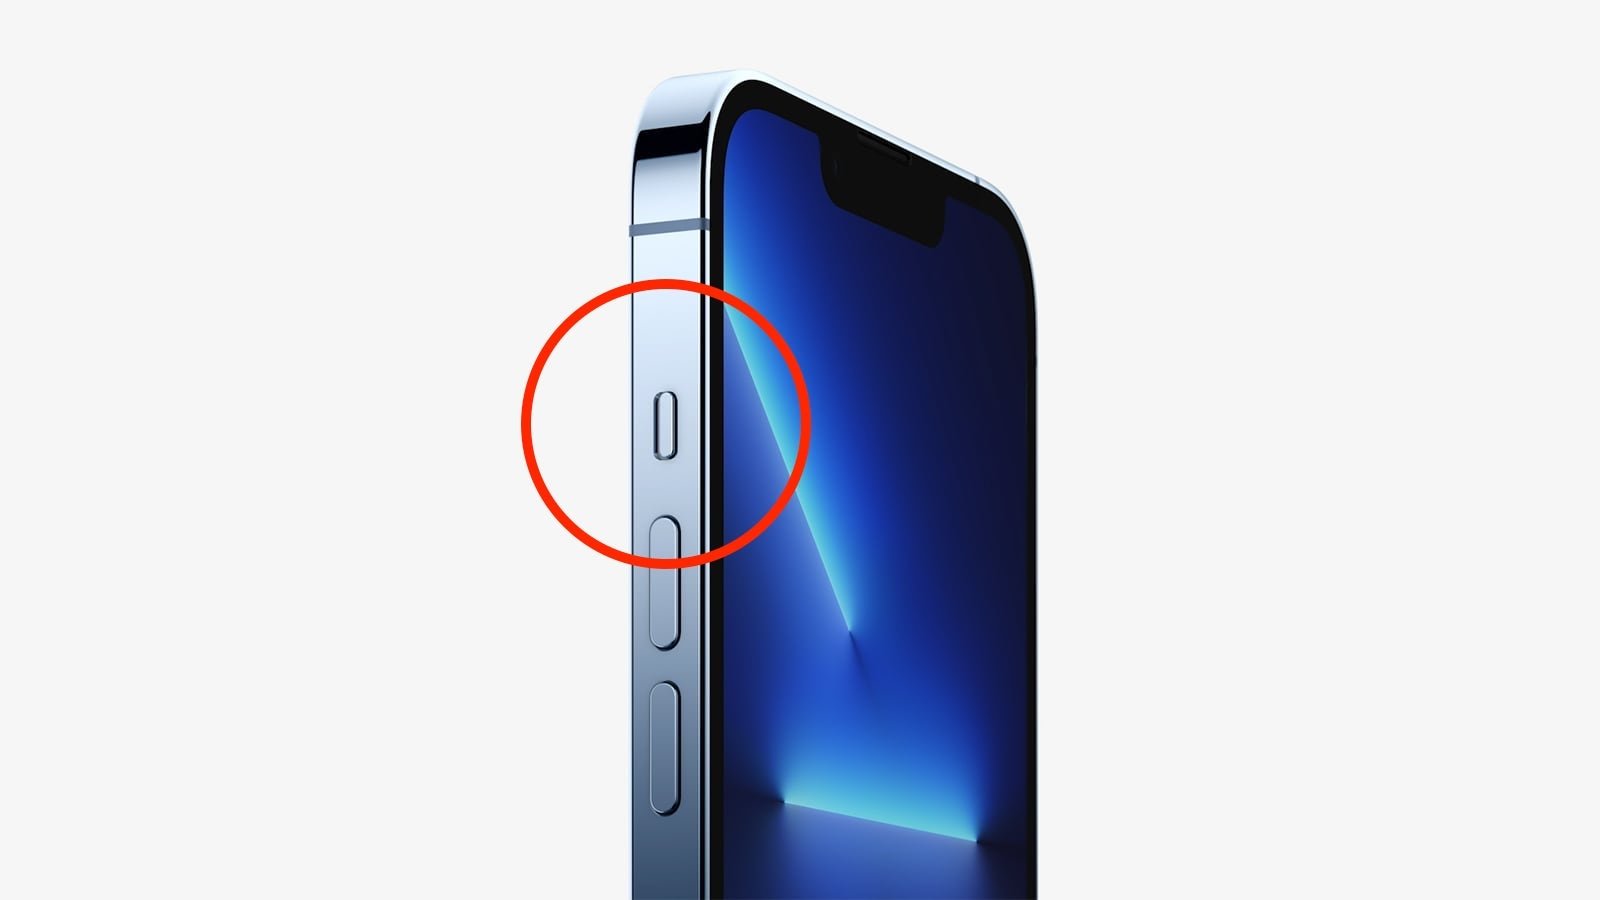
Side switch to mute the sound.
It might sound like a lot of bullshit, but even today after so many years I still have the same problem thinking that the sound is not working and that the problem is simply that the side switch to mute the sound is activated. And the fact is that many sound problems can lead us to think that it is hardware, when in many cases it is software.
If your iPhone recently lost sound, the first thing to check is that the side switch is turned off. Personally, I recommend turning it on and off multiple times, as there are times when the software is bugea and it remains silent even if it is disabled.
If the color of the switch is orange it means that the sound of your iPhone is deactivated. If the switch is closer to the device screen, audio will be active.
2. Restart your iPhone
The next step to check if your iPhone’s audio is muted is to restart your iPhone. But before that, I also recommend that you access Settings> Sound and vibration to check that all is well.
Then press and hold the lock and volume buttons to restart or turn your phone off to turn it back on. Sometimes software bugs are easily fixed this way.
3. Disable Bluetooth connectivity
Bluetooth is another possible process that can interrupt sound. If it is enabled, it could mean that one of the devices with which you are listening to the audio could continue to reproduce the sound.
Disable Bluetooth connectivity from Control Center or from Adjust> Bluetooth.
4. Clean the speaker holes
The accumulation of dust and dirt inside the audio output ports is the main cause of the sound problems of cellphones with the biting logo signature.
The best thing to do to clean such a sensitive surface is a soft bristle brush, with patience and great care. You can also use a cloth and clip, as you will see in the video we have attached. Alternatively, you can also use a little rubbing alcohol and a microfiber cloth. This way, it is very likely that you can clean all the dust and dirt from the speaker (or microphone) and the sound will return to normal.
Where are your iPhone speakers?
Important note, Apple smartphone speakers are usually always at the bottom of the device, on either side of the Lightning USB port. But the sound can also come from above, into the loudspeaker slot for calls.
Check out this diagram from Apple to check the position of your iPhone speakers:
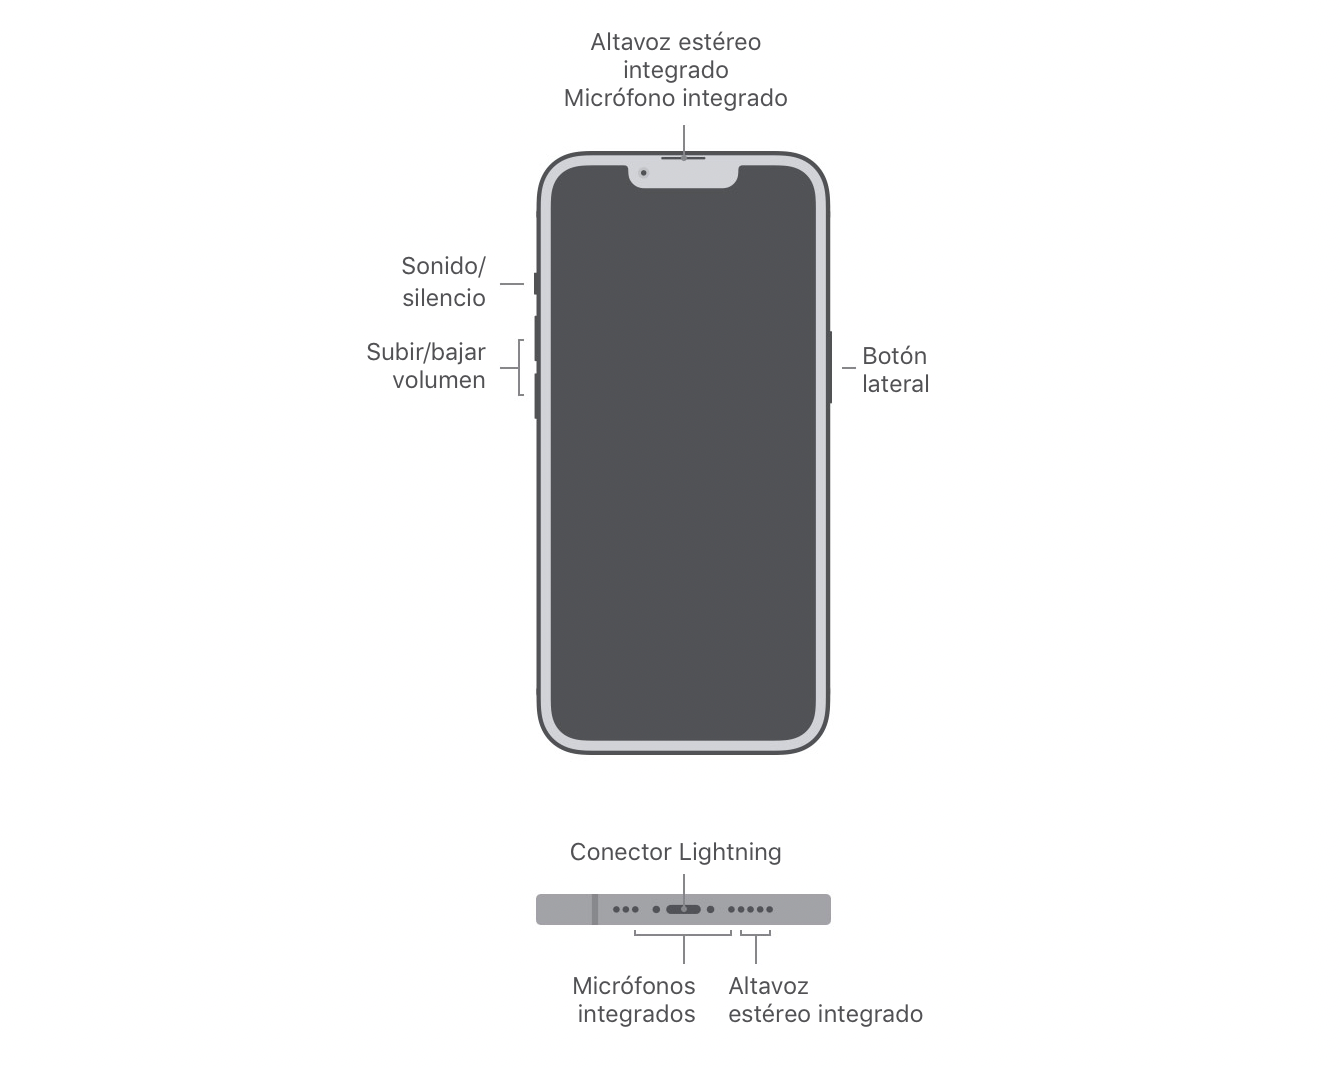
Orientation diagram of the speakers and microphones of the Apple iPhone 13 Pro.
You can check the sound from the stereo speaker in the upper area via phone call and stereo speakers in the lower part with video from your photo albums, song or just audio from WhatsApp.
On the other hand, to find out if the problem is with the primary microphone or the secondary microphone, you can try recording audio via video with the front camera and recording audio via video from the rear camera. Video from the front FaceTime camera uses the upper microphone while video from the rear camera uses the lower microphone.
In case, unfortunately, none of the previously mentioned methods failed to resolve your audio issue, then don’t despair just yet. Remember that you also need to update the software to the latest version of your operating system, restore all your iPhone settings, or finally bring your terminal to the Apple repair program.
Related topics: Tutorials
Subscribe to Disney + for only $ 8.99!
Table of Contents

