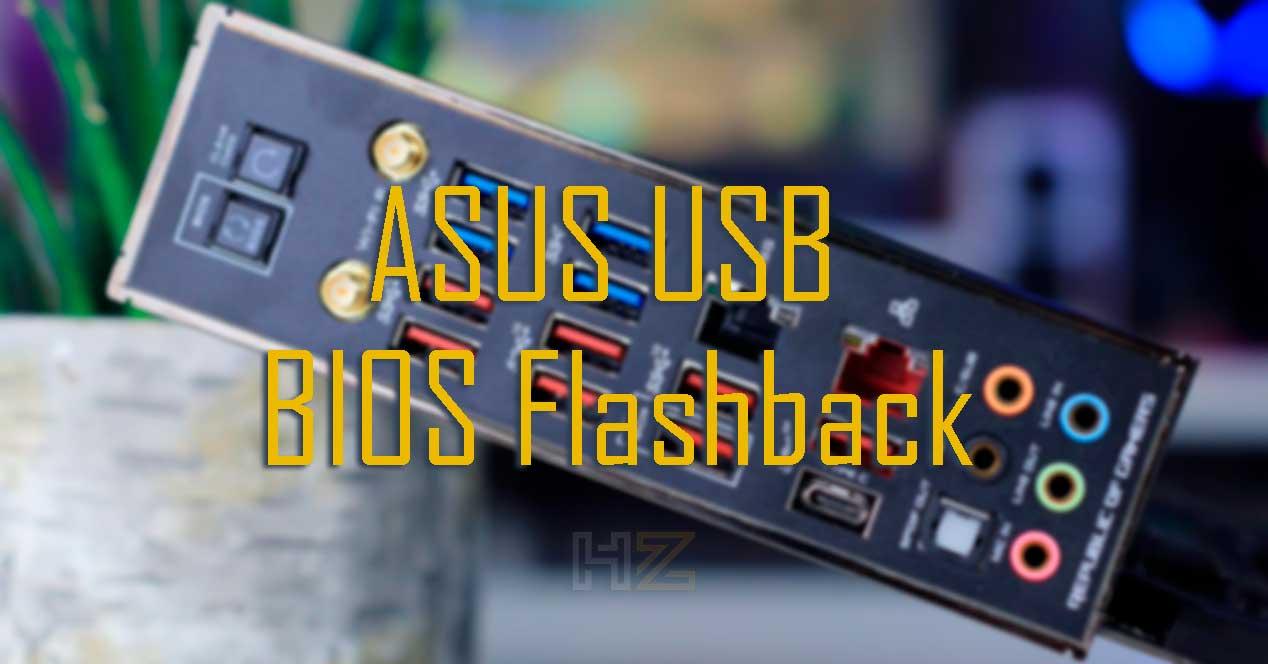
It is true that all ASUS motherboards do not have this option and that in case we had a problem with the BIOS, the only easy solution to look at is having a double BIOS, when if it doesn't have the process it becomes complicated.
The number of models does not stop growing and as a rule, several ranges include the USB BIOS Flashback: STRIX, ROG, PRIME and others TUF. To make a decision, it is best to go to our model website or consult the user's manual, where it should arrive if they are compatible with or not with this recovery plan.
USB BIOS Flashback: restore your motherboard in simple steps

First and foremost as a logical step, we need to know the exact model of the motherboard we have. This can easily be seen on a silkscreen of a pl ate or in code printed on a white sticker.
This can be front or rear. Once we know what our model really is, we'll have to go to its associated website and download the latest version of BIOS available.
When uploaded to another PC, the file can have a very long name that terminates in the .CAP extension To use USB BIOS Flashback we will have to change the specified BIOS file name to get another compact, specified on those boards.
With this ASUS can help BIOSRenamer, that the only thing that will make the name change is right. There is no reason to use it if we already know the name that we have to assign to the BIOS, because in organizations or registers themselves they specify it, that is, if we know that we can change it just like any other file.
A flash drive is required for FAT16 or FAT32

As expected, BIOS flashing will be done via USB. To do this we need a pendrive formatted in FAT16 or 32, after which we will present a renamed file with a .CAP extension at its root.
When the PC is turned off but vigorously, we will have to go to the back of our ASUS board and according to the manual of that tag, we will have a USB port enabled as USB BIOS Flashback Port and also a button called BIOS and it's called BIOS Flashback button.
In each woman code is presented in a different way, so it's something for a particular model so you need to know who they are so you don't waste time.

When you find it, click on the USB stick that this book tells us, after which we have to press the Flashback button for 3 seconds.
At that time, the button's LED will start flashing up to 3 times, indicating that the lighting process has started. Clicking will take several minutes, in some cases and some less, especially when there is a microcode update between the installed version and the new version.
Obviously, we should not remove the USB stick or turn on the PC or do any other work during this process.

When the LED is turned off it will indicate that the update is successfully completed. If instead the LED flashes for 5 seconds and then lights up continuously, this indicates that the update has failed.
If all goes well, we can turn on our PC and re-enter the BIOS configuration parameters that we believe are needed.


