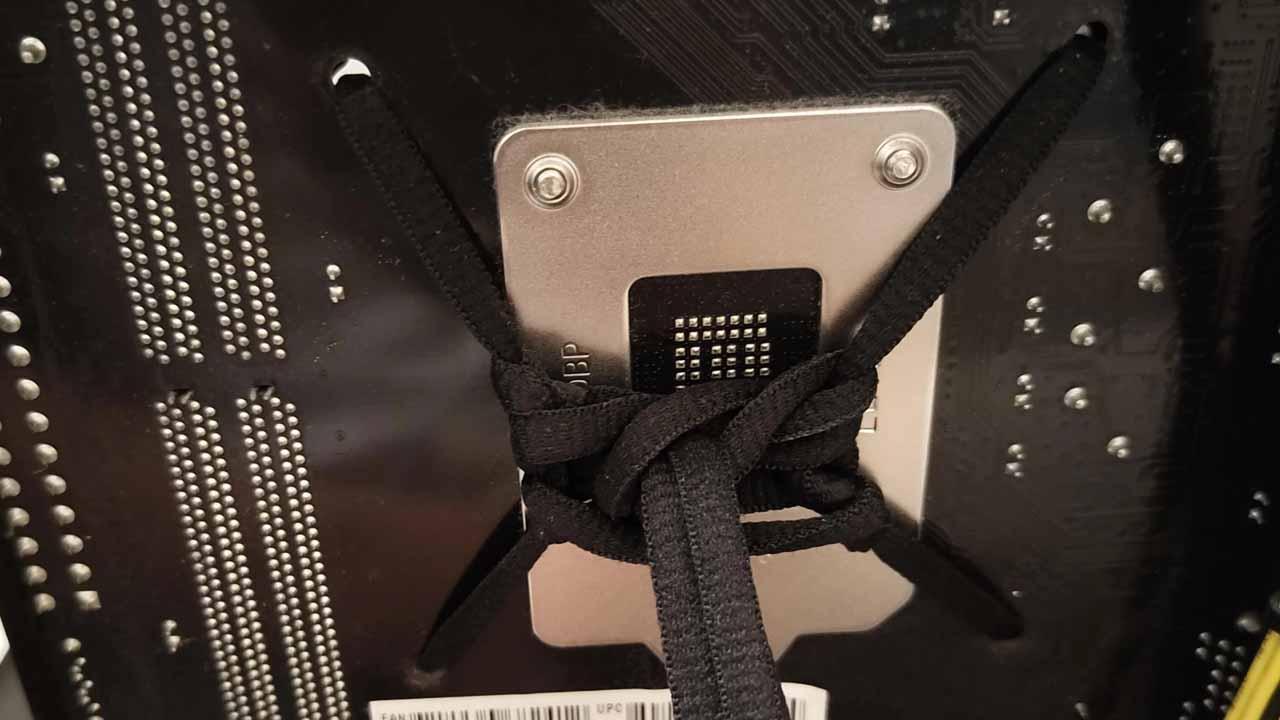
Install a new heat sink For the processor, it’s a relatively simple process, especially if you follow the manufacturer’s instruction manual. However, even though there is not much mystery, you have to be a little careful and quite delicate, because there are people who think that in order for the problem to be properly repaired, you have to tighten the screws as much as possible, and this could have consequences. We tell you.
Whether you are installing an air cooler or a liquid cooling kit, you will need to tighten a few screws (for now, only some stock coolers can be fitted without tools), and for this we often use electric screwdriverswhich generally apply more force than we would apply doing it by hand with a screwdriver…well, be careful with that.
Be careful when tightening the heatsink screws
We’ll start by saying that you shouldn’t be afraid either. Yes, you can actually end up damaging yourself by over-tightening screws when installing a heatsink, but the truth is that you would have to be a real “beast” or use an electric screwdriver with too much force for that to happen. this happens. In addition, in relatively modern heatsinks, the screws have a stop which does not allow them to be tightened any further, so you should not worry too much (although our advice is to never “be stupid” by tightening the screws when ‘this is a PC).
Taking an air cooler as an example, the first screws you need to install and tighten are the ones that connect the brackets to the backplate. These screws generally have a rubber washer so as not to damage the PCB, but be careful because not all of them have one and they will literally rub against the motherboard PCB. In fact, these are the screws that need to be tightened the least, precisely because the motherboard PCB is a very delicate element that we do not want to damage.
Our advice: press gently all the way, then turn an additional quarter turn with force. Until then, do not tighten any more because although in some heatsinks it may seem a little loose, this will be compensated for when installing the heatsink later.
On the screws you see above, to install the bracket that supports (forgive the redundancy) the heatsink, you can use a little more force without problem. Now, if you overdo it, what you can damage is the threads of these screws or the previous screws, so don’t overdo it either. Our recommendation is to also tighten them until they reach a certain stop, then give them another quarter and a half turn using force.
When you tighten the screws that connect the heatsink to its anchor, you can use the most force. In many heatsinks, these screws have a spring, as you can see in the picture above, and usually their threads stop as well.
Our recommendation: tighten all the way and do not force any more, it is not necessary. On the other hand, if the heat sink is attached with two screws, we recommend tightening them little by little and alternately, to avoid uneven pressure on the processor. If the heat sink is fixed with 4 screws, as is usual in liquid cooling systems, it is recommended to do this alternately and crosswise, i.e. first tighten a little , for example, the screw at the top left, then do the same. clean with the one below on the right. Then it’s on to the one on the top right and finally the one on the bottom left. Likewise, tighten them alternately and little by little, never completely tighten a screw with the others loose.
What can break if overtightened?
We’ve already given you some clues before, but in summary, what can go wrong is:
- The motherboard PCB if you overtighten the backplate anchor.
- The threading of screws and their fasteners (what we call “over-threading”). This can happen to any screw.
- You could even damage the processor if you’re not careful when tightening the heatsink screws. Do it alternately, as we explained in the previous section.
In any case, we once again emphasize the fact that you should not be afraid either, just a little caution and especially if you use electric screwdrivers.


