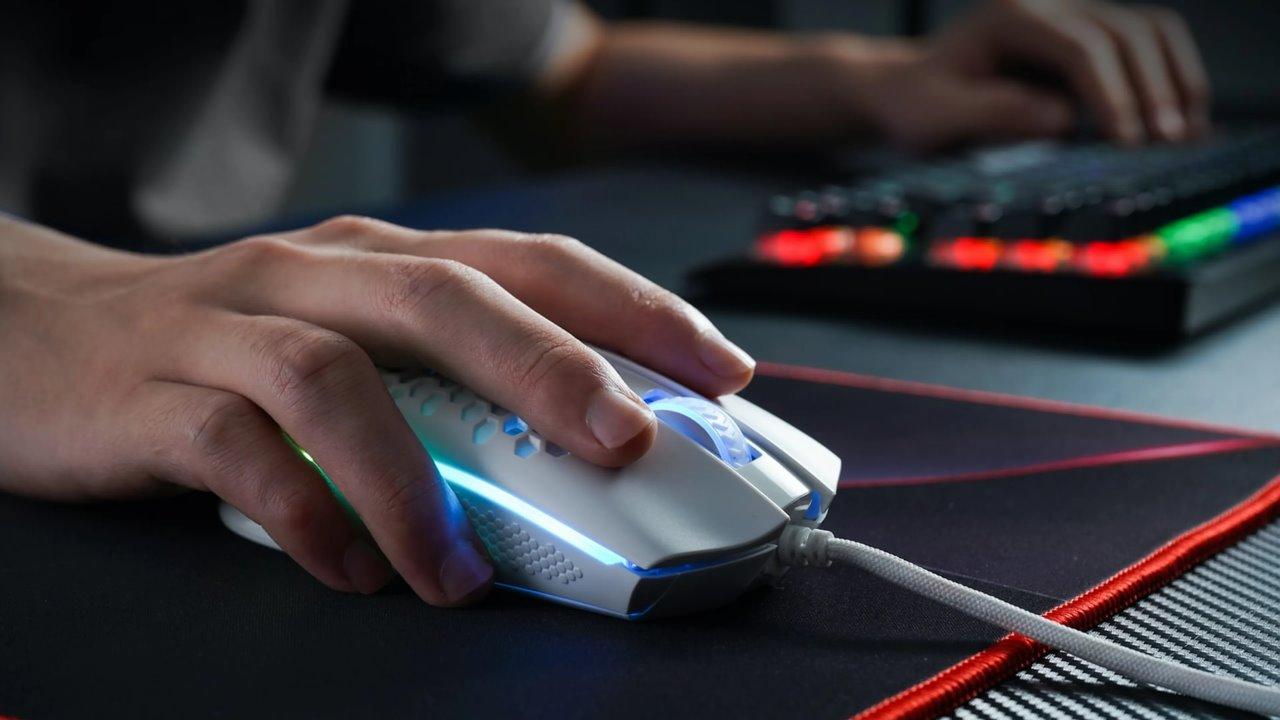
One of the most common problems in the computer is that mouse sensitivity changes randomly. It’s very frustrating, especially when you’re in the middle of a game. We will explain to you How to solve the problem before ending, in a fit, throwing him out the window.
When we talk about sensitivity, we mean DPI. Having it change randomly while browsing Windows is a nuisance, but in the middle of a game it’s a disaster. Going from, say, a 1200 DPI setting to a 600 DPI setting is something that can cause you to throw your mouse out the window.
Before we go to that extreme, we’re going to give you a set of actions you can perform. The most normal thing is that the fault is not the mouse, but Windows.
Pre-quick checks
First, and before moving on to more tedious checks, we will try the quickest and easiest solutions. These “quick” checks may seem obvious to you, but give them a try. These are:
- Disconnect the mouse from the USB port and reconnect it
- Plug the mouse into another USB port, to verify that it is not a connector problem
- Install the mouse on another computer and check if the sensitivity holds or changes on its own (if this happens, it’s the mouse’s fault and you’ll have to buy a new one)
- If you have a wireless mouse, check that the connection is correct (try a forced resync if possible) and check that it has enough battery
- If you’re using the USB mouse on a laptop, make sure you don’t accidentally touch the touchpad. We recommend disabling the touchpad, to avoid unwanted actions
Possible Solutions to Random Sensitivity Change in Mice
If none of the above worked, we will now test some settings and software checks. These are not complicated actions, but they are a bit slow and more tedious.
Windows Settings
Let’s see if there is a problem in Windows settings. To do this, you need to follow these steps:
- Click on the Windows icon
- Now we click on the Setting (gear wheel)
- Let’s go to the option Devices
- Among the options on the left we will see Mouse and click on this option
- We check if the sensitivity changes in real time when we move the slider Choose cursor speed
If it varies correctly, we already know that the problem is not there, even if we are not going to close the window to carry out the following process.
Disable improved pointer precision
Without leaving this window, we are going to check another mouse parameter. This one is a little more “complex” or requires a few extra steps
- Now we go to the right part of the window and we will look for Additional mouse options and we press
- A new window opens and here we will switch to the tab pointer options
- Inside the section of Movement we will find the option Improve pointer accuracy
- We need to verify that it is disabled. If enabled, we de-selected it, as it could affect mouse sensitivity by generating erratic movement
Your own mouse software
Many manufacturers have their own apps for controlling mouse settings; The advantage of these apps is that we get more control over the device. But sometimes these apps can interfere with system settings and make mouse sensitivity inconsistent.
If a third-party app is installed for your mouse, open it and check the settings. Test the pointer accuracy to make sure everything is working fine, and if not, try uninstalling that app and reinstalling it in its latest version.
The combination of software and peripherals from different manufacturers may also affect operation. If this is your case and the mouse sensitivity changes randomly, try closing one of these software.
Run the troubleshooter
A fairly quick and easy option that can fix the problem is the Windows Troubleshooter. Although this function is not available on the The start menu we can access through command prompt. To do so, follow these steps:
- We go to the Windows search engine and enter the text System symbol and among the options we should see Run as administrator, by clicking on this option
- In the window that opens, type “msdt.exe -id DeviceDiagnostic» (without quotes) and press ENTER
- will open the troubleshooter Windows hardware and devices
- Now we click on Advanced options
- We will see at the end of the window the option to Apply automatic repairs and of course, we click on it
- Once the box is selected, click Following
- It will start the process automatically and fix all the issues it detects
- Now we should have the problem solved
Normally, this is usually a problem or conflict with the IRQ assignment. Basically, IRQs are identification numbers for fundamental components. Sometimes Windows gets it wrong and misassigns these identifiers or assigns two items to the same IRG and gets it wrong.
Table of Contents


