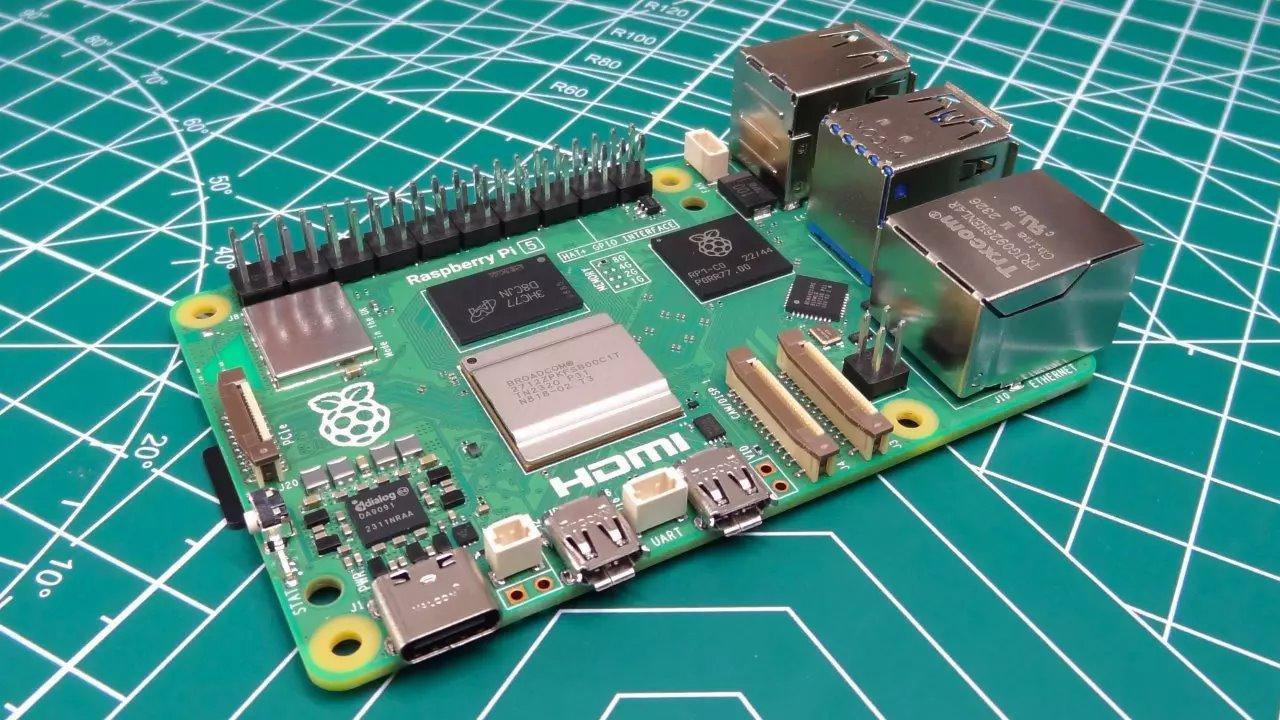
The ace Raspberry Pi 5 took much longer than expected to hit the market due to the COVID-19 pandemic. Finally, it was presented in September 2023 and launched on the market shortly after. It brings important new features, including a PCIe 2.0×1 connector which allows us to install M.2 SSDs. But how do we add one of these storage units to our SBC?
This new SBC brings improvements to the processor to achieve an increase in system performance. Connectivity is also significantly improved compared to the previous model. All this with fairly moderate prices and without changing the design compared to the previous version.
How to connect an M.2 SSD to it
Previously, to install an SSD, you had to occupy a USB port, which greatly limited the possibility of taking advantage of the capacities of these storage units. The Raspberry Pi Foundation is aware that many users want to add these storage units to Pi boards. Well, for the new Pi 5 they have included a PCIe 2.0 x1 port to be able to install an M.2 SSD and thus be able to exploit all the capacities of this type of storage units.
It should be noted that in September, when the Raspberry Pi 5 one has been announced HAT official for M.2 SSDs. A date was even given, specifying that it would arrive on the market in early 2024. We are already in the second quarter of 2024 and we no longer have any data regarding this element.
But there are solutions on the market that allow us to use the PCIe 2.0 x1 connector to add an M.2 SSD to our Raspberry Pi 5. Let’s see them.
Waveshare PCIe to M.2 Adapter
The first option is quite compact and certainly offers limited compatibility. Waveshare offers us a reduced design adapter with GPIO port adapter. What this option gives us is compatibility with M.2 SSDs in 2230 and 2242 formats.
Specifically, it offers compatibility with 30mm and 42mm long drives. It must be said that although there are units of these dimensions, the variety is quite limited. You should know that the usual format for M.2 is 2280, establishing a length of 80 mm in length.
Geekworm X1002 M.2 NVMe
Quite an interesting option with a fairly simple design designed to be installed at the bottom. Geekworm offers us a solution that supports M.2 drives up to 2280. SSDs with a length of 80 mm are the most common on the market, since they are the “standard” for gaming computers.
You should know that this solution supports units in Key-M and Key-B&M format, the Key-B format is not supported. To say that currently it is rare to find M.2 disks that are not Key-M type.
Worm Geek X1004
This is an interesting option if we want to build a small, high-performance NAS. Geekworm’s solution allows us to install two SSD units up to 2280 format. It is the only one we have found with these characteristics and we find it interesting for generating a home cloud.
It does not indicate capacity limits for these storage units. What stands out is that it does not offer compatibility with NVMe booting, positioning itself as a data storage solution. You can start the system using a micro SD card and thus create a small home NAS. We have to say there are no reviews yet, but this product looks pretty good.
Table of Contents


