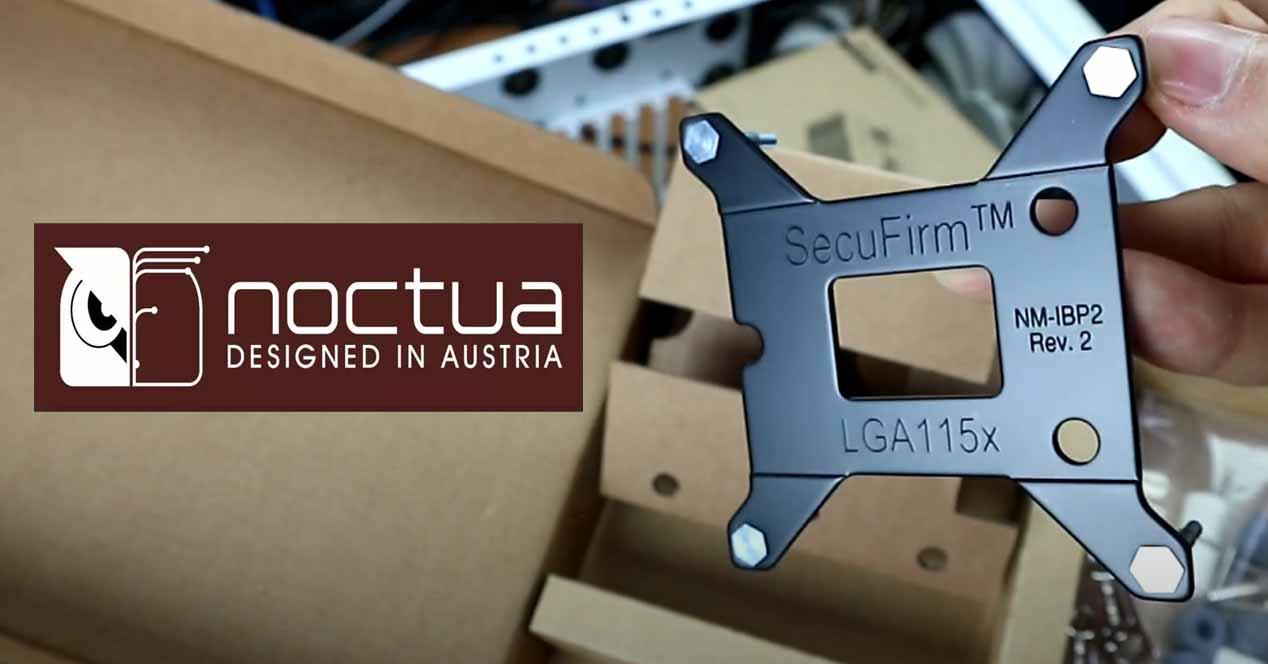
The Noctua SecuFirm anchoring system is recognized to be one of the easiest to use and at the same time the safest; It is compatible with all types of Intel and AMD sockets and is built into virtually all of the brand’s heatsinks, so if you have any questions on how to mount a Noctua heatsink, this article will answer your questions.
How to mount a Noctua heat sink on Intel processors
The Noctua SecuFirm anchor system consists of a total of 11 parts:
- Back plate El.
- Two supports.
- Four dividers.
- Four screws.
The backplate is specially designed for Intel sockets and comes with built-in male screws, so you just need to line them up with the socket holes on the motherboard, making sure to do it the right way around (note that there are some holes in the back plate so that the internal screws of the socket itself do not collide). This back plate, still black, is made of sturdy steel and is the one that will distribute and support the weight of the heatsink so that the motherboard is not damaged despite the heavy weight of the heatsinks.
Then we still find the two brackets that you can see at the top, above the back plate; These are the ones that have multiple holes to be able to pass the back plate screws through them, so that they will fit any type of Intel socket without any problem. Beyond that we have the black plastic standoffs and the four female screws that obviously serve to anchor the brackets to the backplate.
So, as we have already said to install a Noctua heatsink with SecuFirm in an Intel system, you must first place the backplate from the back, making sure that the screws match and that it is perfectly flat. ; the next step is to place one of the black plastic spacers on each one.
The next step is to place the supports; This step is not complicated, just drop it by matching the holes with those in the backplate and make sure you do it with the correct orientation, as shown in the following image.
Once placed on top, you just need to place the screws and tighten them with your fingers. Noctua also provides an L-screwdriver to allow you to fully tighten them.
With this the SecuFirm anchoring system is already installed, it’s that simple. Now it would obviously be necessary to place the heatsink, and it’s as simple as (after applying thermal paste) to place the heatsink on top of the processor by matching the screws that are preinstalled there with those of the brackets. and squeezing them. , first with your hands, then helping yourself with the screwdriver.
Clever. Once the two screws have been tightened, the heat sink will have been attached to the SecuFirm anchoring system, and all that remains is to mount and connect the fans so that they are ready to operate.
The SecuFirm anchor for AMD processors
If you have an AMD system and want to use a Noctua heat sink, you can also do it in an even simpler way than what we have already seen for Intel processors because you don’t even need a back plate specific, but you can use the one that always comes by default on AMD motherboards. The components that make up the SecuFirm system for AMD processors are:
- Four supports (two short and two long, to choose the orientation of the radiator).
- Four screws.
- Four dividers.
The installation is even simpler than that of an Intel system, because as we have stated, the same backplate that all AMD motherboards are used. Eso sí, lo que sí que hay que quitar son los soportes de este backplate, así que debes retirar los dos tornillos que tiene por cada lado y retirarlos junto con la pieza de plástico, ya que lo que se aprovecha es simply in backplate pero no the rest.
Here you have to make a decision, and that is that since the AMD socket is rectangular and not square, to choose the orientation of the heatsink, you have to choose between using the short or long bracket set, in depending on where you want the heatsink to be oriented. In the following graphic, you can see the orientation of the heat sink according to the brackets you choose, and you can also see its orientation in the anchor.
Once you’ve decided which ones you want to use, you now need to place the plastic spacers over each of the holes in the backplate.
Now insert two screws into the holes of each of the brackets and insert them making them coincide with the hole of the divider and the back plate. You will see it clearly in the following image.
The next step is to simply screw in the four screws so that the bracket is securely attached.
Ready, with that the Secufirm anchor has already been mounted in the AMD system, and what remains is the same as in the Intel system: place the thermal paste then place the heatsink on the processor making the pre-installed screws. coincide with the male screws of the brackets. Tap, and it will be fixed.
Once done, we will just have to mount the fans and connect them to get the heatsink ready and working in our AMD system. As you can see, mounting a Noctua SecuFirm anchor couldn’t be easier and, really, it’s a process that takes no more than five minutes, even in inexperienced hands.


