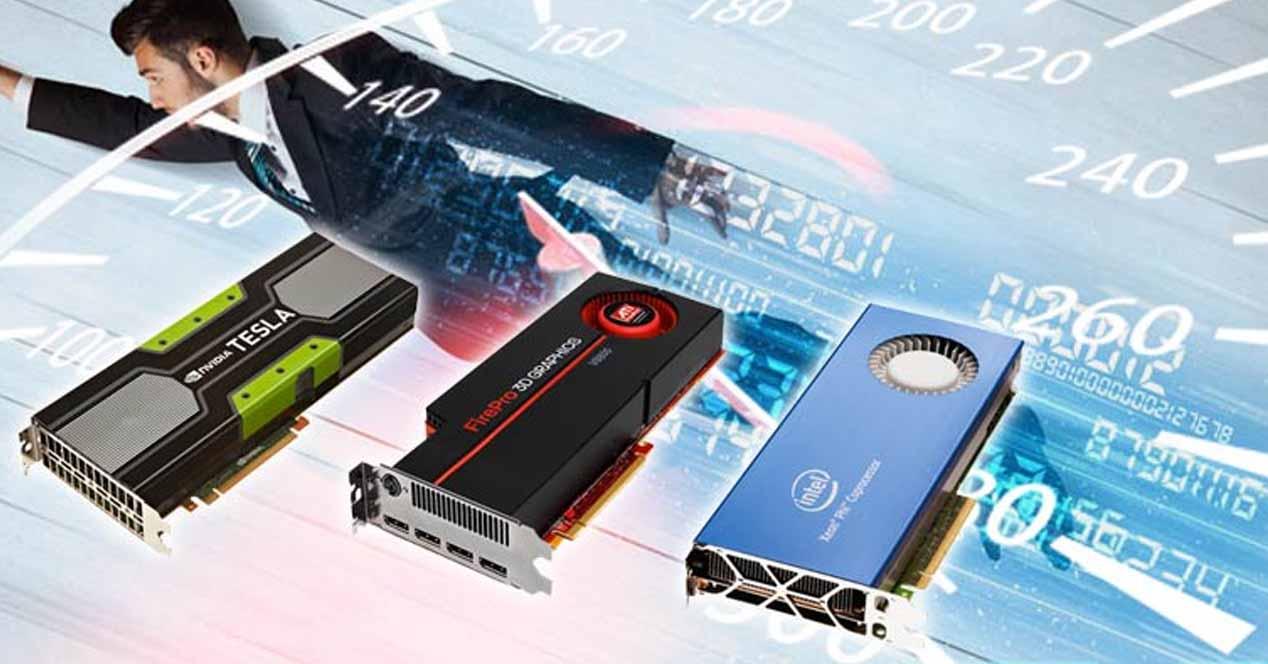
Hardware acceleration is a term used to describe tasks downloaded to devices and hardware rather than software. By default, most applications base their operation on the processor, but for example when running advanced HTML5 graphics in a web browser, with a GPU specializing in this area, why use the processor?
Problems caused by hardware acceleration
Although the premise of hardware acceleration holds great promise as it will help improve the graphics performance of the computer, it is not without problems and does not always perform as well as it should, especially precisely in the Internet browsers.
Here are the cases where you might be forced to turn off hardware acceleration:
- If your processor is particularly powerful but your graphics aren’t as powerful, acceleration might be inefficient compared to letting the process or do all the work. Also, if your hardware components are likely to overheat or be damaged in any way, heavy use by hardware acceleration can lead to issues that you would not encounter otherwise.
- Software designed to use hardware does not perform well or cannot perform stably compared to using only CPU. This is the most common reason for having to disable this feature.
How to turn it off on your PC
Disabling hardware acceleration may be necessary when your PC is running too slowly for a certain task or when you receive errors or have problems. Usually this happens on computers that are a bit old or have a very weak graphics card (especially integrated cards).
Before you start, you should know that not all PCs are activated to use this acceleration. Modern PCs that use dedicated NVIDIA or AMD graphics don’t have the ability to change the amount of acceleration used, i.e. you can only turn it on or off, while others Older PCs or with integrated graphics allow you to change the weight of the acceleration you want to activate.
To check this, right click on an empty space on your desktop and select “Display Settings”. In the window that opens, scroll down and select “Advanced display settings”.
In the window that opens, select “Show properties of graphics card 1”.
In the window that opens, you should see a tab titled “Troubleshoot” or “Troubleshoot”. Otherwise (like in the example below) it means that you don’t have the option to adjust the amount of acceleration you want to apply.
If, on the other hand, this tab appears, you will see a button called “Change settings”. When you click on it, a new window will open with a slide bar where you can change the weight of the hardware acceleration, being able to select “Nothing” and “Finish” at the ends.
As we mentioned before, in case this tab does not appear, it only means that you cannot change the amount of acceleration you want to apply, but you can always turn it off completely. To do this, go back to the previous step and select “Graphics settings”.
In the window that opens, you will be able to select whether you want to enable or disable hardware acceleration on your PC by simply clicking on it. It is not necessary to click on Accept, just by clicking on this button you will have already activated or deactivated it depending on what you want to do.
Settings in individual apps
Although we taught you in the previous step how to disable hardware acceleration in general in Windows system, many applications have individual configuration in this regard which, be careful, has higher priority than Windows configuration. A simple example of this is the Google Chrome browser, an example of one of the most problematic apps where it is often needed to be disabled.
To do so is quite simple: just click on the button with the three vertical dots to open the menu and select “Settings”. Here you have the option of typing “acceleration” into the settings search bar at the top, or scrolling down, clicking on “Advanced settings” at the bottom, and continuing to scroll until you see you. find the setting, in the System menu.
In the Firefox browser, the procedure is similar, although less straightforward: you must click on the menu button and enter Options. Scroll down to the Performance section, and there you need to uncheck the “Use recommended performance settings” option. When you do this you will see that the Use hardware acceleration when available option appears and you can uncheck it.
Finally, in the Microsoft EDGE browser, the procedure is similar: click on the button with the three dots and select “Settings”. Select the System section on the left, and in the options that appear on the right, uncheck the “Use hardware acceleration when available” option.
This is how hardware acceleration is disabled in all three major browsers, but remember that each app can have its individual options, so in each case you’ll have to find out where the option is to turn it off. In case it doesn’t have this option, it will use the default option that you configured in Windows, as we taught you in the previous section.


