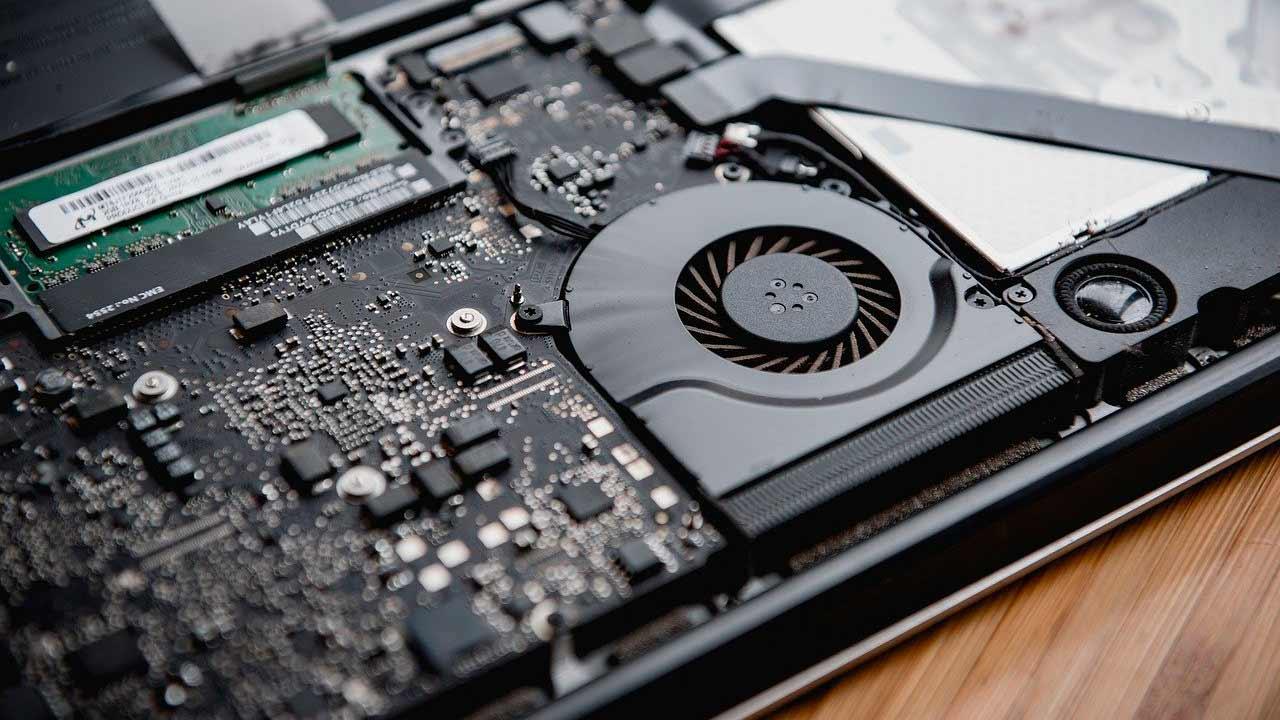
PCs, whether desktop or laptop, are made up of different components: memory, storage, graphics, sound card among others, components which, at some point, may stop working as they did on the first day.
When Windows displays the Blue Screen of Death, also known as BSOD, this means, in most cases, that there is a problem with one of the different components or even with the ports of our PC .
If it is a memory problem and we only have one module, checking if the problem is with this one is complicated, unless we have another module that we can use , which is quite unlikely because if we have an extra one, it will be more likely that we use it on the computer.
On the Internet we can find a large number of applications that allow us check RAM memory operation carry out a series of analyzes to find out its operating condition and if it presents any type of problem.
However, as with many other problems, there is no need to resort to thi rd-party applications when we have a native tool in Windows that allows us to carry out the same process. We are talking about the Windows Memory Diagnostic Tool.
Check RAM operation
If Windows detects that the RAM is suffering from some type of problem, it automatically runs the Memory Diagnostic Tool application and prompts us to perform a check. Otherwise, and we want to use this application, we must open the run box with the Win + r shortcut and type “mdsched.exe” (without the quotes).
This application offers us two options. The first invites us to restart the PC, previously saving the documents or files that we have opened so as not to lose them or, activate this tool the next time the PC starts. In the end, it doesn’t matter which option we select, the only thing that changes is when we want to do it now: at this time or when we restart the PC.
The next time the PC starts, a blue screen will appear to inform us of the current process and what it may take several minutes
By default, a series of standard tests are carried out, sufficient to know if our PC’s RAM presents any problem. If you want to carry out a complete test, we press F1 and we select the option Extension.
Once the process is completed, the system will reboot. Once the PC has restarted, we must access the report that was generated through Windows Event Viewer, an application that can be found of the same name through the Windows search box.
In the Event Viewer application, click Windows Registries and then in System. In the section Actionslocated in the right column, click Filter current recording.
In the window below, in the Event Sources section, click the drop-down list and select the MemoryDiagnostics-Results option and click OK.
The recording of this event will then be displayed and simply click twice to access its contents.


