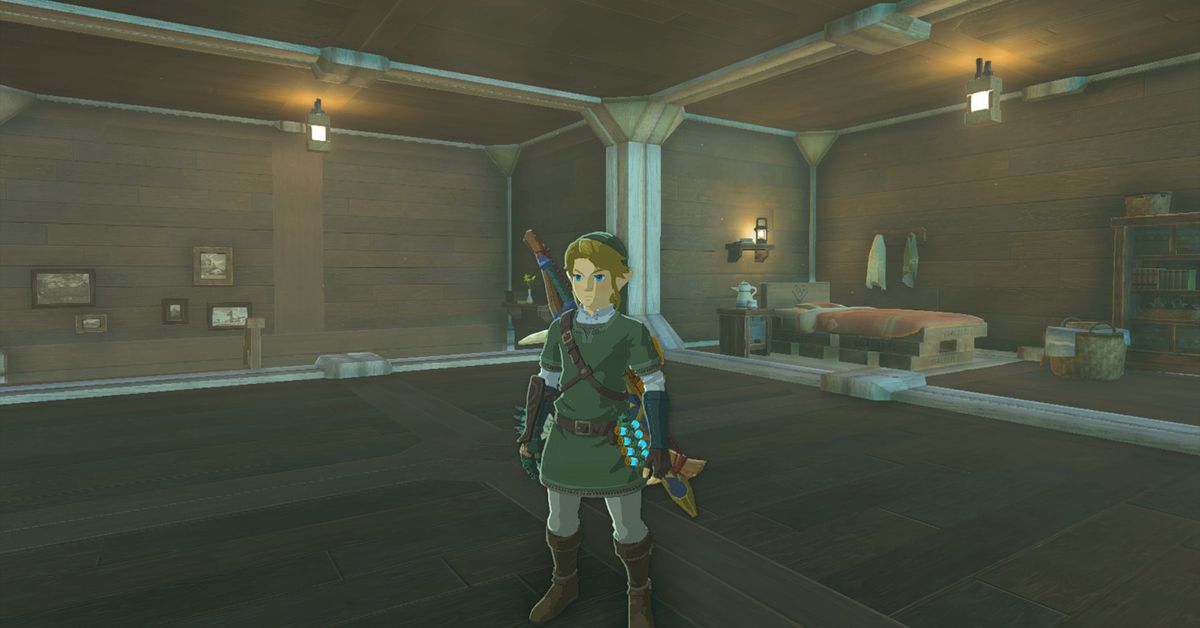
The Legend of Zelda: Tears of the Kingdom is arguably the pinnacle of the long-running Nintendo series, but the developers made sure to include a throwback to 2006 Twilight Princess For those of you who long for a time when the series protagonist Link was a fur: the Twilight armor.
Full Disclosure: Tears of the KingdomThe aptly named Twilight Armor does not give you the ability to transform into a wolf. I know, I know, boo, hiss But! It Is very stylish. Whatever you can think of Twilight Princess As a game, you have to admit that Link was completely drained during this bizarre adventure.
In Tears of the Kingdom, you can unlock the Twilight armor via amiibo. While the randomness and limitation of amiibo scanning at once a day can be frustrating, this might be the best option if you’re just starting out in the game or are otherwise unable to get the Twilight Armor on your own to get fist. The trials and tribulations that lead to each piece – the Cap of the Twilight, Twilight TunicAnd Pants of the Dawn – can be difficult depending on when and how you decide to tackle them.
Position of the head piece of the Twilight armor
Tears of the Kingdom‘S Cap of the Twilight is by far the most difficult to grab, and for one important reason: it’s guarded by a King Gleeok. And no, you can’t just run into the monstrous creature’s lair, steal the hat and hop; You have to kill the damn thing before the chest with the garment opens.
:no_upscale()/cdn.vox-cdn.com/uploads/chorus_asset/file/24685421/totk_twilight_kinggleeok_depths.jpg)
Image: Nintendo EPD/Nintendo via Polygon
But first things first. Unless you’ve spent a lot of time exploring the subterranean depths, the fastest route to where the Cap of Twilight is hoarded starts at the surface. Head to the Typhlo Ruins Skyview Tower north of the Lost Woods (you know, the place with the giant talking tree) and let the contraption launch you into the sky. Once you regain control, face southwest towards the huge hole that is emitting malevolent energy. It’s hard to miss.
Graphics: Ian Walker/Polygon | Source Images: Nintendo EPD/Nintendo via Polygon
After falling into the abyss and finding a secure footing in the darkness, your destination is only a short drive northeast Gleeok Den. If you fancy lighting up the area first, rather than relying on bright flowering seeds to light your path, you have several options: Nikakik Lightroot to the southwest (it’s in a small valley, so be prepared to climb back out if you choose this route), Kate’s Lightroot directly north of Gleeok Den, or Uukuki’s Lightroot to the southeast. You can also use the map to quickly travel to any of these locations once you’ve already found them to save time.
Graphics: Ian Walker/Polygon | Source Images: Nintendo EPD/Nintendo via Polygon
As for defeating King Gleeok, that’s easier said than done. If you thought the regular, surface-based dragons were evil, just wait until you face a Gleeok cloaked in darkness and wielding multiple elements. Our guide to defeating a King Gleeok can help you prepare for this intense fight. Much luck!
Twilight Armor chest piece location
Thankfully, the other two pieces of Twilight Armor don’t require such an elaborate process.
reaching the Twilight Tunic It’s about jumping into the chasm southeast of it Sinatanika Shrine in the Akkala Highlands on the surface or on fast travel there Akinatani’s Lightroot in the depths. Either way, your final destination, the Rist Mine, will be to the southeast. The biggest threat you face here is an Obsidian Frox, but you don’t have to fight it if you’re not ready. Just give the giant frog a wide berth and get going.
Graphics: Ian Walker/Polygon | Source Images: Nintendo EPD/Nintendo via Polygon
Rist Mine is a large spiraling tunnel filled with all sorts of nasty but low-level creatures, including bokoblins, moblins, and packs of little froxes. And while it may seem wise to run through the cave on your way to your sweetheart, I encourage you to take your time. The enemies are generally easy to fend off, and there’s an opportunity to mine massive amounts of Zonaite, which you can then use to expand the battery powering all your gadgets.
Graphics: Ian Walker/Polygon | Source Images: Nintendo EPD/Nintendo via Polygon
It may seem like Rist Mine will take forever, but eventually you will reach the end. Don’t expect any surprises though, just an unobtrusive chest containing the Twilight Tunic.
:no_upscale()/cdn.vox-cdn.com/uploads/chorus_asset/file/24686094/totk_twilight_tunic_text.jpg)
Graphics: Ian Walker/Polygon | Source Images: Nintendo EPD/Nintendo via Polygon
Position of the legs of the Twilight armor
And if you thought The was disappointing finding that Pants of the Dawn can just put you to sleep.
The beginning of the journey is similar to the other armor pieces. Discover or travel there quickly Domizuin Shrine In the Akkala Highlands, you then travel southeast to your date with another ominous abyss.
In addition, you can set off on your own Niuzimod Lightroot in the depths.
Graphics: Ian Walker/Polygon | Source Images: Nintendo EPD/Nintendo via Polygon
Anyway, the next step is a short trip north towards the old underground fortress.
This little castle is full of monsters, but nothing that should cause you too much trouble. The fleet-footed Lizalfos can be annoying, especially when attacked from the air by Arrocuda, but the biggest threat (both literally and figuratively) is the portly blue Bokoblin boss patrolling the compound. Don’t feel like a fight? Just parachute into the fortress and grab this Pants of the Dawnand get the hell out of there before anyone notices.
:no_upscale()/cdn.vox-cdn.com/uploads/chorus_asset/file/24686099/totk_twilight_trousers_location.jpg)
Graphics: Ian Walker/Polygon | Source Images: Nintendo EPD/Nintendo via Polygon
Check it out: all three pieces of the Twilight armor set! Sure, they combine for a meager +9 defense (before upgrades, of course) with no additional bonuses, but at least you look cool. And isn’t that really all that matters?
Twilight Armor upgrade cost, set bonus, and effects
Twilight Armor provides no effects on custom gear. However, after upgrading each piece to at least two stars or more and equipping the complete set, you will get a attack polishing.
You can upgrade the Twilight armor pieces at a Great Faerie Well in exchange for the following materials:
- 1-Star (5 Defense): 1 topaz, 1 star fragment, 10 rupees
- 2-Star (8 Defenses): 4 topaz, 1 star fragment, 50 rupees
- 3-Star (12 Defenses): 6 topaz, 1 star fragment, 200 rupees
- 4-Star (20 Defenses): 10 topaz, 1 star fragment, 500 rupees
To fully upgrade this set you will need 63 Topaz, 12 Star Fragments and 2,280 Rupees.
Once you’ve found all three pieces of Twilight armor, check out our list of all armor sets and set bonuses to see what you can find next, or check out our best armor recommendations.
Table of Contents