
It’s in the city of dreams, Destiny 2 that the Guardians are responsible for hunting hidden objects Ascending Chests. Whether it’s for Triumphs or granting one of Riven’s wishes, finding them can be difficult if you don’t know where to look. But we do it.
This Destiny 2 city is full of wonders and mysteries. Created by Mara Sov with the help of the granted wish Ahamkara, it is an important place in Destiny’s history and a key battleground for players.
This page will show you step by step how find all ascendant chests in Destiny 2from the top of Esila’s Gardens to the depths of Harbinger’s Seclude, and everywhere in between.
On this page:
Manage cookie settings
How to find Ascendant Chests in Destiny 2
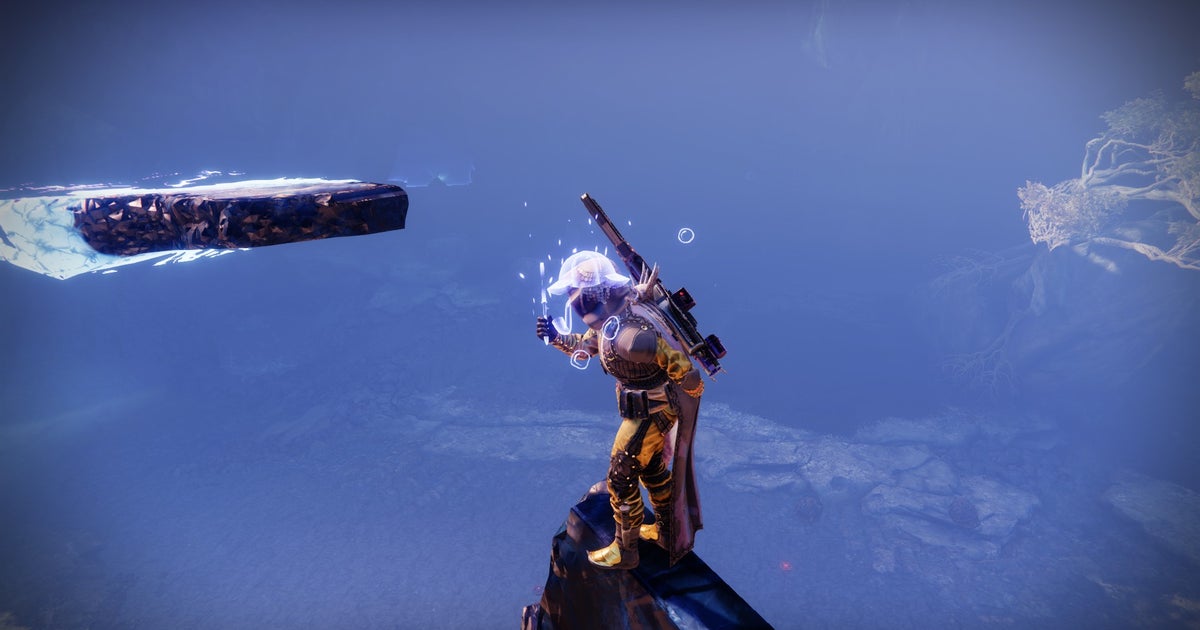
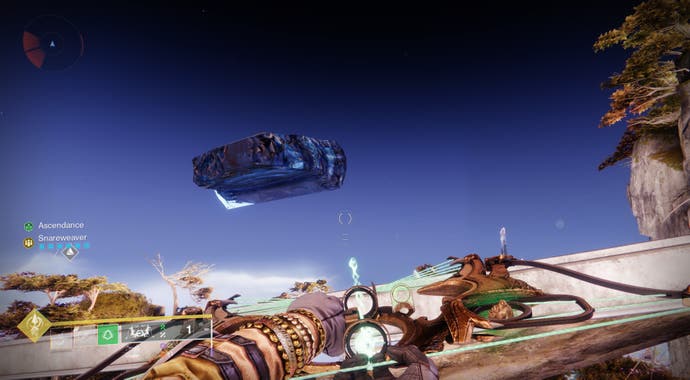
Ascending Chests are scattered around the dream city. To make matters more difficult, they are completely invisible and often float in the air in a completely inaccessible location. Even if you TO DO knowing where you are, it is generally impossible to interact with or open them.
Okay, that’s not very encouraging, but the good news is you can find them and open them. You just need a little pick-me-up first.
THE Queen Leaf Tincture It comes in a small bottle and drinking it grants you a special buff called True Sight. According to the description, it “opens your mind to the secrets of the city of dreams.” In reality, this means that you can now see and interact with hidden objects, but only in Dreamin City. If you approach ascending chests or hidden platforms leading to them, they will appear, allowing you to interact with them and, in the case of chests, collect their loot.
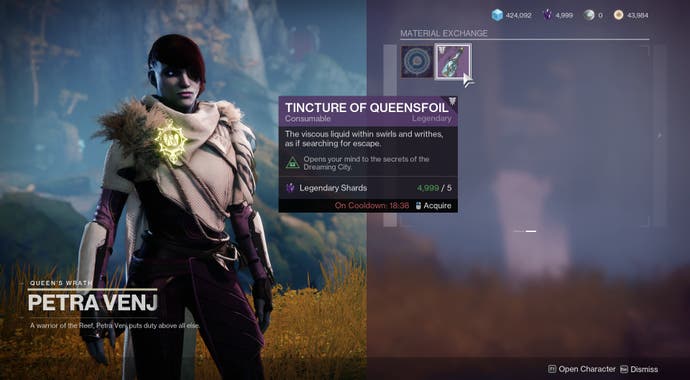
There are several ways to obtain Queensfoil dyes. They often drop as loot when you complete tasks in the City of Dreams, such as Public Events, Lost Sectors and Bounties. You can also simply visit Petra Venj and buy some from him, if you want to do it with ease.
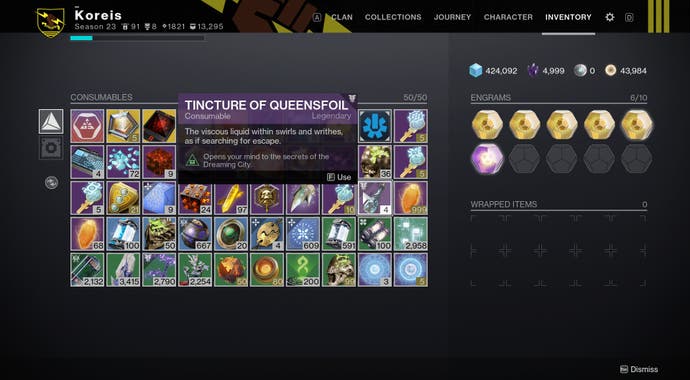
Once you have a tincture (or more, you should grab a few), open your inventory screen to locate and consume it. The buff lasts about 30 minutes, so you better get on the treasure hunt!
All Ascendant Chest Locations in Destiny 2
Here are all the Ascendant Chest locations in Destiny 2:
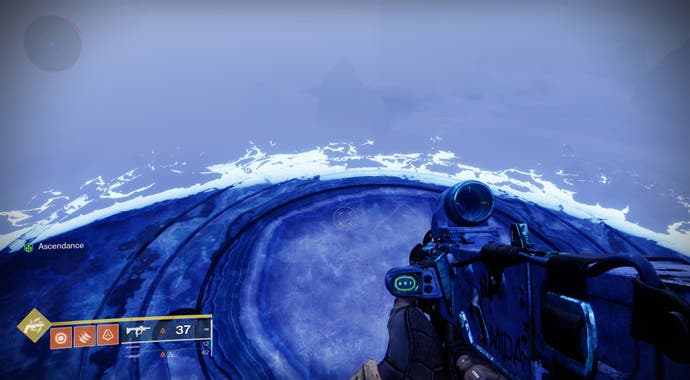
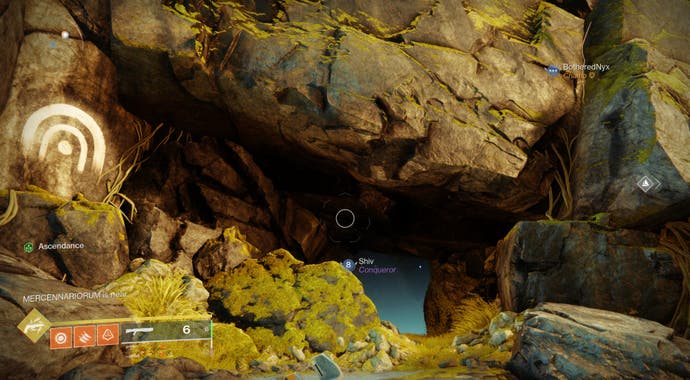
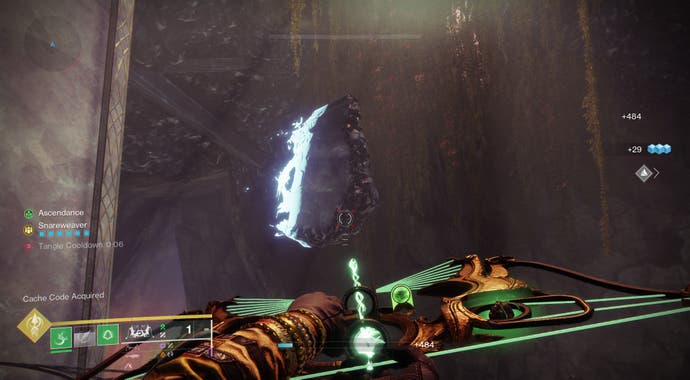
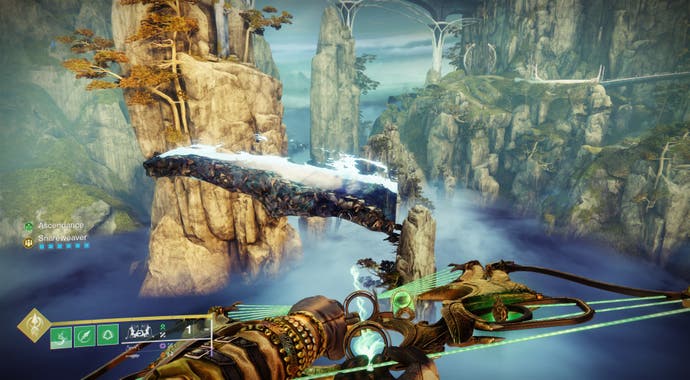
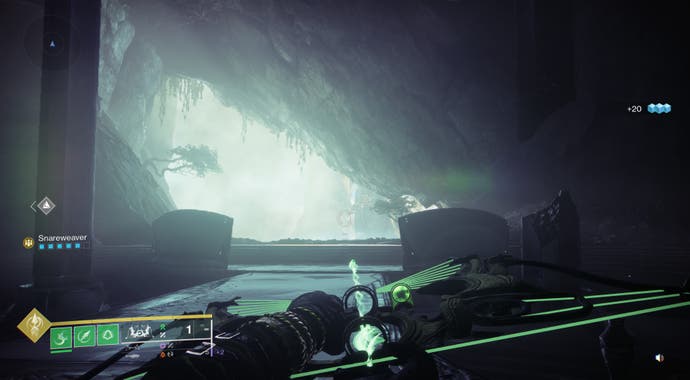
Bay of Drowned Wishes
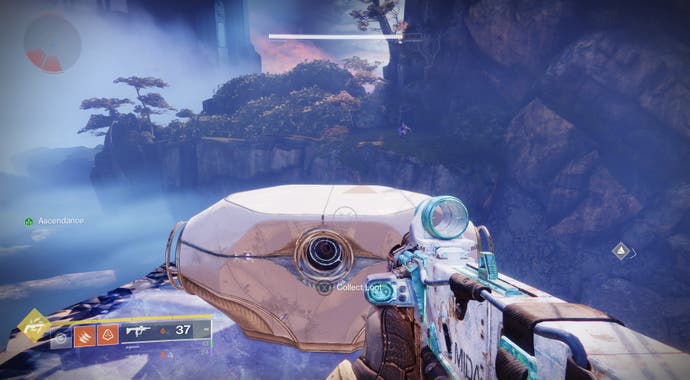
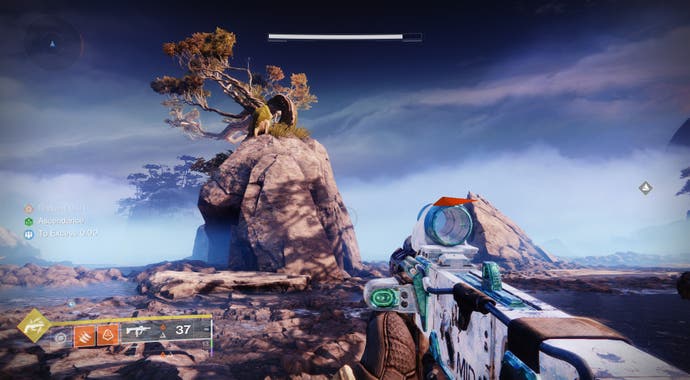
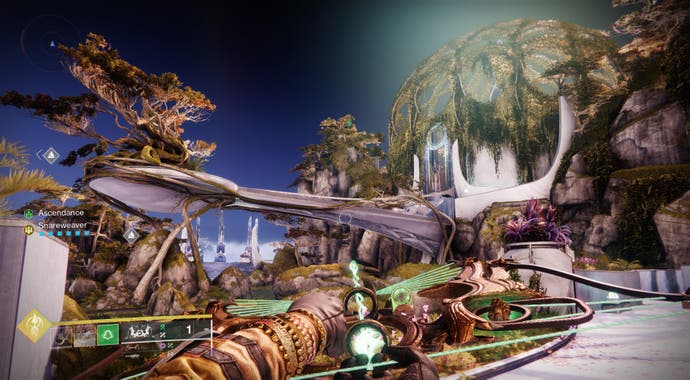
When you reach the open area (where all the screens appear), look for this rock. Drink a tincture and you will see platforms appear. Follow them to reach the chest.
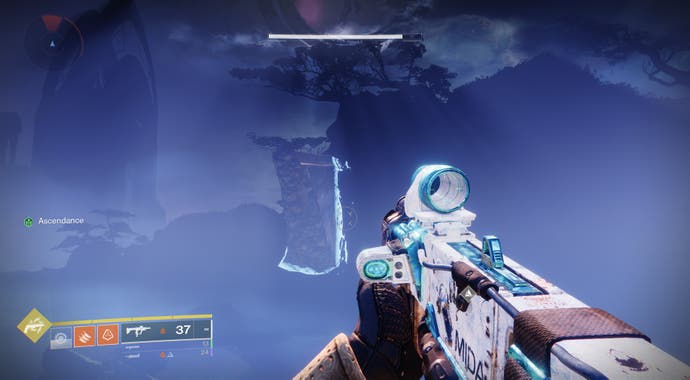
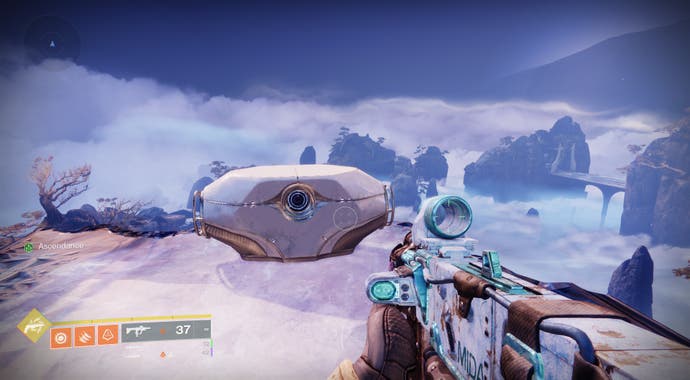
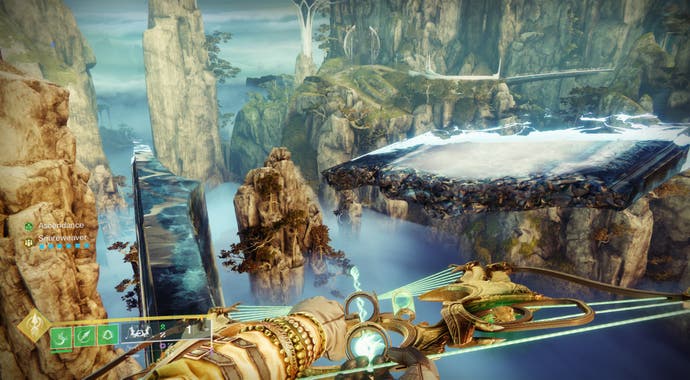
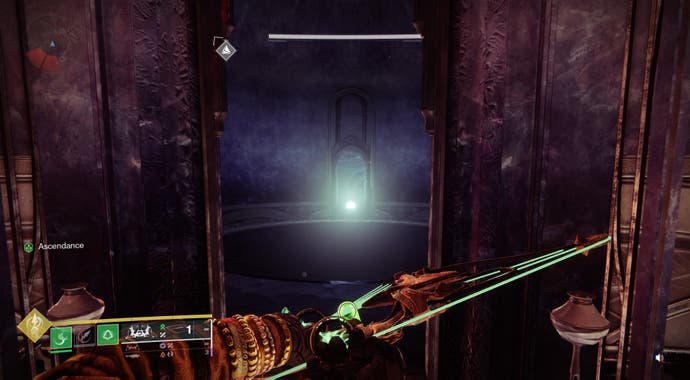
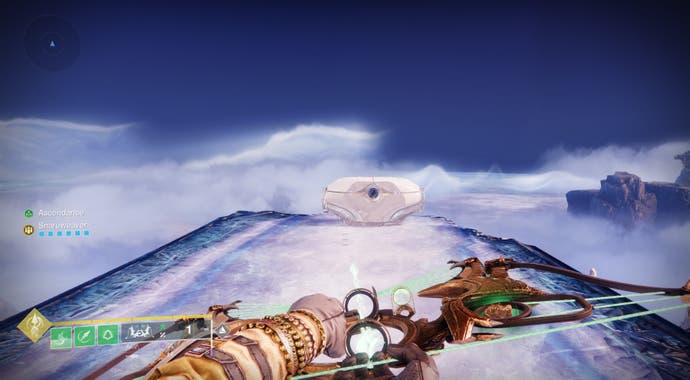
Divalin Mists

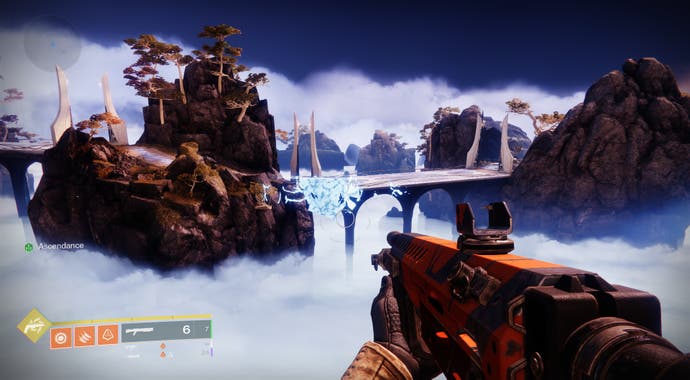
From the Divalin Mists, head towards the entrance leading to the Blind Well. In the center of this hallway will be a circular area and you should see the first platform here. Follow a long series of winding jumps until you finally reach chest high in the air. Some jumps are quite far, you may want to adjust your subclass accordingly.
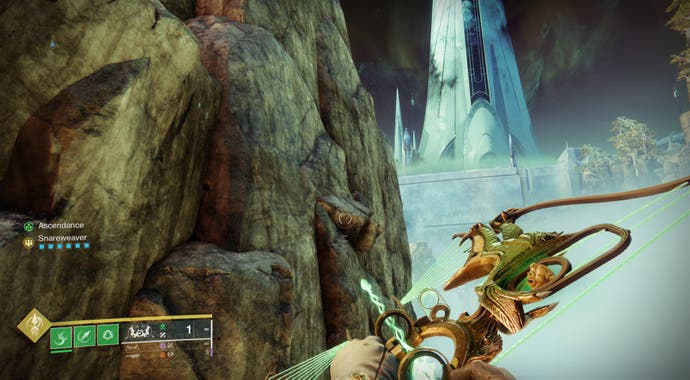
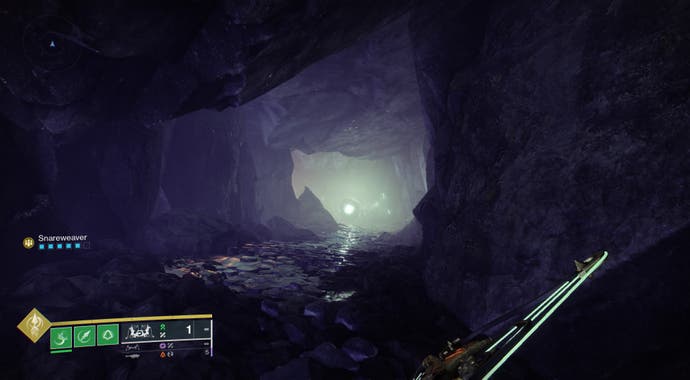
Spine of Keres
Next comes Keres’ spine. Leave the Divalin Mists through the northwest corner. Head towards the large structure and when you reach the bridge, jump down and right onto the mountain path. Follow the edge and a platform will appear. Use it to jump over the gap and turn left up the hill. Walk along the edge opposite the tower near this cave until you see the platform appear.

Jump onto it and continue until you reach a large circular plate. To the left is a small outcropping. Take a big step forward to reach the next platform. From here you can jump from platform to platform up to your chest.
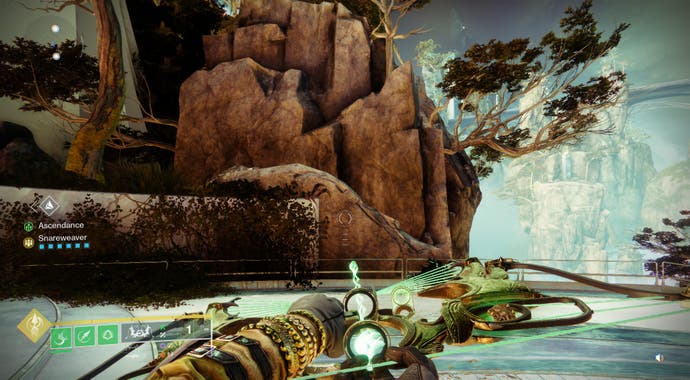
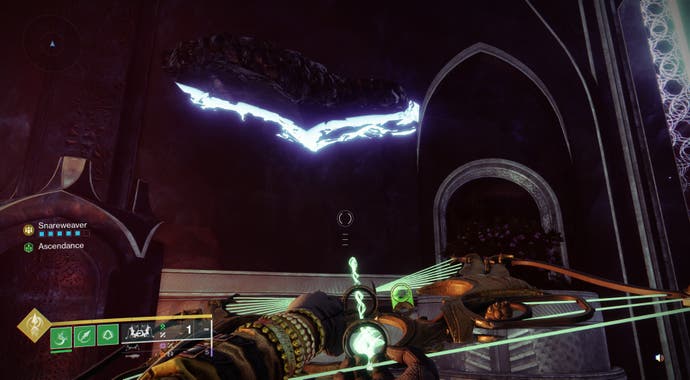
The strand

The next chest is near The Strand lookout (where Petra sometimes hangs out). As you approach the lookout, stay left and look for the rock outcropping that forms the rear wall of the structure. Climb on it and you can reach the roof of the lookout. From there, the floating chest platform will appear.
Aphelia’s Rest
Next stop is Aphelion’s Rest, the lost area directly below the lookout. Enter the Lost Sector and head down the small hallway behind the area with the Lost Sector chest. Follow the right wall and it will take you directly to your destination.
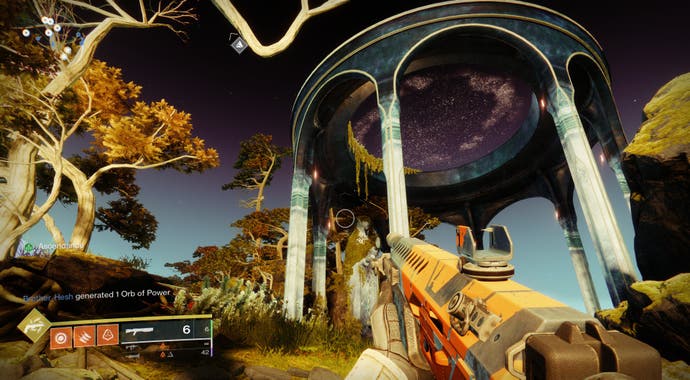
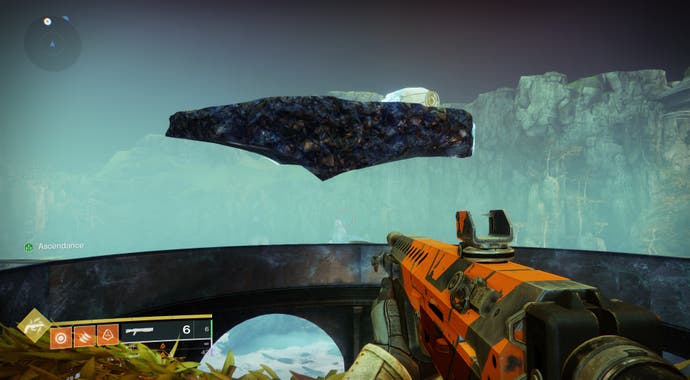
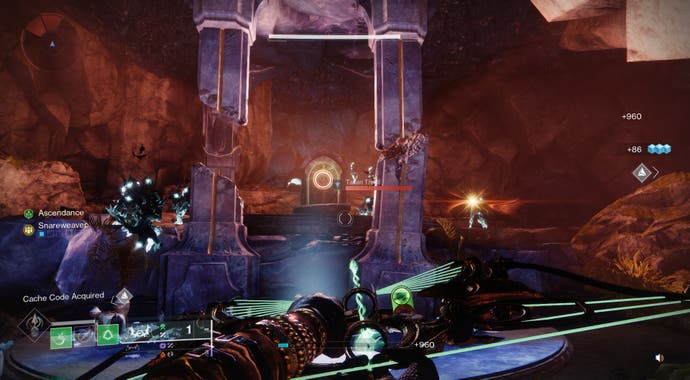
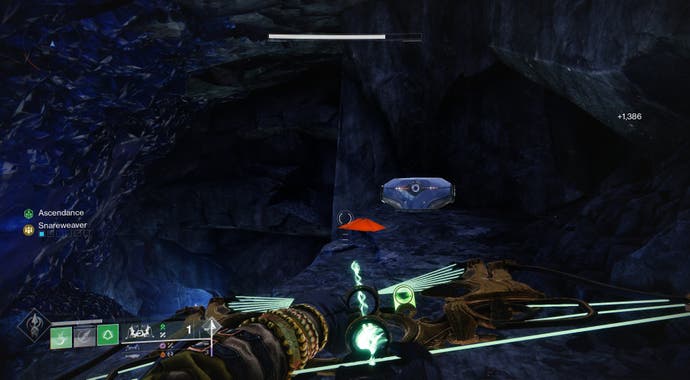
Starlight Chamber
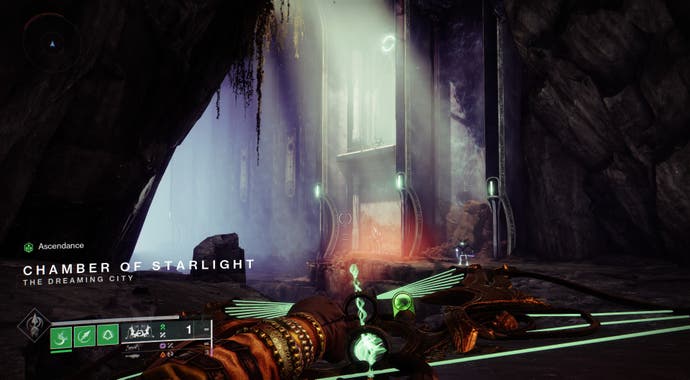
This chest can be found in another Lost Sector: the Chamber of Starlight in the Rheasilvia region. Your goal is to get to this balcony. You can access it from where the boss appears or by using the strand to get up. From there, face to see the first platform, jump onto the second and the chest is yours.
Rheasilvia

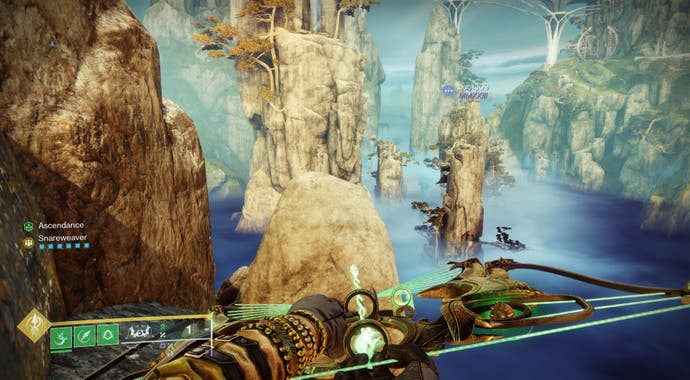
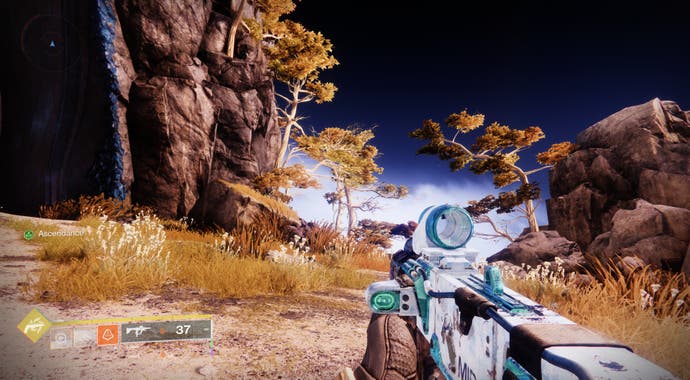
Head to the northeast corner of Rheasilvia. Stand with your back to the door of the large building. To your left is a cliff with a narrow path. Use it to get around cliffs. Turn left at the large rock and continue turning until the end of the path. Now jump upwards (you may have to backtrack a bit) to the top of the hill.
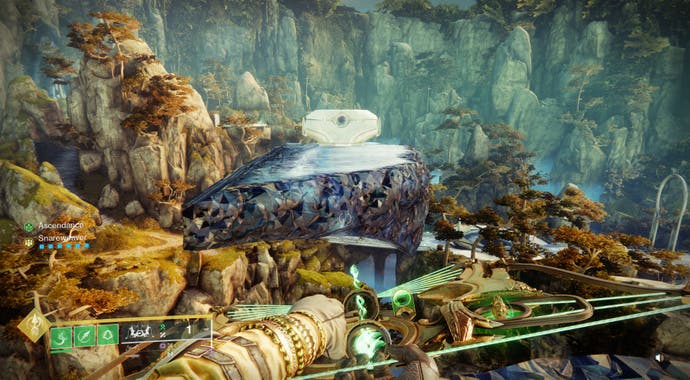
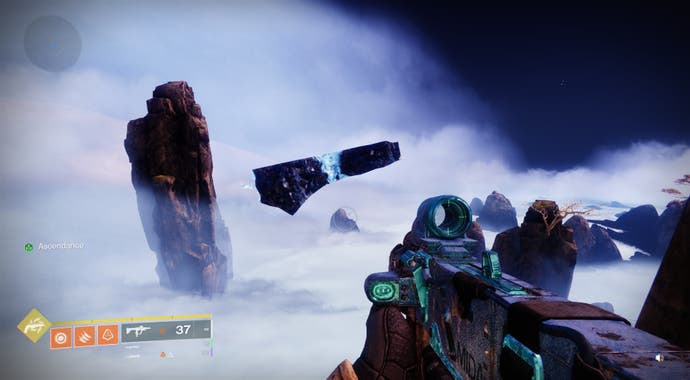
Walk to the edge to see a platform appear. Follow it until you reach this narrow beam and take the path on the right. This will take you to the chest.
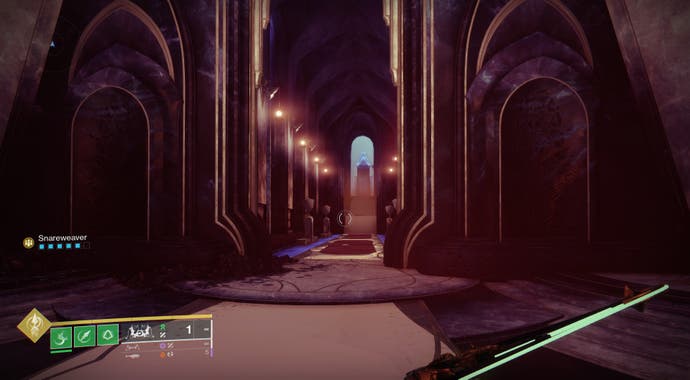
The isolation of the Harbinger
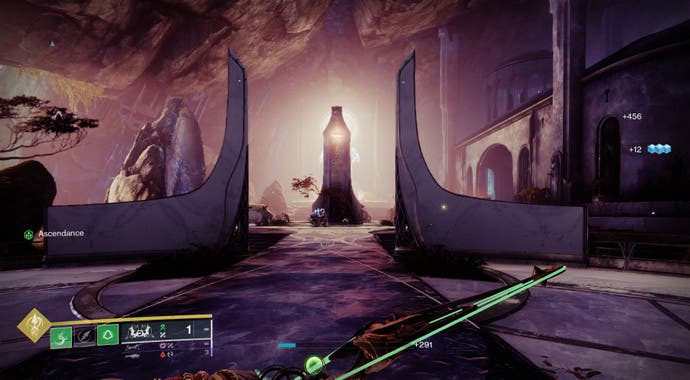
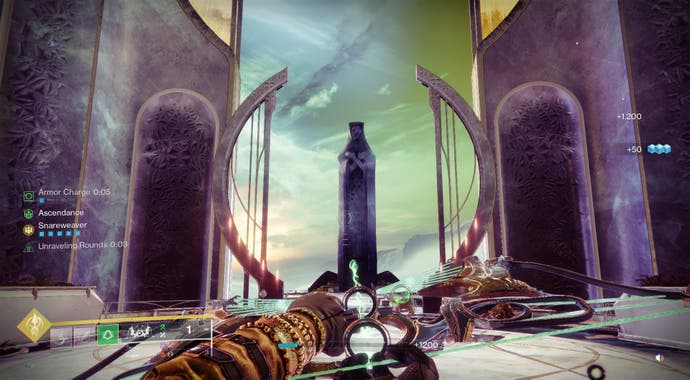
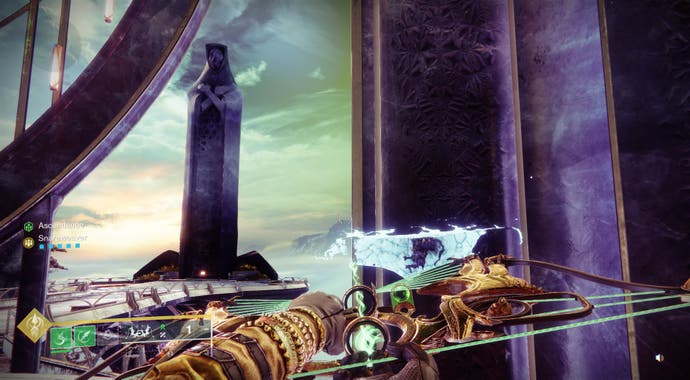
Harbingers Seclude is inside the large building in Rheasilvia, this is your destination. Enter and follow the corridors until you reach this large antechamber. Go straight through to reach another large room with a statue in the back. Stay right on the bridge near this statue to see the first platform.
Follow them and you will come to a point where the path diverges. Take the option leading to the room, away from the statue. The floating debris gets a bit chaotic, but as long as you focus on an upward path, you’ll eventually reach the chest.
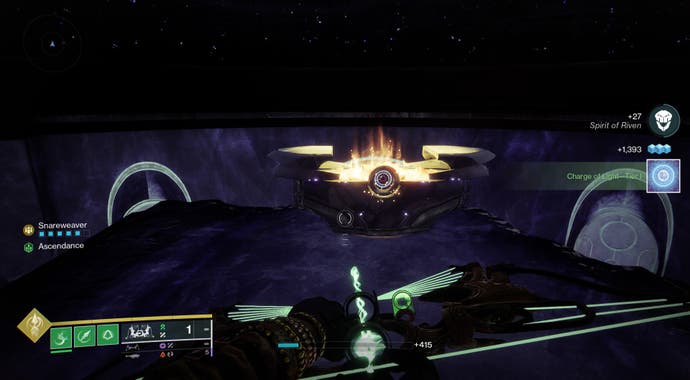
The Confluence

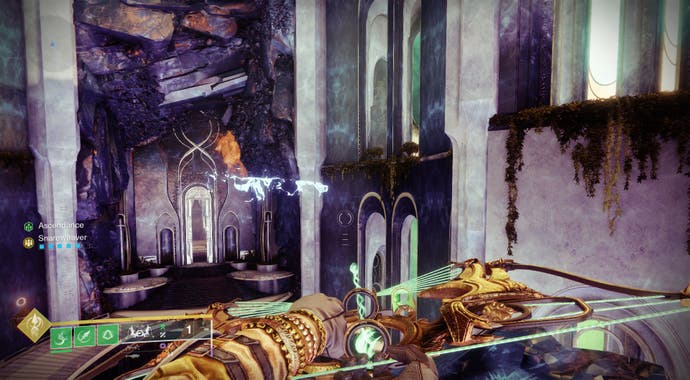
At the back of Harbinger’s Seclude (see above for path), just as you enter the room with the statue, there is a descent near the spiral staircase leading to a door and a descent again longer towards a large open space. A pair of Ahamkara Skulls will be nearby that you can interact with. Look towards the room with the waterfall. On the right wall facing you will be a tunnel leading to a portal.
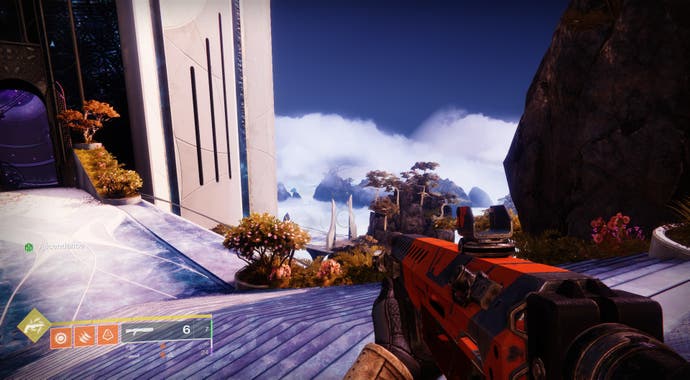
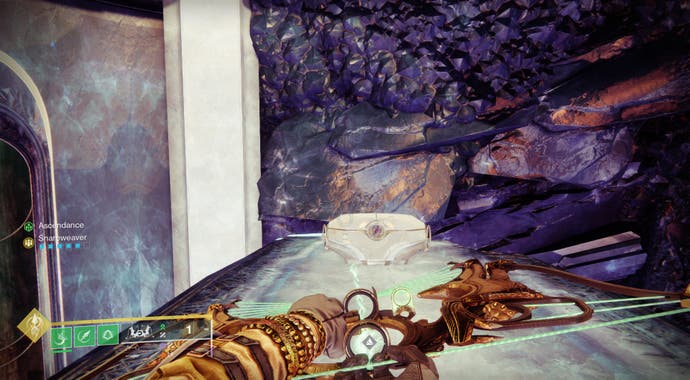
Enter the portal, exit and to your right. Continue straight past the statue as the path leads you to an area called The Confluence. As soon as you reach a circular room with some (very tasteful) planters, follow the perimeter until you see the platform appear. Jump and follow it all around until you get to the chest.
Esila Gardens
South of The Strand in the Dreaming City is Esila Gardens. Near the center of this region is the large balcony-shaped structure. Hop on it and hug the right side to see the first platform. Follow them counterclockwise and you’ll roughly make your way to the top, where the chest awaits.
Good luck finding all the ascendant chests!
Table of Contents

-trailer---Sonic-&-Knuckles.jpg?width=1200&height=630&fit=crop&enable=upscale&auto=webp)