THE Ijo-o shrine in Zelda: Tears of the Kingdom can be found in the skies of the Hebra Mountains. Besides literally taking you to new heights, this shrine will teach you that there’s more than one way to use a shield.
For this Zelda: Tears of the Kingdom Shrine you will need the Fuse ability. We also recommend stocking up on certain meals and weapons that have damage stats of eight or more. You’ll do a bit of combat in this shrine, so it never hurts to be prepared.
Without further ado, we’ll show you how to complete the Ijo-o shrine and solve the More Than Defense puzzle in Zelda: Tears of the Kingdom.
On this page:
Ijo-o shrine location in Zelda Tears of the Kingdom
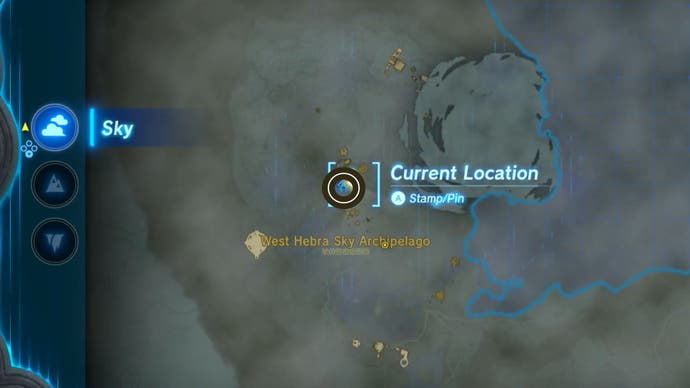
The Ijo-o Shrine in Zelda: Tears of the Kingdom is located in the northern half of the Western Hebra Sky Archipelago in the Hebra Mountain Sky. We have marked its approximate location on the map below.
It’s quite cold in the sky, so we recommend putting Link in clothes that boost his resistance to cold damage before heading here.
Tears of the Kingdom has finally arrived and our Zelda: Tears of the Kingdom walkthrough will guide you in your quest. Your adventure begins on the Great Sky Island where you will need to complete Ukouh Shrine, Gutanbac Shrine, In-Isa Shrine, and Nachoyah Shrine for Link’s new abilities. This will allow you to complete the main quest Towards Hyrule Kingdom and start the Crisis at Hyrule Castle quest. On your journey, you’ll want to complete Jiosin Shrine, Susuyai Shrine, Isodag Shrine, Kiuyoyou Shrine, Oromuwak Shrine, and Sinakawak Shrine. We also have guides on how to access the sky, how to get the Archaic Tunic, how to beat the Flux Construct I, Amiibo unlocks, and how to tame horses.
Solution of the Ijo-o Shrine puzzle in Zelda Tears of the Kingdom
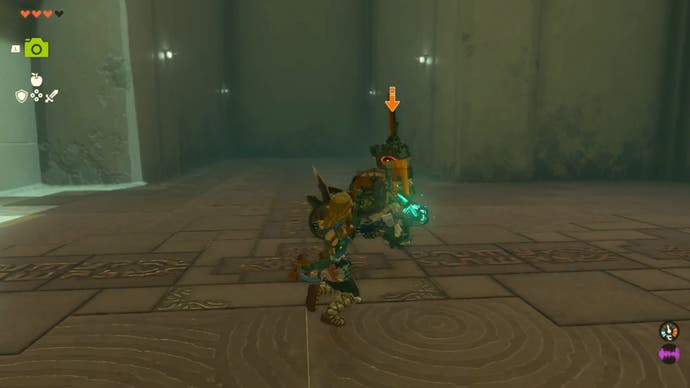
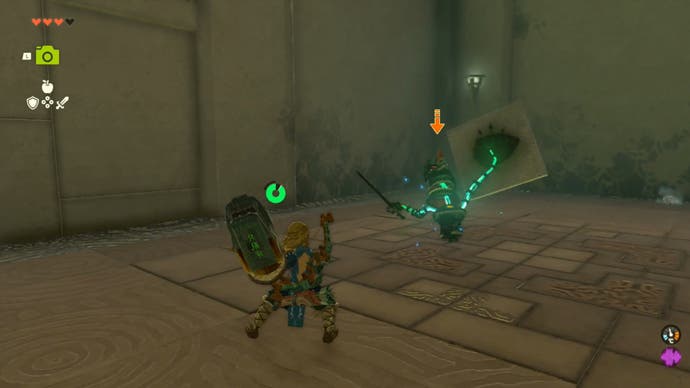
When you first enter the Ijo-o Shrine to complete the More Than Defense puzzle, you will almost instantly find a Zonai Soldier Construct hidden in the shadows to your right. This construct wields a flame emitting shield that spews a constant stream of fire for a short time. You must overcome this.
To defeat the first Zonai Soldier Construct in Ijo-o Shrine, keep your distance from them until their shield stops breathing fire. Then, once the flames have stopped, dash towards them and attack them with any melee weapon you have on hand.
The Zonai soldier will briefly stagger and raise their shield. When this happens, attack them repeatedly. If your weapon damage stat is above five, it should only take a few hits to bring down the construct.
When you’ve defeated him, collect the materials the soldier dropped, then collect his flame-emitter shield. Next, equip the shield and head to the door to the next area. It will be blocked by ice.
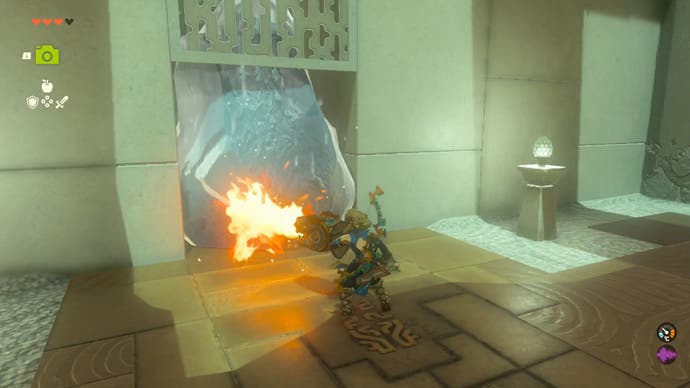
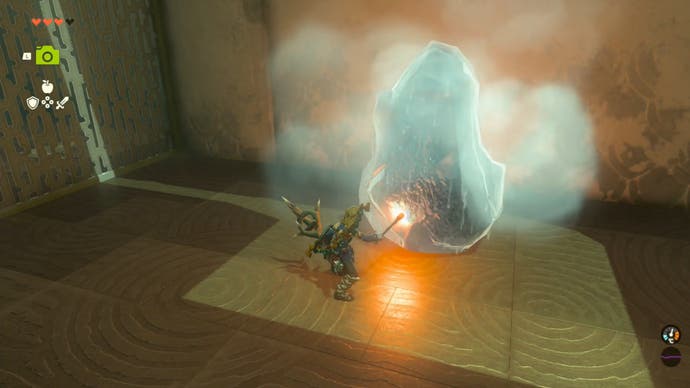
Hold the Flame-Emitter Shield like you would use it to block an attack, and it will breathe fire. Aim the shield at the ice block to melt it. Once melted, head to the door in the next room.
In the next room, head to the right and quickly use your Flame-Emitter Shield to melt the block of ice here to reveal the Shrine Chest. This chest contains five arrows.
Then you should find another Zonai Solider Construct on the left side of the room. This one uses a large stone slab as a shield. As before, you must defeat the construct in order to advance. There are many ways to defeat a build, but here’s how we did it.
To beat the second Zonai Soldier construct in Ijo-o Shrine, we used our Flame Emitter Shield to burn the construct. Then we followed up with several melee attacks. This shifted the construct enough for it to raise its shield. When he did that, we attacked him several times with a melee weapon to beat him.
Whichever way you decided to do it, once the construction is defeated, you need to pick up the materials it drops. You then need to pick up and equip the Stone-Slab Shield he dropped. Once you have it, equip it and head for the streams of fire coming out of the pipes at the back of this area.
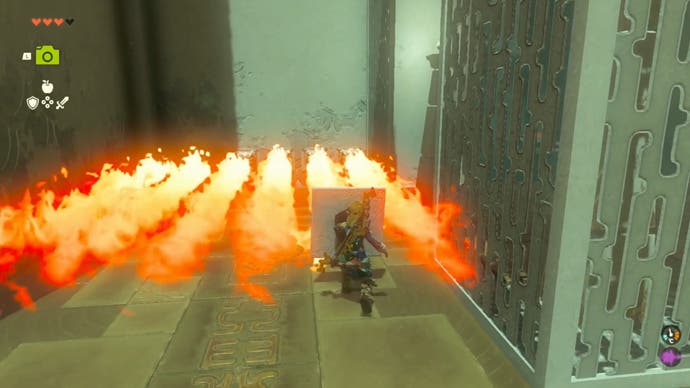
Hold the shield to block the flames and step right on it. When you’re in the flames, keep the shield up and head for the opening on your right. This leads to the next area, but don’t go down the ramp into the area yet.
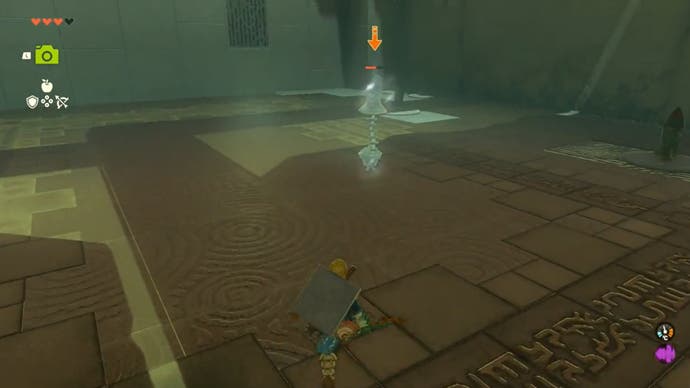
When you’re on the ramp facing the next area, you’ll probably notice there’s a Captain Construct here. You will also need to defeat this build. As with many battles in Tears of the Kingdom, there are multiple ways to defeat enemies, but here’s how we did it.
To defeat the Captain Construct in Ijo-o Shrine, we stood on the ramp leading to the area and attached a White Chuchu Slime to an arrow. We then fired the arrow at the construct to freeze it for a short time (this also dealt a fair amount of damage).
While it was frozen, we ran towards the construction and repeatedly attacked it with melee attacks. We used a weapon that had a damage stat of 14, so it only took a few hits to defeat the Construct. However, if you’re having trouble beating it, you can always try to freeze it again or use what’s left of your flame emitter shield to damage it.
Once he’s been defeated, you can pick up the materials he drops if you want. Then head to the left or right of the room. It doesn’t matter which side you go here because each side contains the same things.
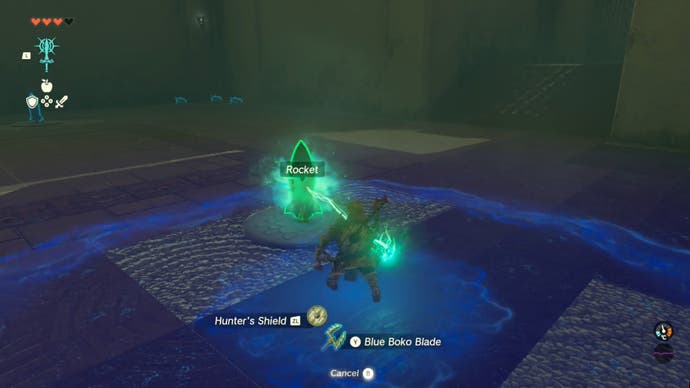
On the side you choose, you should notice two flares. Use your Fuse ability to attach the rocket to your shield. There are spare shields near the rockets if you need them.
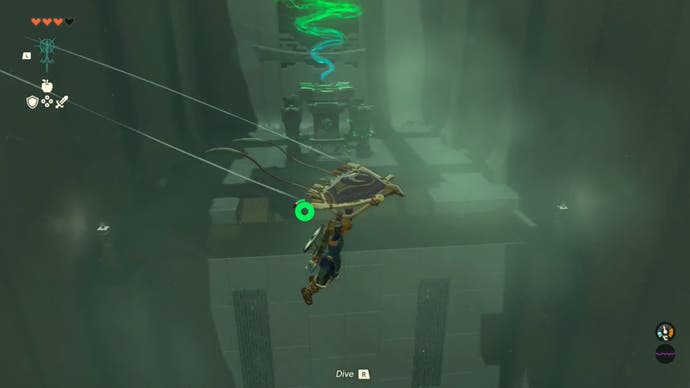
Once you’ve attached the rocket to the shield, equip it and mount the shield upwards. After a few seconds of flight, stow the shield and instantly equip Link’s paraglider.
Here you should be able to see the last area of the shrine. Swipe to the final area to collect your Blessing Light.
Once you reach the final area, you will have solved the More Than Defense puzzle in the Ijo-o Shrine in Zelda: Tears of the Kingdom.
If you can’t wait to dive into more shrines, check out our Nachoya Shrine walkthrough and Kiuyoyou Shrine walkthrough guides.
Manage cookie settings


