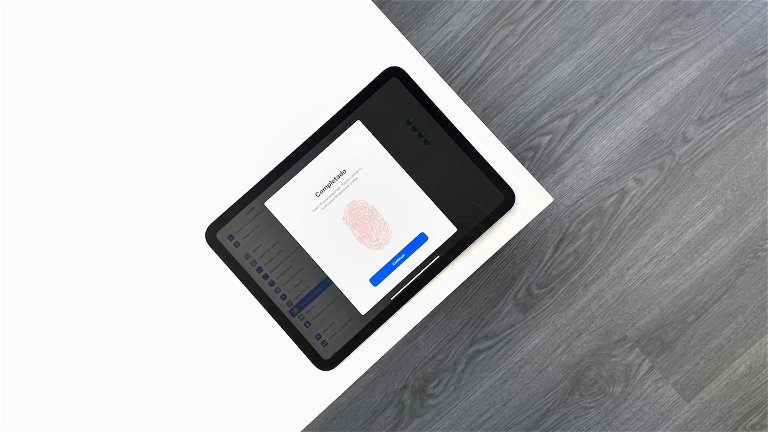
We explain how to configure Apple’s biometric security method.

Apple has redesigned the vast majority of its products since introducing Touch ID sensors to iPhone and later iPad. But there are still models with Touch ID which are still worth buying like this iPad (2022). But the process for setting up Touch ID, as of today, remains the same as since it arrived in iOS with the iPhone 5s.
The truth is that a priori, the Touch ID functionality is inferior to the facial recognition of the Face ID function. It’s not such a comfortable process like just putting your face and unlocking the screen or auto-filling a password. It’s necessary hold a finger on a button for the fingerprint reader to do its joband sometimes the button is not always in the most appropriate place…
Touch ID fingerprint recognition has been around for so long that many new iPhone and iPad users still don’t know exactly how it works. Therefore, in this tutorial we will tell you in detail how to configure Touch ID from iPad and from iPhone.
Hint
Set up Touch ID on iPhone and iPad
All iPhone and iPad models have the same method of using Touch ID despite the fact that their buttons are not implemented in the same place.
So follow these steps to set up Touch ID on your iPhone and iPad:
1. Open the Settings app
2. Go to the Touch ID and passcode section.
3. Enter your security code.
4. Press the “Add fingerprint…” button.

The Touch ID setup process is very easy and fun
5. Place your finger on the home button or the lock button (iPad) without pressing it.
6. Lift your finger and put it down again. Repeat the process as many times as necessary.
7. Press the “Continue” button.
8. Then register the edges of your fingerprint by placing and lifting your finger on the home or lock button.
9. Repeat with the other edge of your finger to register the entire outline of your fingerprint.
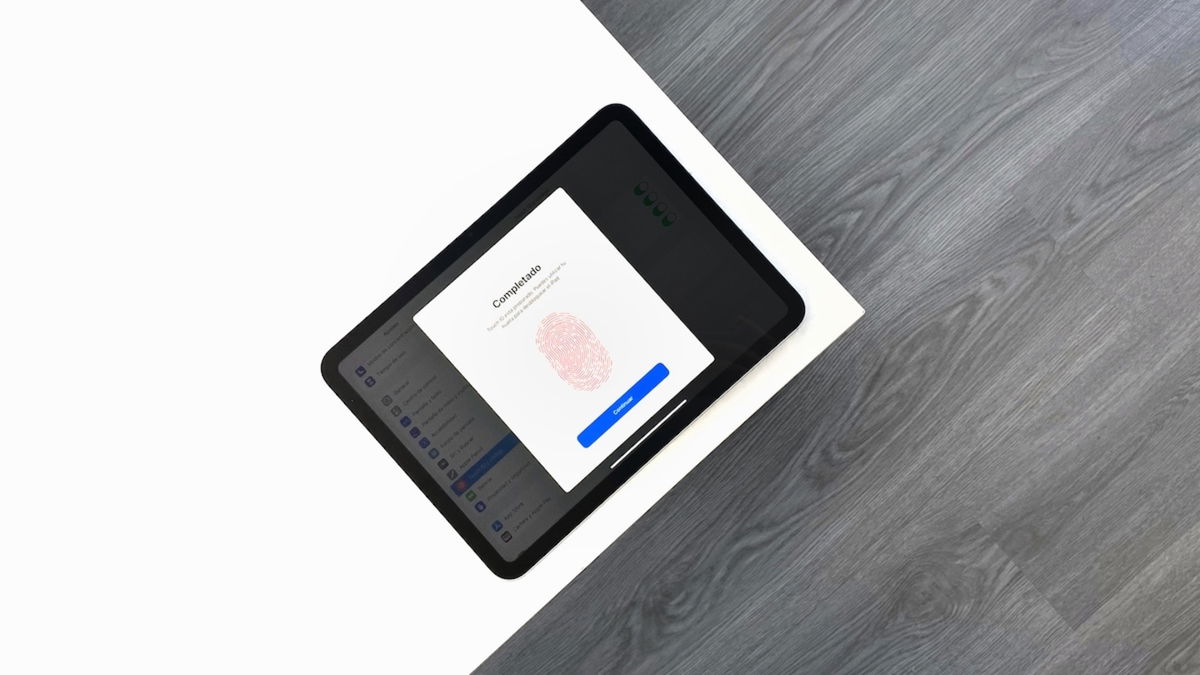
ten. Finally, click the blue “Continue” button to complete the Touch ID fingerprint registration process.

Completed process to set up Touch ID on a 2022 iPad
Additionally, you can set up Touch ID right out of setup on a new iPhone from scratch, but the process for enabling Touch ID remains exactly the same. The settings also apply to MacBook Air and MacBook Pro.
How Touch ID works
After setting up Touch ID on an iPhone and/or iPad, the operation of Apple’s fingerprint sensors is quite simple: just place your finger (without pressing) on the home button or on/off (lock) button on iPhone and iPad so that the sensors are able to identify your fingerprint and trigger an action.
The operating system of your iPhone or iPad will only prompt you to use Touch ID when configured. It’s a very useful feature that will pave the way for all sorts of actions in iOS and iPadOS.
What uses can we give to Touch ID?
- Make purchases in the App Store.
- Unlock the device screen.
- Fill passwords automatically.
- Make mobile and online payments with Apple Pay.
iPhone and iPad models that support Touch ID
Here is a complete list with all iPhone and iPad models that have Touch ID sensors on your home button or on your on/off button (iPad).
- iPhone 5s from 2013.
- iPhone 6 from 2014.
- iPhone 6 Plus from 2014.
- iPhone 6s from 2015.
- iPhone 6s Plus from 2015.
- iPhone 7 from 2016.
- iPhone 7 Plus from 2016.
- iPhone 8 from 2017.
- iPhone 8 Plus 2017.
- iPhone SE 2020.
- iPad (5ª generation) from 2017.
- iPad (6ª generation) of 2018.
- iPad (7ª generation) of 2019.
- iPad (8ª generation) the 2020.
- iPad (9ª generation) the 2021.
- iPad (10ª generation) the 2022.
- iPad Air (2ª gen) from 2014.
- iPad Air (3ª gen) of 2019
- iPad Air (4ª gen) from 2020.
- iPad Air (5ª gen) from 2022.
- iPad mini (3ª gen) from 2014.
- iPad mini (4ª gen) from 2015.
- iPad mini (5ª gen) from 2019.
- iPad mini (6ª gen) from 2021.
- iPad Pro (1ª gen) from 2016.
- iPad Pro (2ª gen) from 2017.
How to set up a secondary Touch ID fingerprint
In addition, Apple allows its users add a secondary fingerprint to use Touch ID with different fingers or so that multiple users can use Touch ID on the same device.
Exist a maximum limit to add a total of 5 fingerprints with Touch ID. The process of setting up a secondary fingerprint in Touch ID is exactly the same as the initial process we discussed earlier.
Follow these steps to add a secondary fingerprint:
1. Open Settings on your iPhone or iPad.
2. Go to the Touch ID and passcode section.
3. Enter your security code.
4. Press the “Add fingerprint…” button.
5. Follow the steps we previously dictated to set up Touch ID.

Apple devices offer the option to add a maximum limit of 5 fingerprints
How to remove a Touch ID fingerprint
If you’re switching devices, lending it to a friend, planning to sell it, or just don’t want to use Touch ID anymore, you’ll want to know it’s possible. delete all fingerprints you have registered when setting up Touch ID.
It’s very simple, to delete a Touch ID fingerprint, just follow these instructions:
1. Open Settings.
2. Go to the Touch ID and passcode section.
3. Enter your security code.
4. Click on “Finger 1”, “Finger 2” or the name of your fingerprint.
5. Finally press the “Delete fingerprint” button.

iPhone and iPad let you remove fingerprints from Touch ID
That’s all you need to know about Touch ID, the fingerprint recognition feature introduced by Apple in 2013 with the launch of the iPhone 5s. Since its inception, the way to set up Touch ID on iPhone and iPad hasn’t changed. Although Apple plans to introduce Touch ID and Face ID under the screen of its future devices, this could vary the method of configuration. If so, we’ll be here to tell you.
Table of Contents


