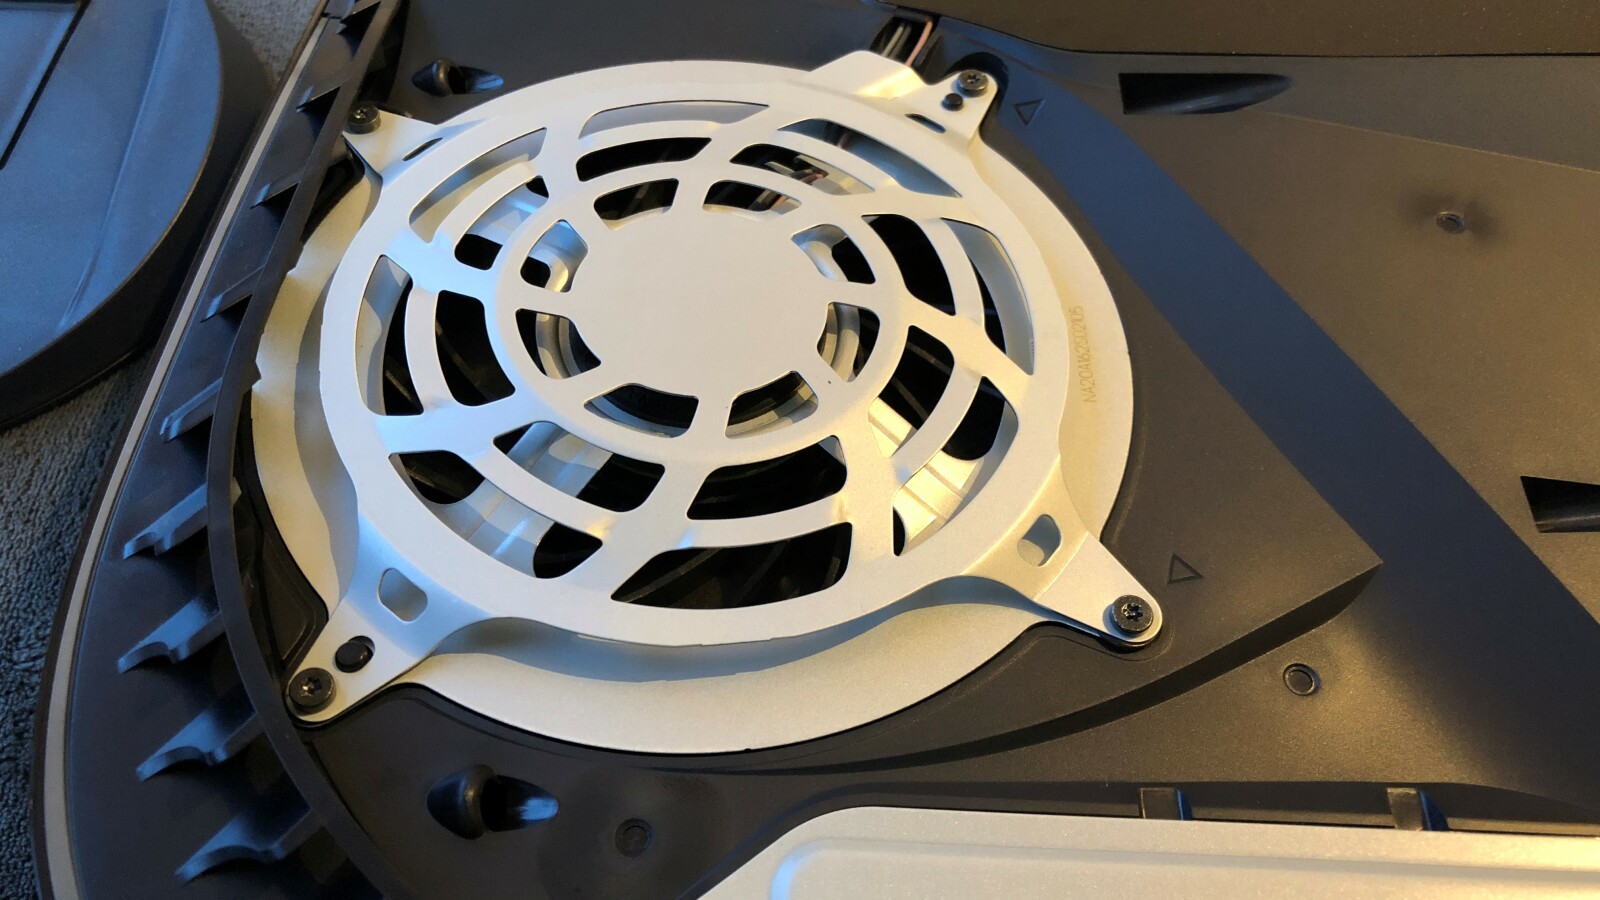
Is your PS5 too loud or is the fan no longer working as it should? We’ll show you step by step how to replace the PS5 fan quickly and cheaply.

-
The right material
- This is how you replace the PS5 fan
If you own one of the first PS5 models, you may have noticed the built-in fan negatively because of its noise. The console went on sale with a total of three different fan models. Some have a Nidec fan with 17 or 23 blades, others have a Delta fan with 23 blades.
There are clear differences in operating volume between the models. The PlayStation 5 that we have on the dissection table in these instructions has a Nidec fan with 17 fan blades.
The console is quite loud right from the start, especially because the built-in fan runs irregularly. In another guide, we also explain how you can lower the PS5 volume using small O-rings. But that’s not entirely ideal either.
The right material
PS5 replacement fans used to be quite expensive – around 60 dollars. They now exist from just 11 dollars on Aliexpress (if the link no longer works, simply enter “PS5 Fan” in the search).
We chose a PS5 fan with 23 fan blades because many users described it as quieter in the past. Supposedly it is an original part. Of course, this is not guaranteed with the Chinese dealer.
We waited around ten days and then the fan was already there. Before you start replacing it, you will need a special screwdriver or bit, because the fan is attached with T8 safety Torx. A screwdriver of this type costs less than five dollars on Amazon or eBay.
If you have tools and a replacement fan, you can get started. Before that, the obligatory note: We will open the console and unscrew the fan. Only do this if you really feel confident doing it, otherwise leave it alone. Netzwelt assumes no liability for any damage. In addition, it is not clear whether you will lose your warranty claim.
This is how you replace the PS5 fan
-
1
Place your PS5 on a soft surface to protect it from scratches. In the first step you have to unscrew the base. Do this with a flathead screwdriver or a coin.
-
2
Then turn the console over, preferably exactly as shown in the picture. Pull up the back left corner and then slide the white side panel towards the console base. The cover should be easy to remove.
-
3
You can now see the fan on your PS5 directly. This is attached with four Torx T8 screws. Take your special screwdriver and loosen the screws. One screw is somewhat blocked by the plastic ventilation grille. You can carefully bend this to the side, then the screw can be easily unscrewed. Make sure to put the screws back in correctly at the end because not all of them are the same length.
-
4
However, replacing the fan is easier if you remove the ventilation grille. To do this, place a flat tool (if necessary a slotted screwdriver) underneath and lever the grille up. It is attached with several plastic clips but is easy to remove.
-
5
You now have to carefully loosen the black plastic cover with a screwdriver or knife to access the fan plug. Pull this out and simply remove the fan upwards.
-
6
PS5 fan comparison. Our old model was one with 17 fan blades, the new one has 23 blades. You can now insert the new fan and install it in the reverse order.
-
7
If you have removed the fan grille, insert it with both ends first and then press it down.
If you have done everything as described, your console should now be significantly quieter. In our case the difference is at least enormous. Now another tip: If you already have the console open, retrofit a large SSD in the PS5. This is very easy and can also be done in just a few minutes. By the way, it shouldn’t be necessary to replace the fan on a PS5 Slim.
- » Tipp: The best VPN providers for more security and data protection
- » Buy balcony power plant: Comparison of the best solar systems
Don’t miss anything with this NETWORK WORLDNewsletter
Every Friday: The most informative and entertaining summary from the world of technology!


