The so-called Clear CMOS has been one of the few things that has been preserved in mainstream computing over the years and yet there are times when evolution has tended to zero. While in general the procedure is very simple, in others it looks like we are 20 years old, so there are several ways to achieve this. But the important thing that we have to take into account is the reason to make a Clear CMOS on the board, because this is often a problem.
Why should we do a Clear CMOS on board? In which situations?
One of the key points of this procedure is precisely the why, the reasons. Experienced and savvy users are fine and aware of the “risks” of doing so, but newcomers should consider a few things before proceeding.
The reasons are important for one main reason: we will leave the motherboard completely as standard, from stock, and in many cases this is what we want and ideal, but in others it is a problem. . Therefore, it is important to understand that sometimes this does not have to be done if we have other alternatives to configure.
By performing Clear CMOS, we will return all BIOS to standard, but if a specific parameter has been touched and we have not memorized or noted it, we will lose that parameter and its configuration. This usually doesn’t happen, but on some cards, for example, you have to manually set the boot options to tell the card where Windows is installed.
It’s totally unscientific for an experienced user, whereas for a Nobel it’s a world. Another of the most used parameters is the XMP files, essential for placing the RAM memory at the highest frequency that can be obtained as standard within the framework of said parameter recording technology.
Another of the cases which is the most lost and which subsequently can be a headache is precisely the configuration of the SSD, in particular the M.2 NVMe. Many times we have to assign the speed manually so that it doesn’t lose performance as it shares the bus with SATA, for example.
Finally in this section we could talk about the boot options for compatibility with old devices or CSM (Compatibility Support Module). Oddly enough, on some Intel platforms with next-gen AMD graphics cards, you need to enable legacy support because otherwise it won’t show an image on the monitor like with the newer RX 6000 and the previous one. RX 5000.
Is there a unitary and comprehensive way to make a Clear CMOS?
One of the problems encountered by Noble users is precisely how to accomplish this task. Each plate does this in a different way, but there is one that is indeed valid for all of them, although the process can be somewhat cumbersome if the access is not good.
But before we let it know, let’s see some of the newer methods in case we can save the overall method.
Via a button on the back of the motherboard
Normally, the current mid-high and high-end models already include a button on the rear I / O Shield which after pressing it (more or less seconds, depends on the manufacturer) will bring the BIOS / UEFI back to the original configuration. , a reset in each rule.
This button changes shape and design depending on the model or the manufacturer, so we will have to see if our plate brings it.
Jumpers still work
Believe it or not, there are motherboards that still collect the typical jumpers to perform this Clear CMOS process. The jumper is positioned differently on the plate, i.e. it is not in the same place in all, so the best way to avoid wasting too much time is to go to the manual of our model and see the diagram of the plate to locate it easily.
As a general rule and as usual, the jumper makes contact between two pins in the OFF position, so it will be enough to change the jumper so that it takes the rest and the central to carry out the process. It is recommended before moving the position jumper to disconnect the PC from the rear button of the power supply and, in the worst case, to remove the power cable from the source to the wall, so that there is no more power, after which we will change the site jumper.
After (normally) 10 or 15 seconds (depending on the manufacturer and model) the BIOS will have lost the backup it had and we will be able to reset the jumper to its original position and the power to the source, turn on the PC and enter in UEFI to see that everything is standard.
Remove battery and power, never fail
If what we want is not to waste time with any of these procedures, the oldest and most archaic is still valid today and in all models on the market. This is simply a matter of turning off the power to the PC via the rear button on the power supply unit or directly removing the power cable if this button is not available.
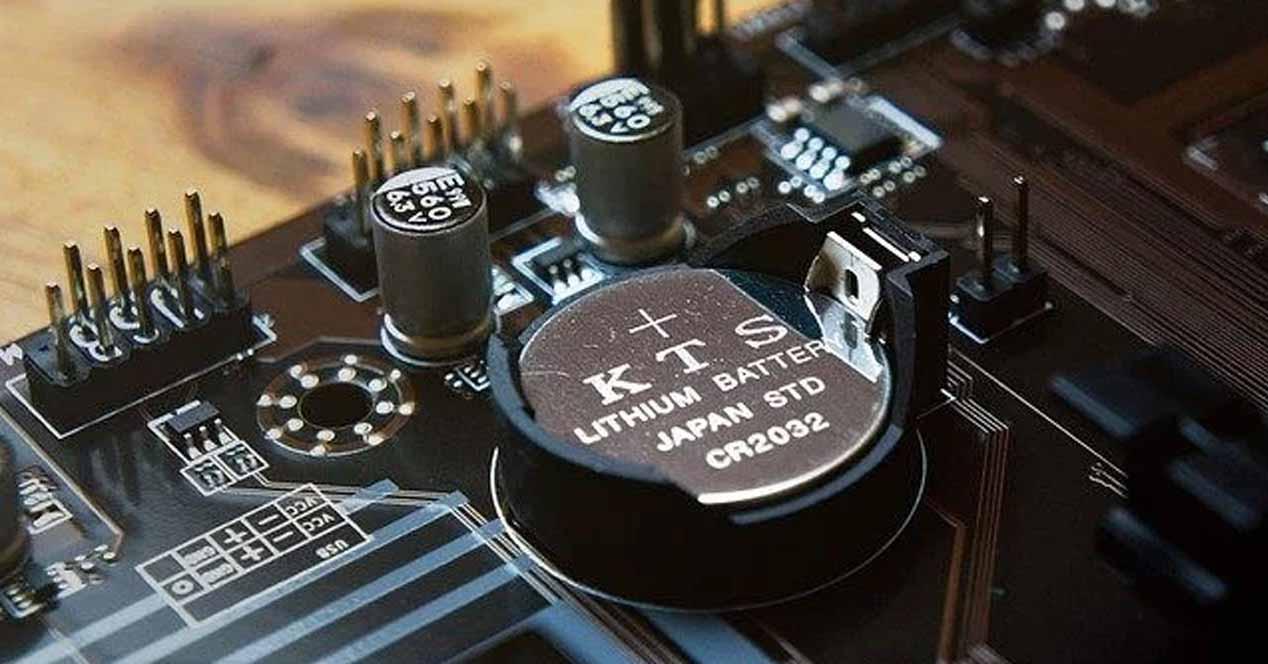
After that, with a flat screwdriver, we will press the battery holder gasket, between it and the holder that it includes, after which it will literally come out of its grip and we can remove it. With only 15 seconds without power, current or battery, the BIOS will lose its configuration and when we put the battery and the power will return to its initial state.
So you decide how to do it knowing that if something is misconfigured as it is standard, you will have to manually configure it after the Clear CMOS on board, therefore, maybe some UEFI captures or photos are just something to help. if we don’t know we’re typing.
Table of Contents


