It should be noted that when designing wired cables we have two options: one will replace the standard cables that come automatically to the power supply, where we will need the exact connectors used by the source. Another way you can do it extension cords, so that we will connect you to the wires that come standard, but the ones that will be seen will be sleeves. This is very common since it uses standard connectors and it's simple, but keep in mind will add length to the strings, so you have to make sure the box has plenty of room to edit.

In either case, both approaches are similar to the proiso that the terminal connectors to the power supply must be specified This, nothing else.
Requirements
- AWS 18 cable The maximum length will depend on how many strings you want to make and the length.
- Male and female ATX connectors for cable 18. Here the kit includes many items, including a a sewing machine That would be necessary too. It includes some connectors that we won't need, but the interesting thing is that it also includes the female and 200 parts of these ATX stations.
- The edges of all types of connectors. Depending on the ropes you are going to do shaving, you will need to purchase the necessary facilities. Usually these are purchased individually. You will also need to get centers from the other end, and it will depend on whether you make expansion cables (where you will need to buy male and female terminals) or replace the source cables (in this case you will need some source connectors).

- Tools for inserting and / or removing cables from the connector.
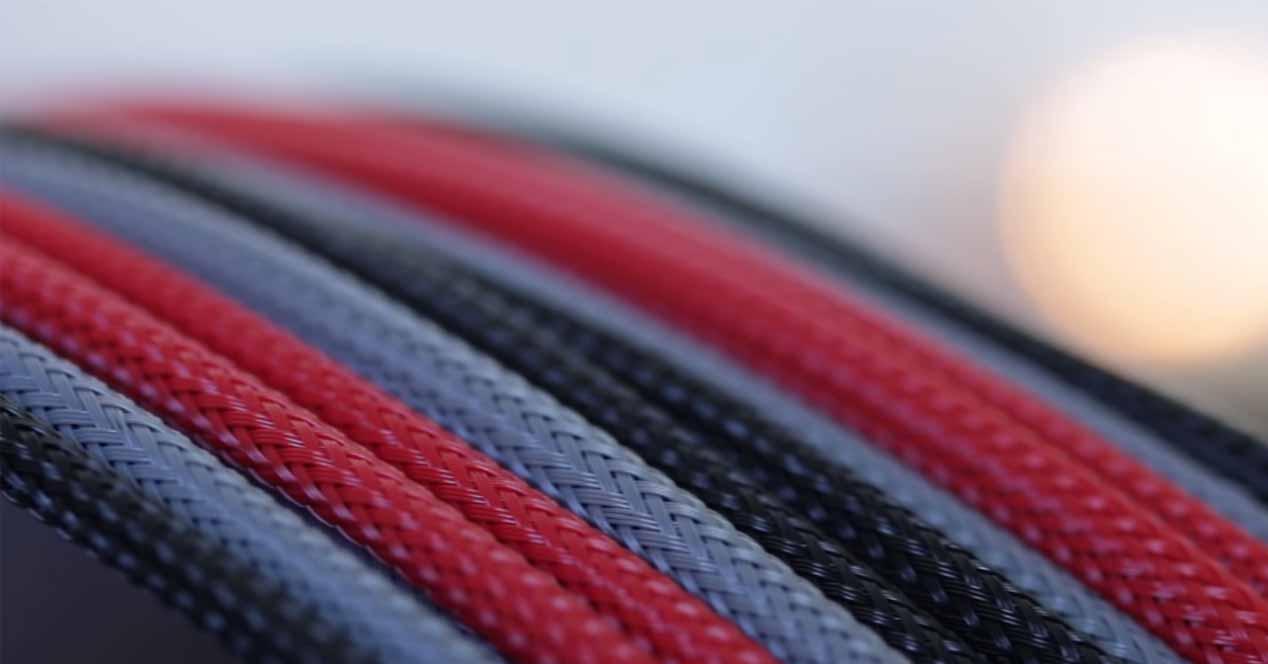
- An 18-inch stretch sleeve. The length will depend, like the AWS strings, on the threads we will paint, and the colors will depend on you. The most common thing is to buy them 4 mm thick and there are many modes that are rated in a mode where you can buy all sizes and colors, but it is important that the material is PET, as it is the most resistant.
- The heat shrinks the tubes and becomes soft. This "burn" cable ends. There are many colors and shapes, but what matters is the thickness of our strands.
- Scissors, cutting arms, ruler and cutter. The tools we all have at home and that we will need to do this modding work.
How to make wired cables for power supply
The first thing to do is be clear about the length you need for each cable (that's up to you, your Hardware and your box size), and remember that it's always best to leave a few centimeters left (we recommend at least 5 cm) because it's better to cross than to fall.

Each cord must be cut straight up. It is important that all cables will build each stranded cable we want to make the same length, which is why it's fun to use a ruler with full strings. Cutting them, best for cutting boards.

Now, you have to strip 3 mm at the end of each rope. Usually crimpers already have the add-on to do this, but they can also be done by piece cutters with the utmost care.

Once we have done this step, we can continue reducing the connectors to each cable. It should be noted that the connectors have two wings, some short to the center of the connector and some long at the end.

The long "wings" must be inserted into the crimper and begin to firm up until a crack is heard, but be careful not to overdo it. Large "wings" will be round.

Once that is done, we remove the connector and begin to introduce the cable carefully, so that the «ring» we made in the previous step is at the cable height, and the «bare & # 39; cable is at the top of the short" Wings "label. You can clearly see it in this picture.

After doing this, we put the connector in the crimper and leave it already fixed.

This is what every connector should look like after the process is complete.

You will have to repeat this process on all cables and on both ends. Remember that depending on what you do, you will need one man and woman, one or two men. It is important that if you throw different sides do it in order the connector wings are the same way on both ends, because this will make it easier to match the connectors later.

Now is the time for real cable sleep. To do this, simply measure and cut the covers to the proper length. This is not the same as cable, but is 6 mm in diameter. Why? Because the sheath should cover the cable cover but not the empty ends, and since each is 3 mm, the length should be exactly 6 mm.

After cutting the covers, it may be best to give yourself a light shimmer to protect the "hair". Slowly, without passing or you can damage the cover.

Once this is done, place the wires and connectors on the covers.

Now, at the edges of each cable, install the heat sink sleeve.

It should be at this distance, when the sleeve cover is off, and where it is, burn it with a lantern to shine and stay tightly attached.

The trick here is to heat only the end of the connector, as everything we will cut.

Then, before cooling, cut off the heat exchanger slowly and pull it out to remove it. Only our favorite part will stick, which fixes the handle of the handle on the cable.

Once this is done with all cables and both sides, we can place the connectors at their respective ends, using the tools mentioned earlier if necessary. Make sure, at any rate, that the "wings" of the connectors are the same as the connector, this way. Otherwise it won't come in.

Now it's about positioning the connectors in their proper position and order. Knowing that it is correctly mounted, you should hear a slight "click", indicating that the wings have attached their anchors.

When you make extensions, they should simply be in the same position. If not, you should look at the connection map from the source to know where each one is going. In any case, be aware that the connectors should appear slightly, you should be able to see them a bit as in the following picture.

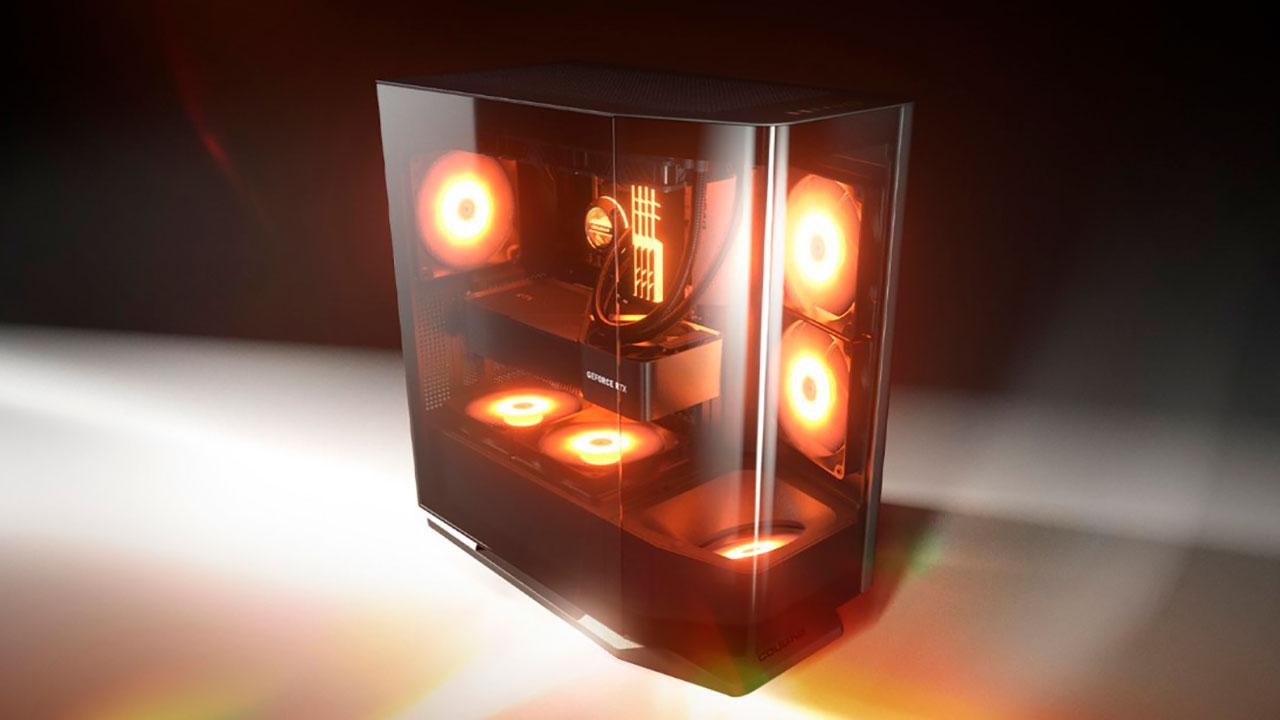
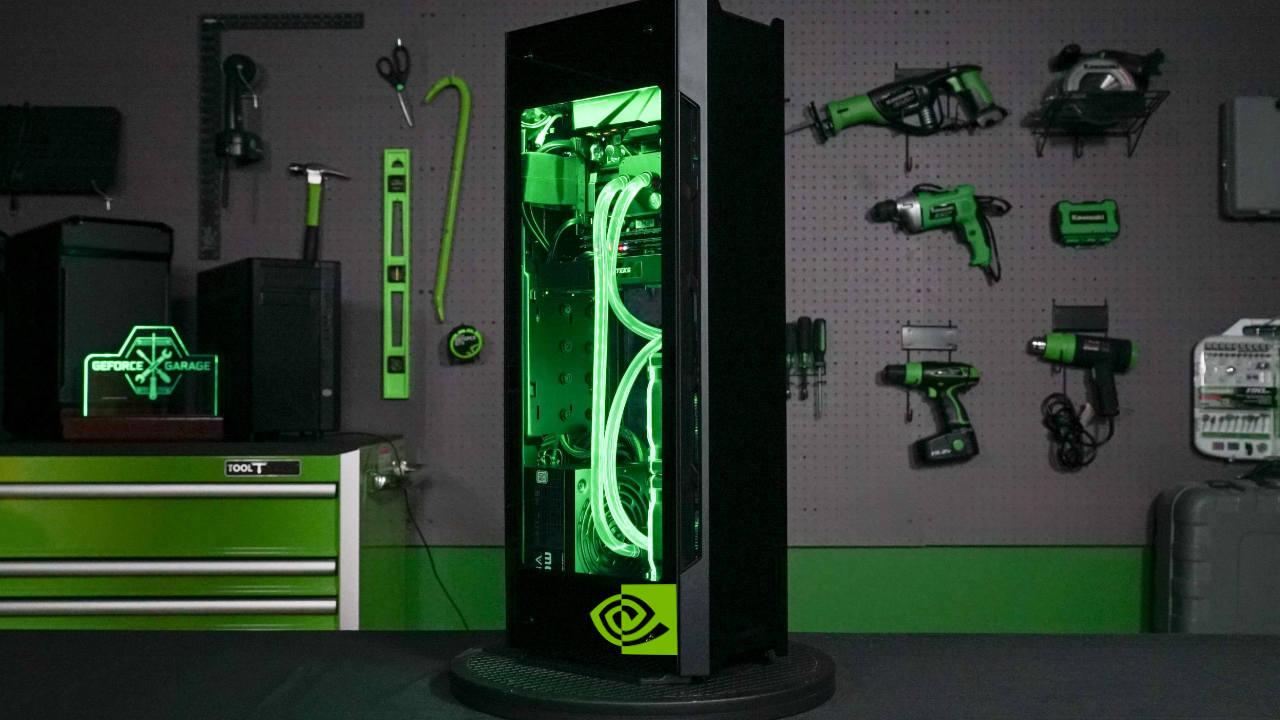
Hand-holding cables are laborious but not too difficult. Now the results are amazing.