One of the standout features that came with the Windows 10 May 2019 Update was the Xbox Game Bar. It is designed to create an immersive computer gaming experience, featuring a few exciting tools.
Perhaps the highlight is that these functions are now available to all users with the fast keyboard shortcut and without installing any other programs. Among them, the ability to record what you see on screen in a short video.
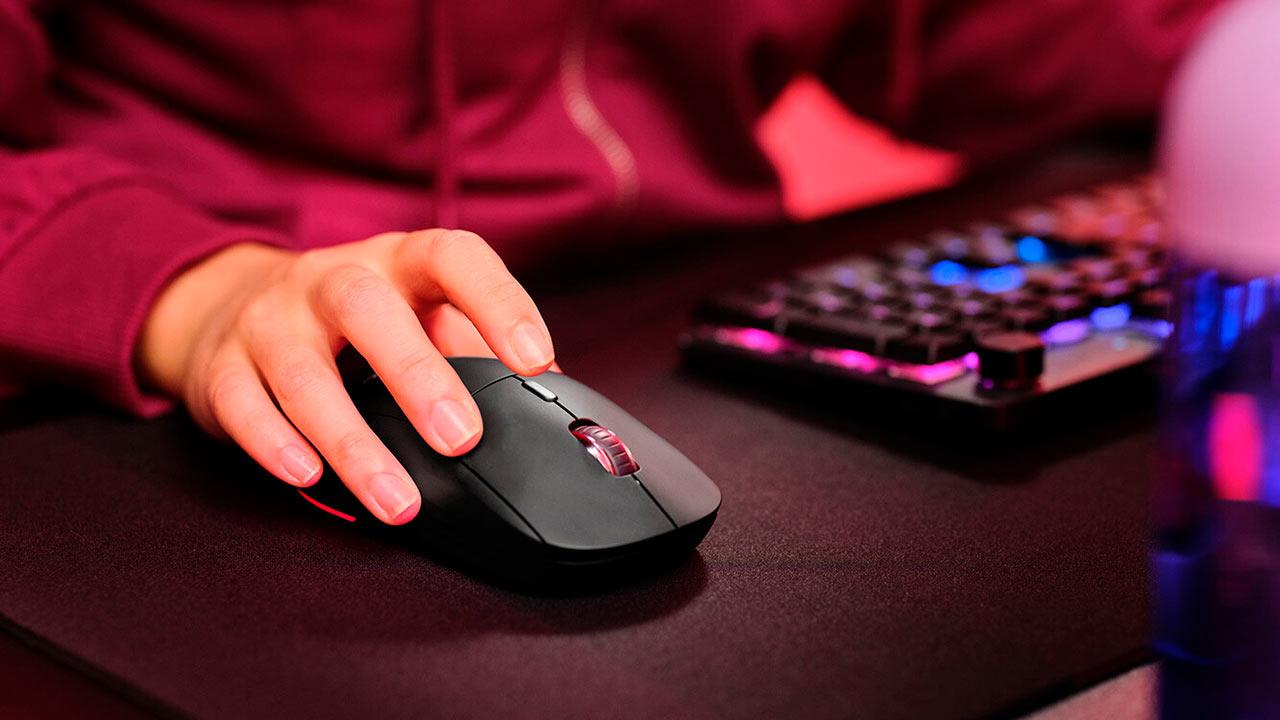
How to record your screen in Windows 10
Although the Xbox Game Bar is available on all Windows 10 PCs, it seems to not work on other devices. This includes some kind of graphics card.
To test, make sure Game Bar is enabled. Go to ‘Settings> Games> Game Bar’ and see if the button is marked ‘on’.
You will see that it is possible to customize keyboard shortcuts for a variety of functions, but for the purpose of this tutorial, we will use the values that the app automatically provides:
- Open the program or program you would like to record on screen. The option will not be available when you start on the desktop.
- Launch the game bar with the ‘Windows Key + G’ keyboard shortcut.
- Now the program will show you more options. In the ‘Download’ menu in the top left corner, see the recording option, indicated by a white space inside the gray circle. You can also go directly to this section by pressing ‘Win + Alt + R’ if you like.
- If this is your first time recording your screen, you may need to accept some permissions before you start.
- You should see a window while recording in the past.
- Here it is possible to turn on and off the microphone, and press the stop button at any time.
- When the recording is complete, you will receive a message labeled ‘Recorded Game Clip’. Click on it to view the file in ‘File Explorer’.
- To change the default location where the snapshots are saved, go to ‘Settings> Games> Abbreviations’. Click on ‘Open Folder’ and select a different File Explorer location.
There is also a useful feature that allows you to record your screen in the background. It is especially useful to stand out from the game, but it can also be an effective way to detect problems with your device:
- Open the same recording menu as the previous one, go to ‘Settings> Games’
- In ‘Background Recording’ make sure the button is turned on. Also, you may need to accept certain permissions.
- Here you can also select the times that you want the device to be recorded, ranging from 30 seconds to 10 minutes.
- Now when you go to the game bar (Win + G), click the left button of the register to take the latest photos. If it’s gray, click on it and check the box next to ‘Enable game features for this app to record a game.’
Since the launch of MacOS Mojave in 2018, it’s also easy record your Mac computer screen, we show you how to do it.