Destiny 2 Cryptic Quatrains are a set of three quests containing puzzles that lead to buried treasures on different destinations.
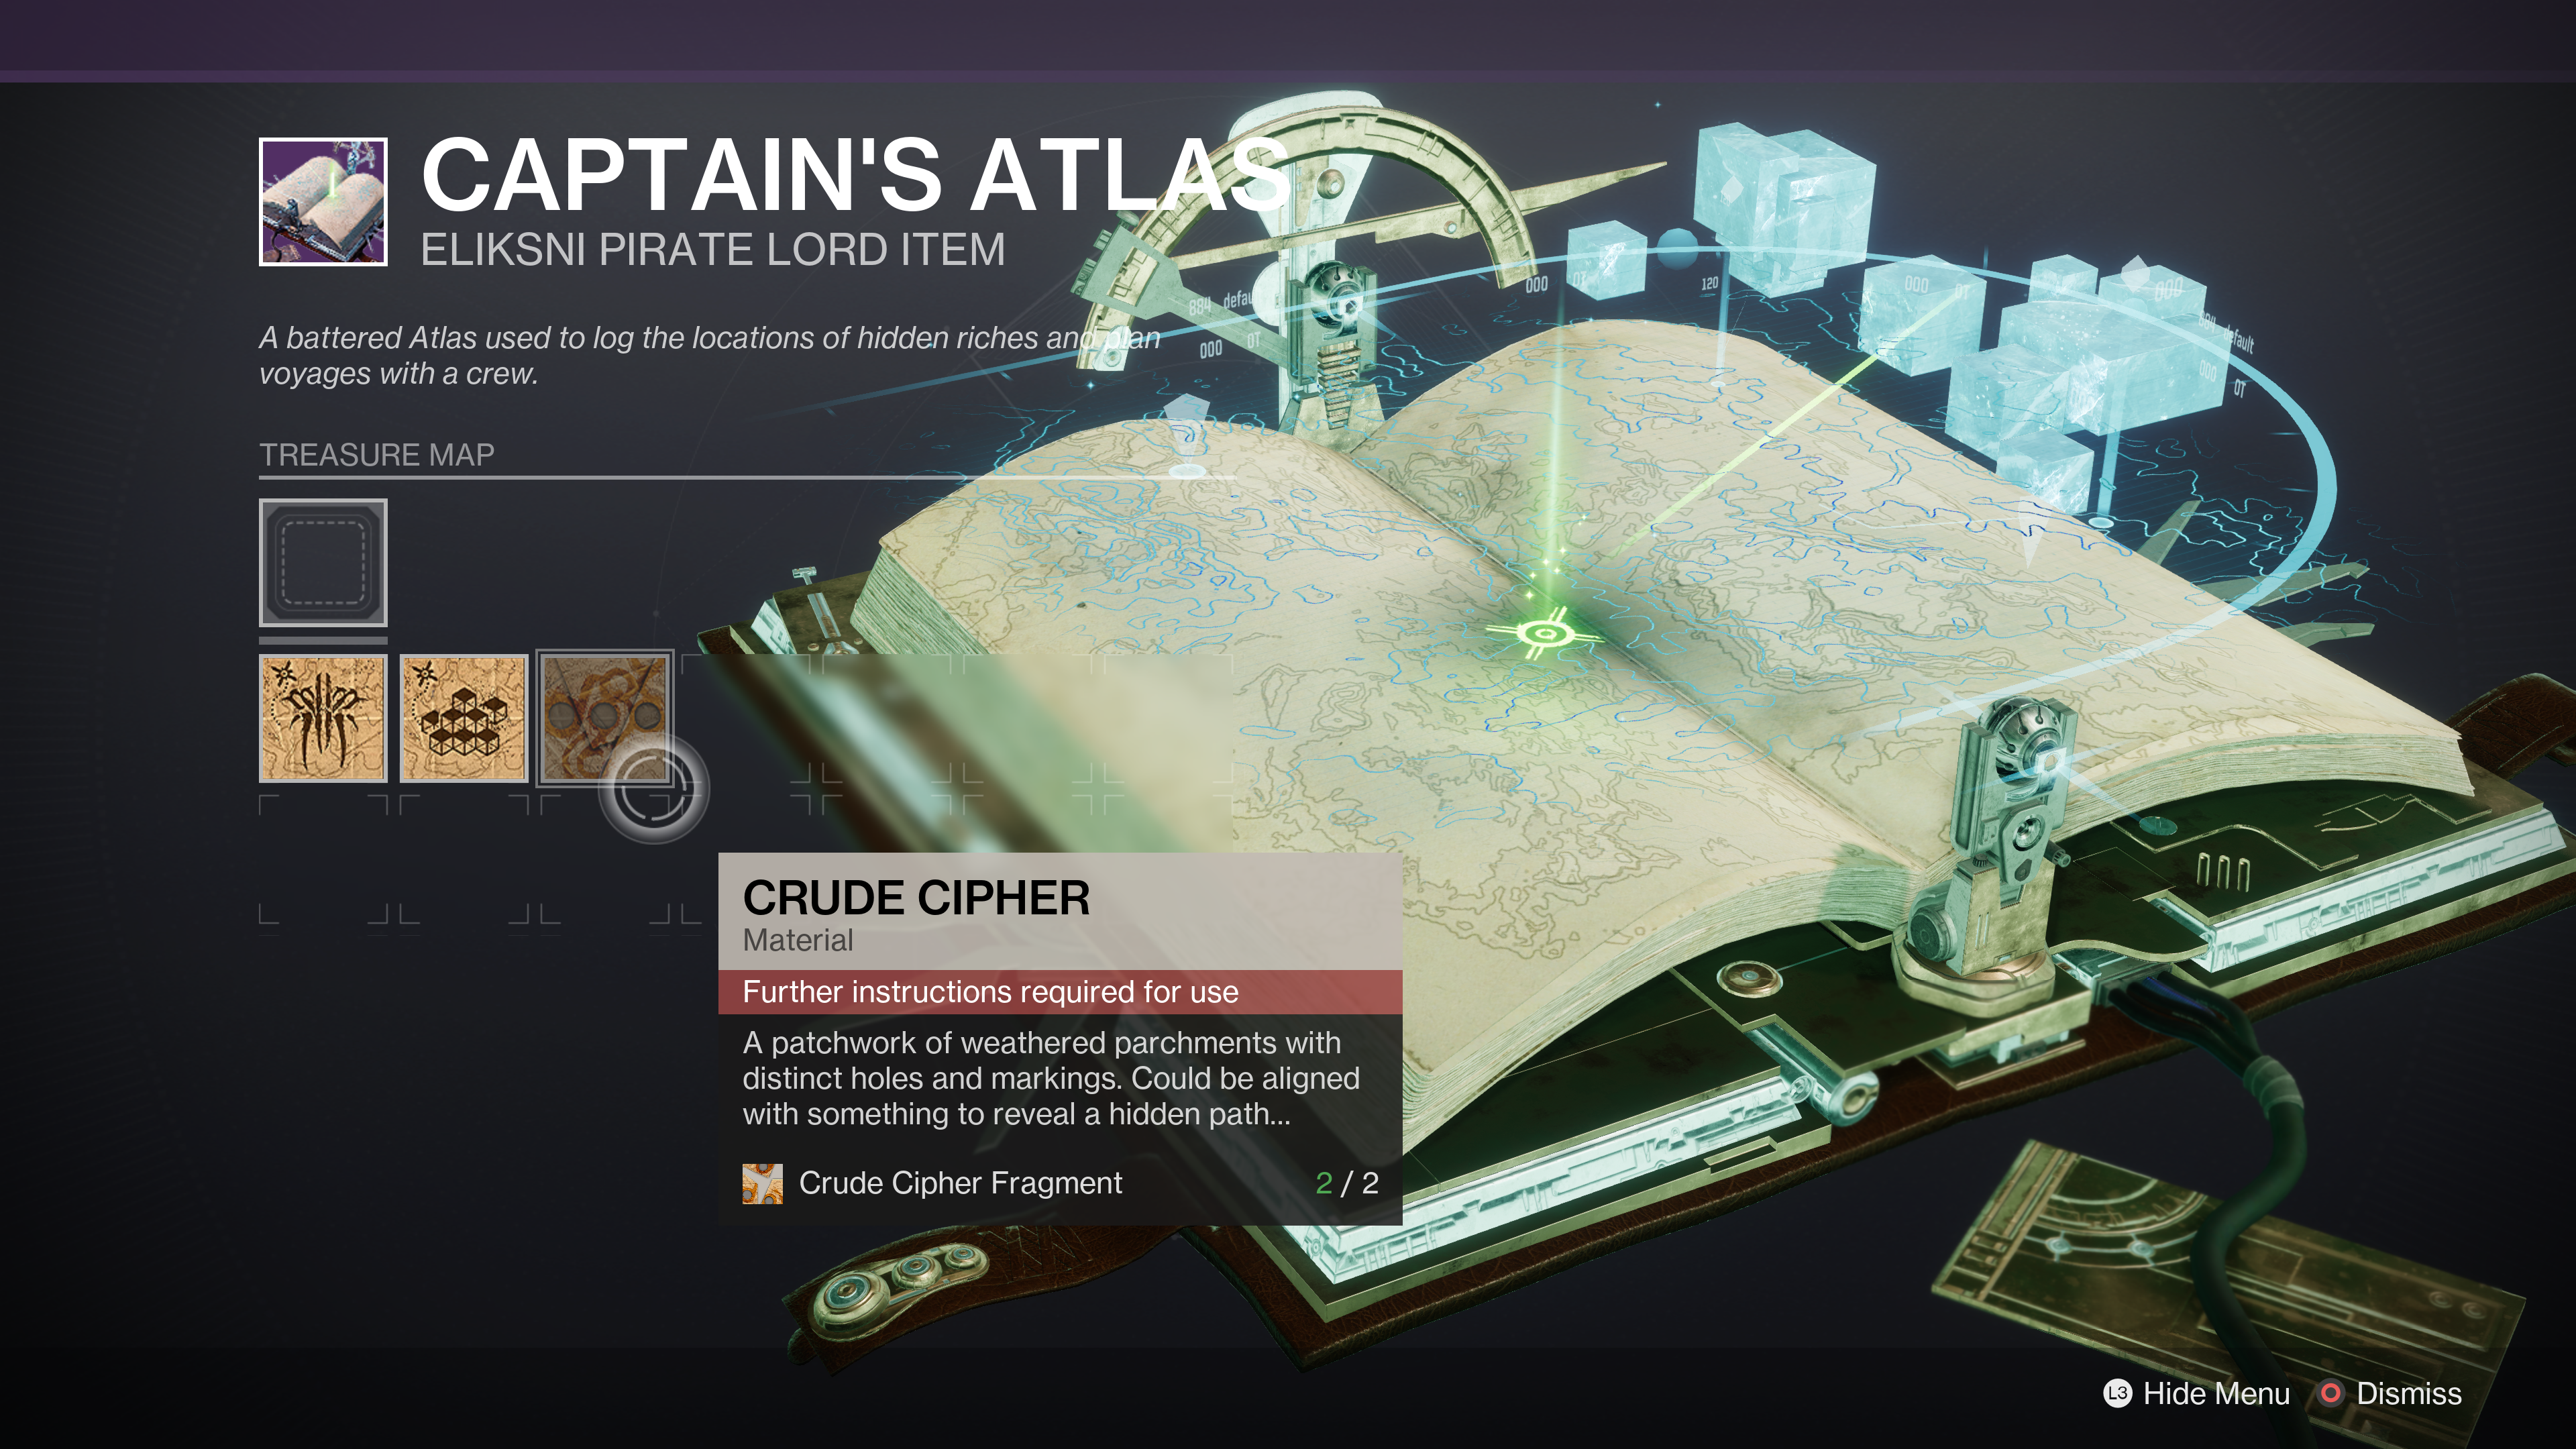
Each of these quests has several stages, culminating in the discovery of various rewards, including unlocking the Raw figure for the Captain’s Atlas after completing all three quests.
Completing them also unlocks progress for Destiny 2’s Seasonal Challenges and a Triumph.
This guide will help you solve the first cryptic quatrainbut be sure to come back soon on how to find out the second and third.
On this page:
How to Increase Reputation with the Star Chart to Unlock Cryptic Quatrain Quests
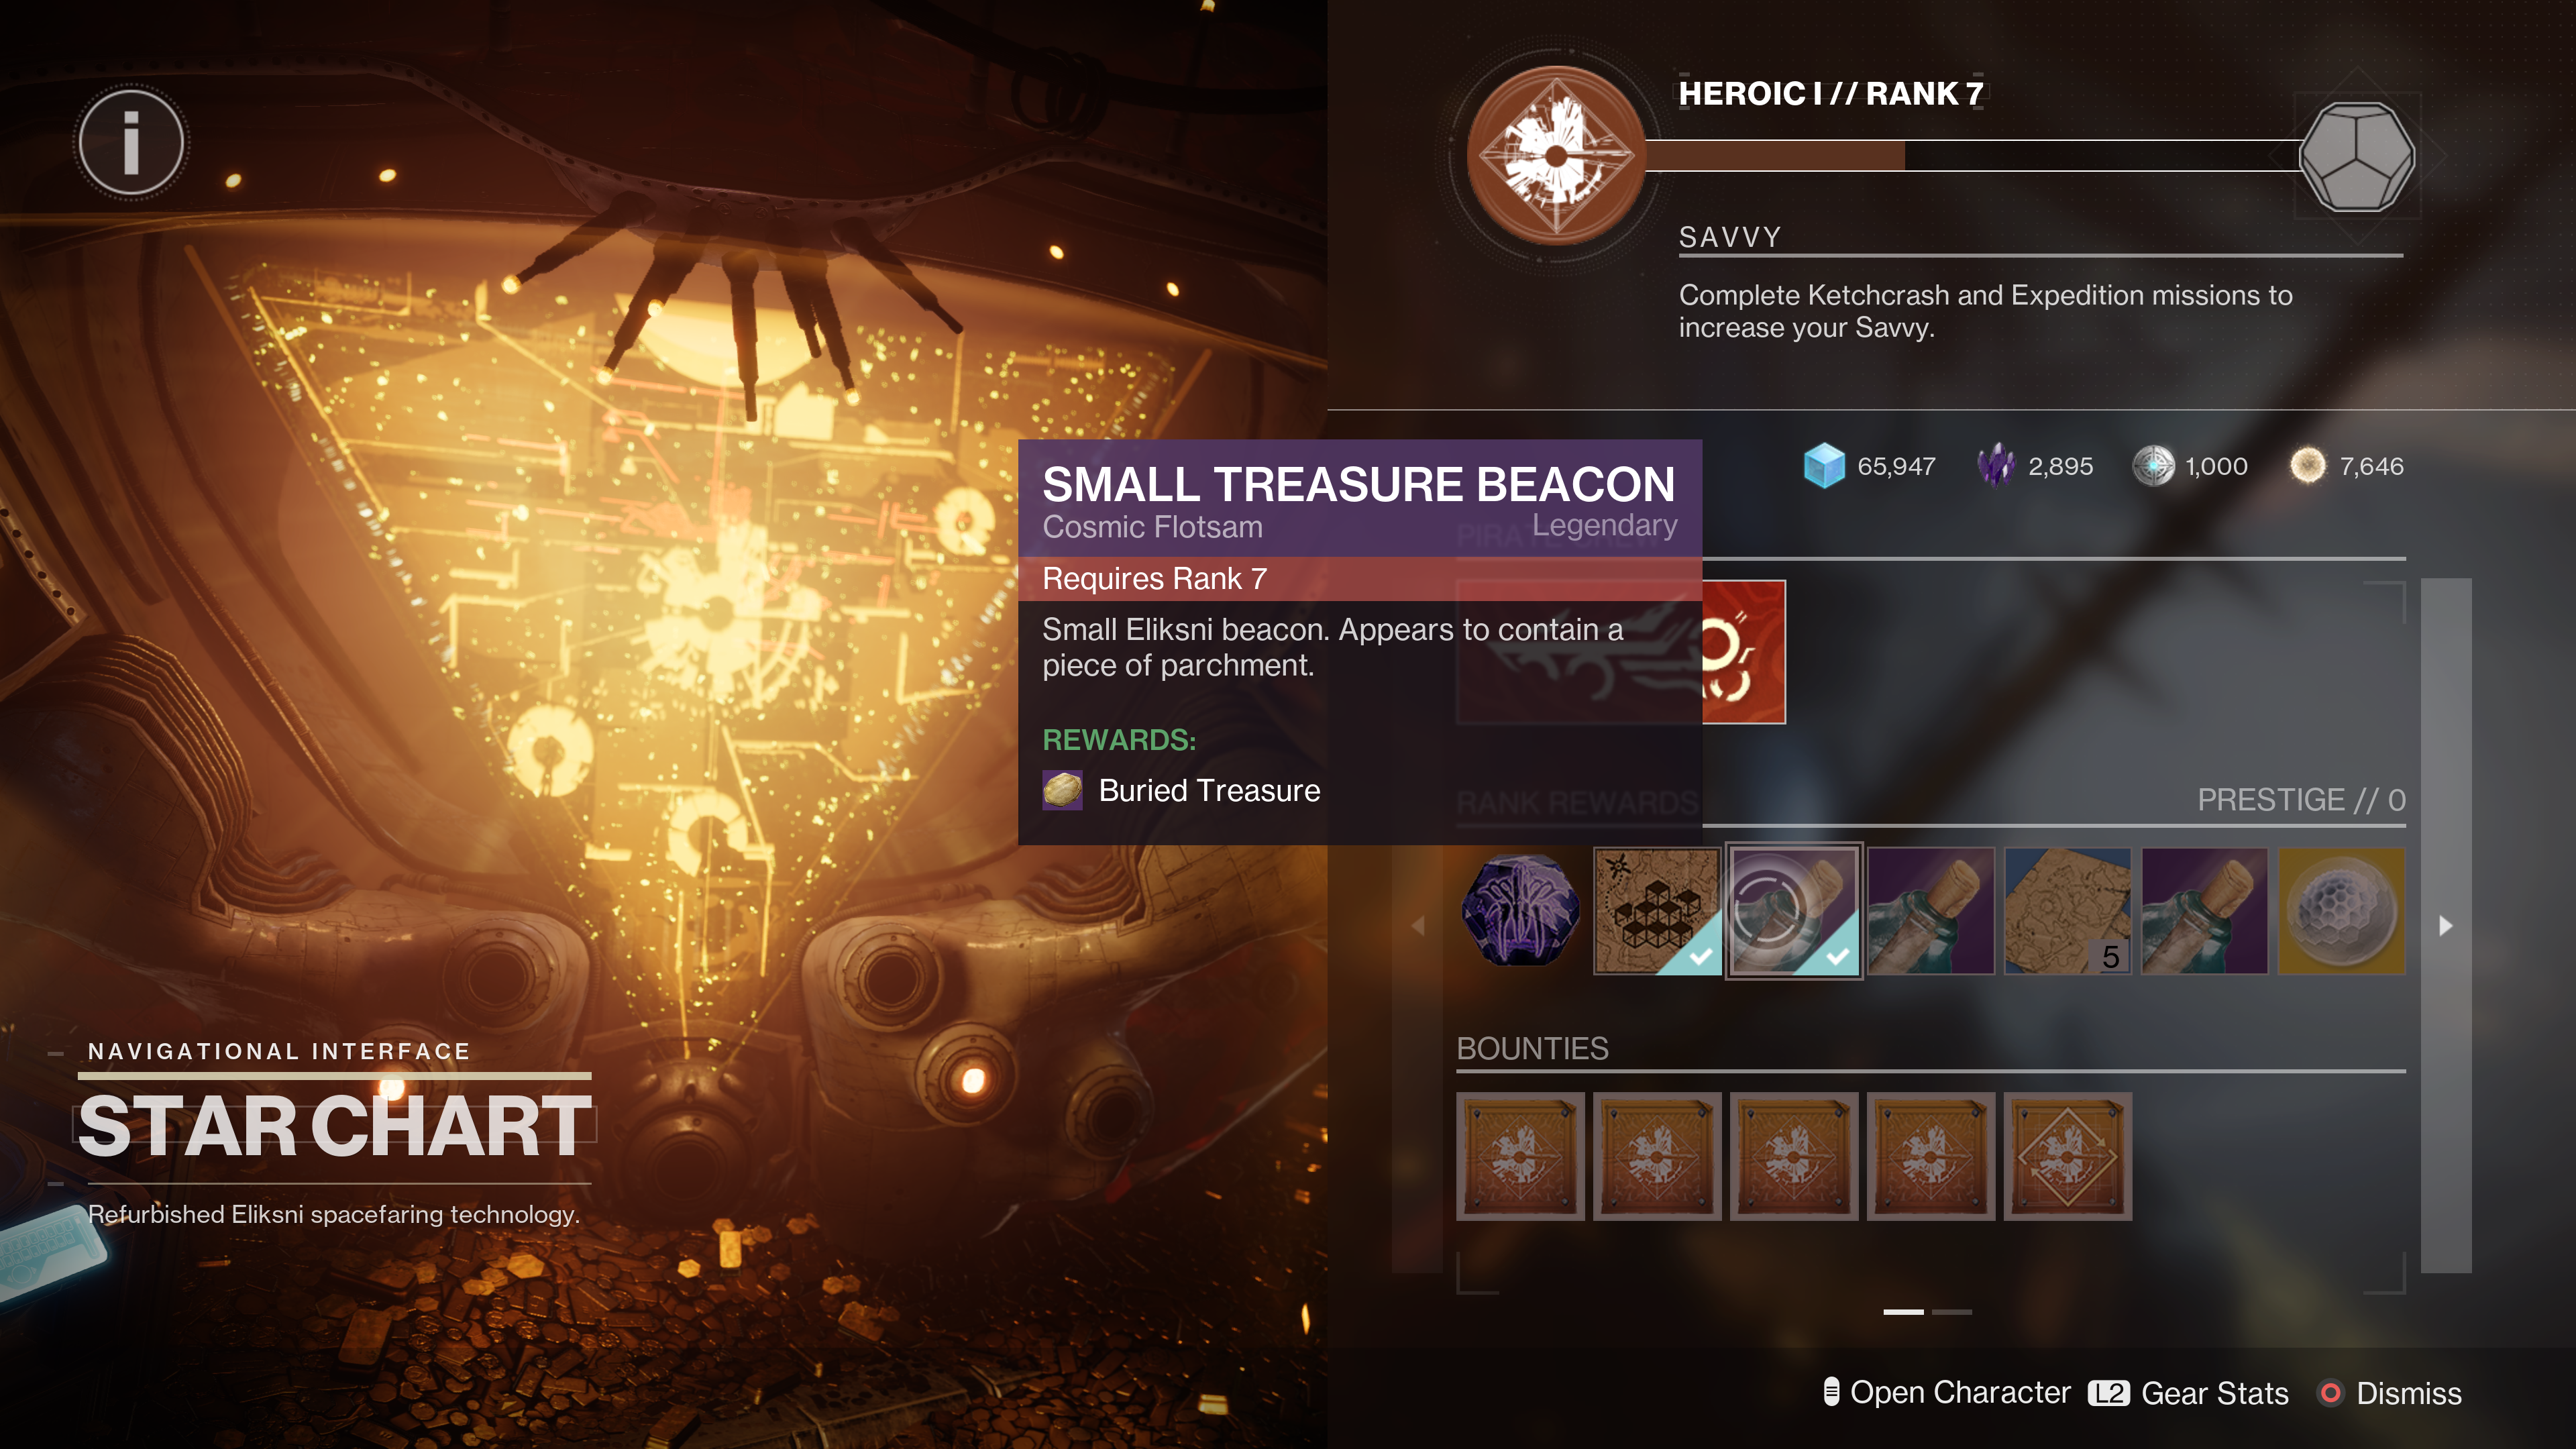
Cryptic Quatrain quests are acquired by reaching rank milestones with the Sky map in the BAR. Reach ranks 7, 10 and 16 each rewards you with a treasure tag which unlocks treasure hunt quests.
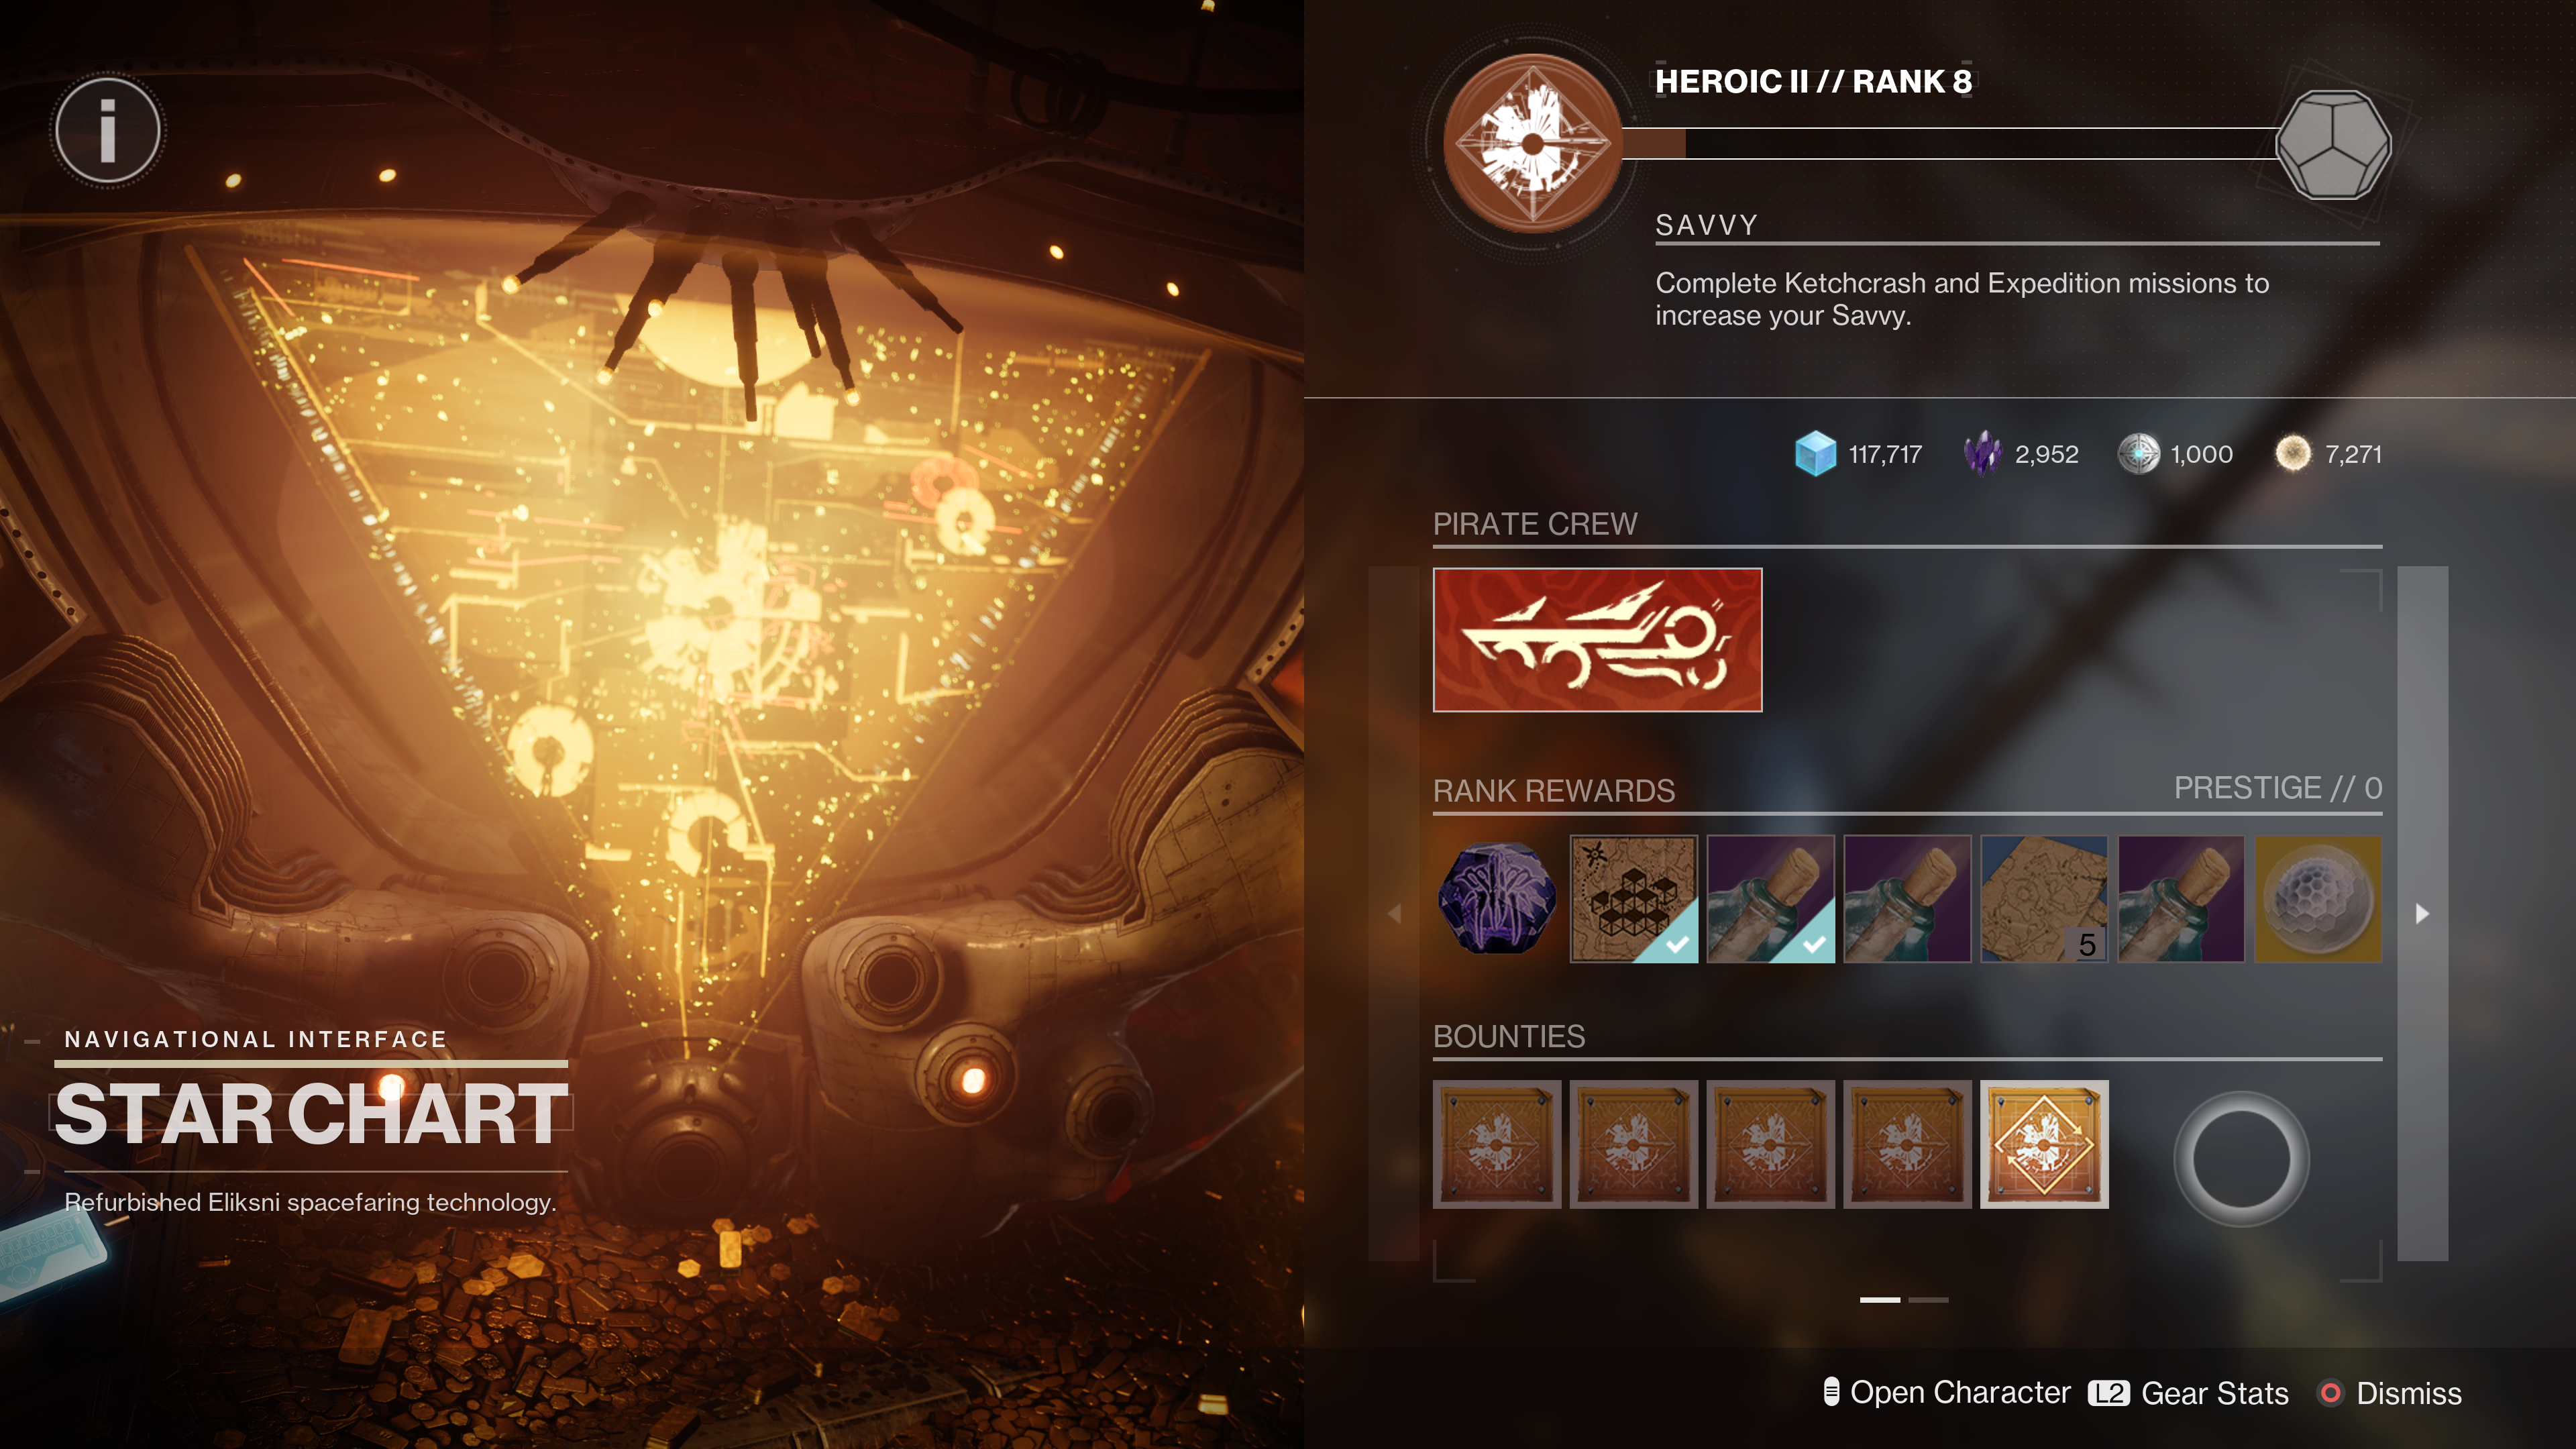
Reputation for Ranking Star Chart Provider is earned by completing Ketchcrash and Expedition Activitiesaccessible on the left side of the HELM board.
Destiny 2 Cryptic Quatrain 1 quest steps, puzzles and location
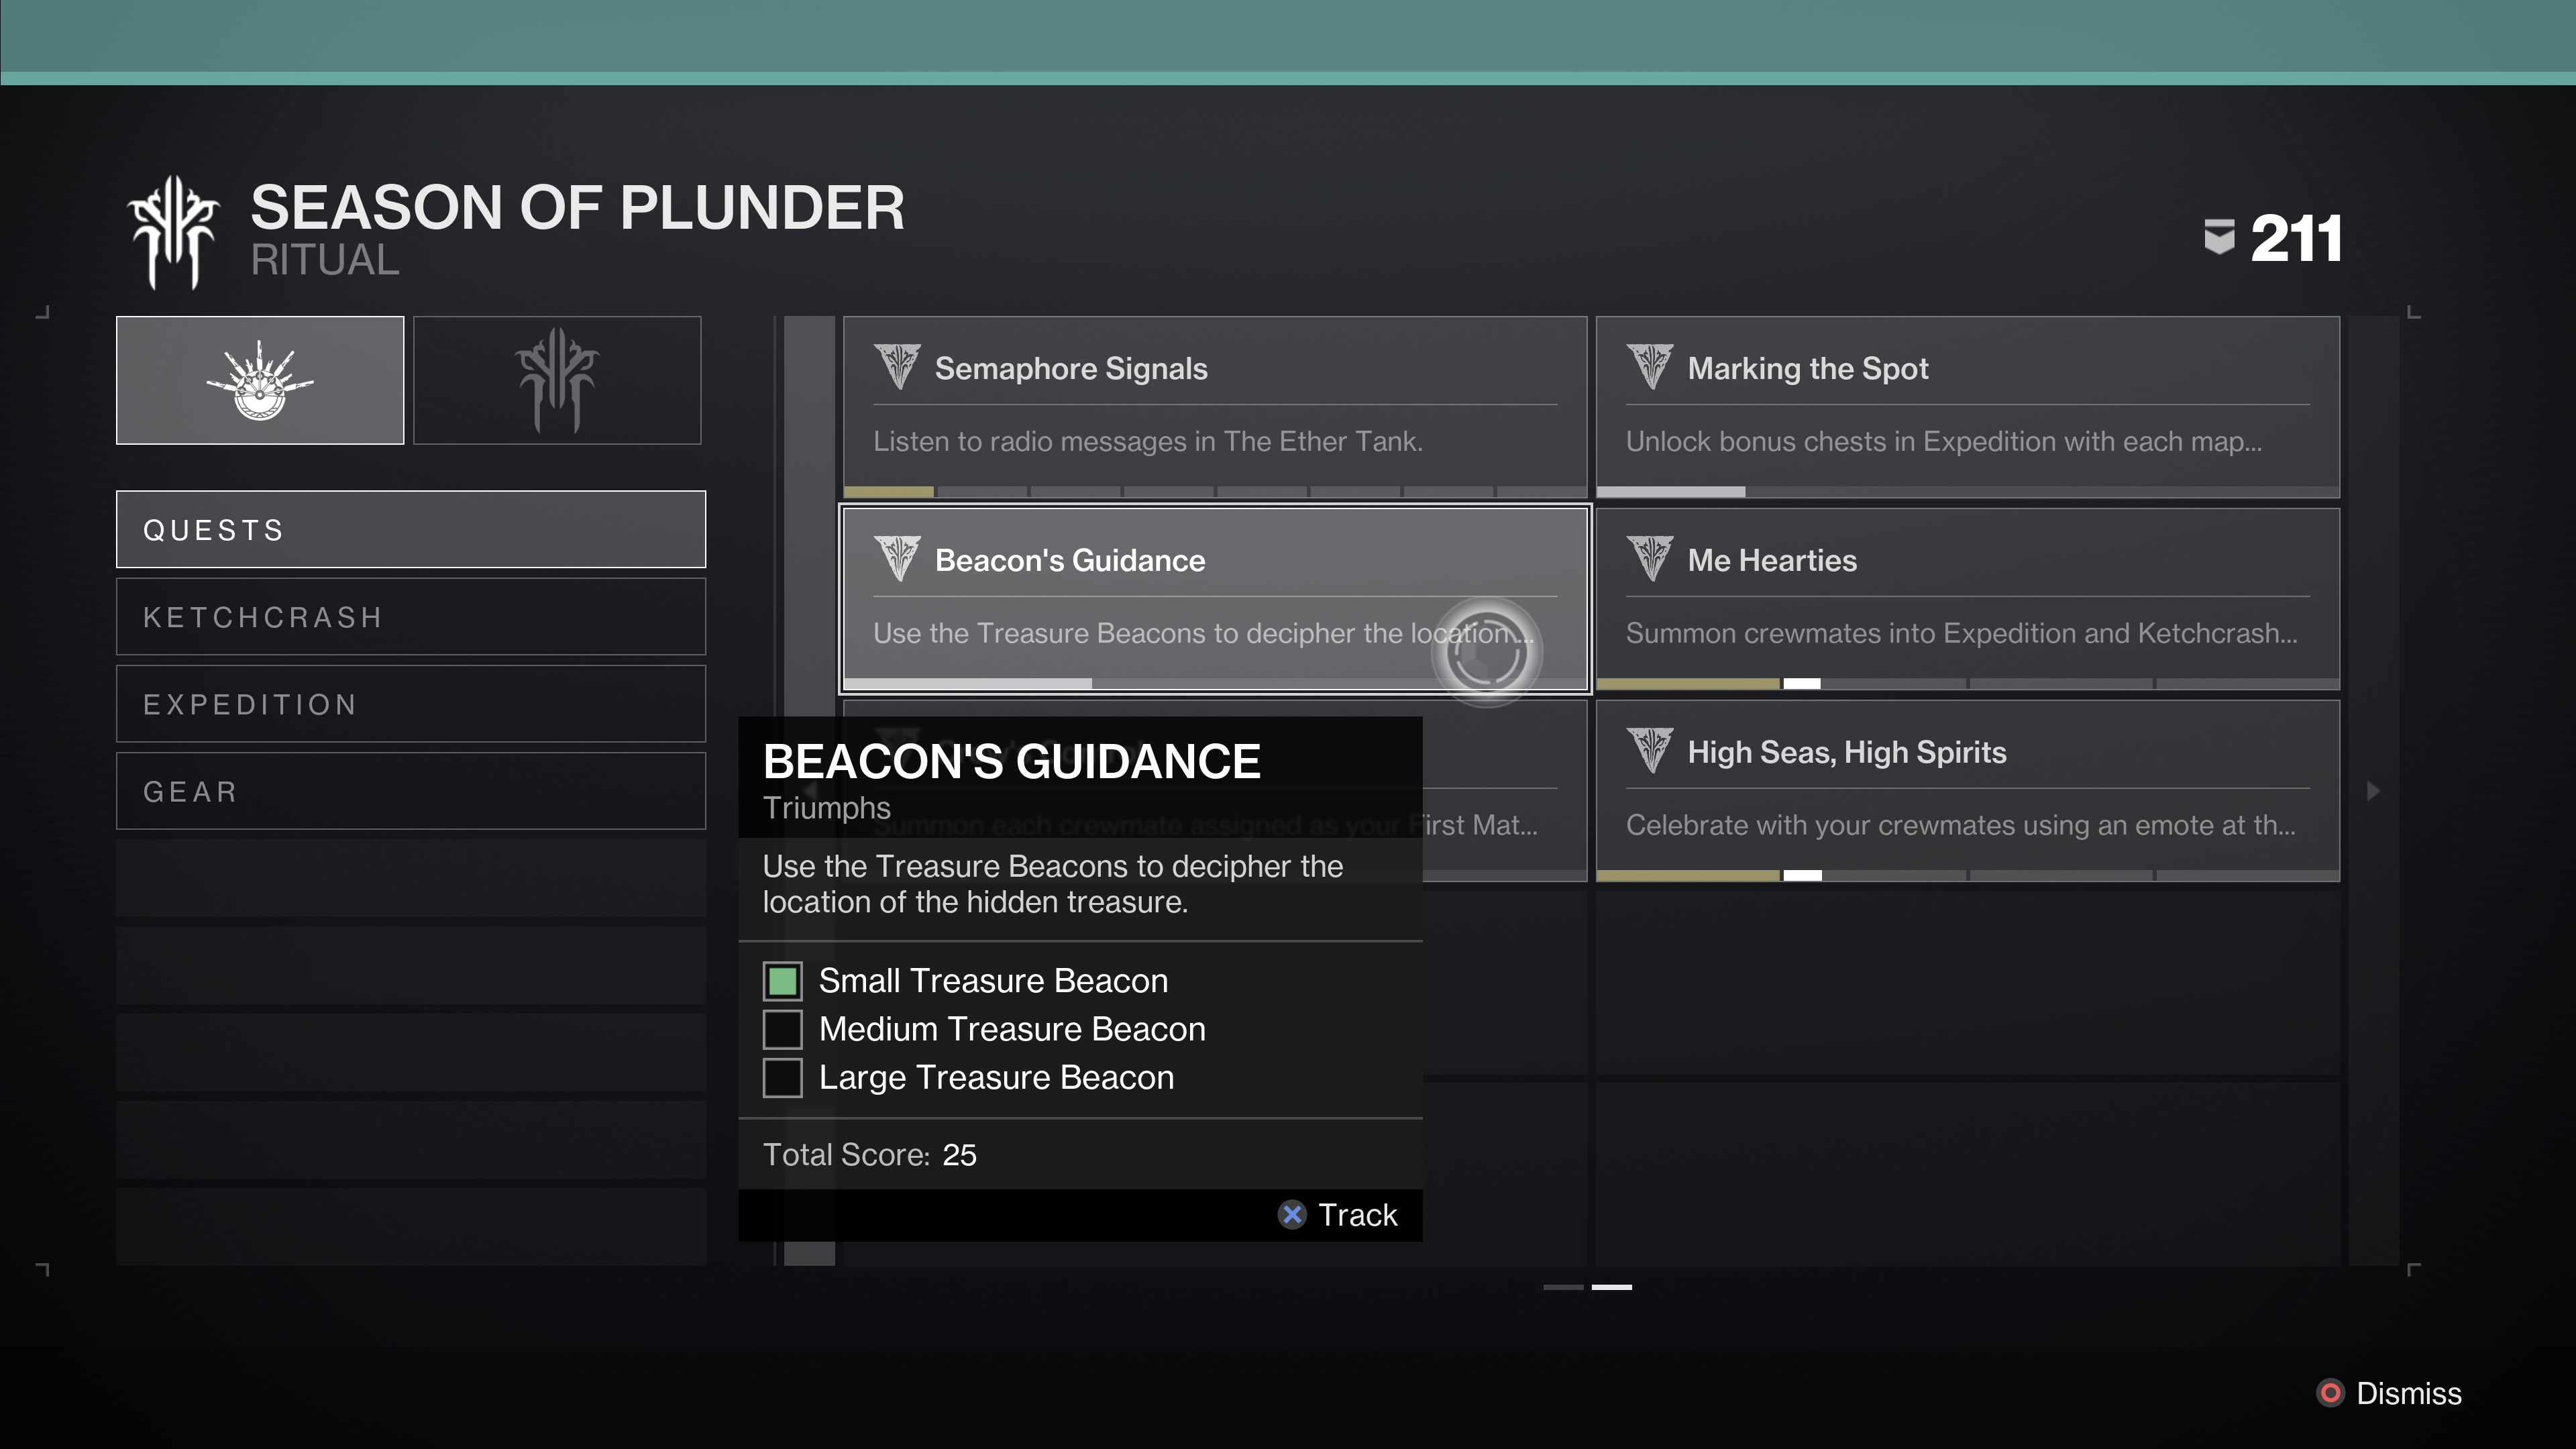
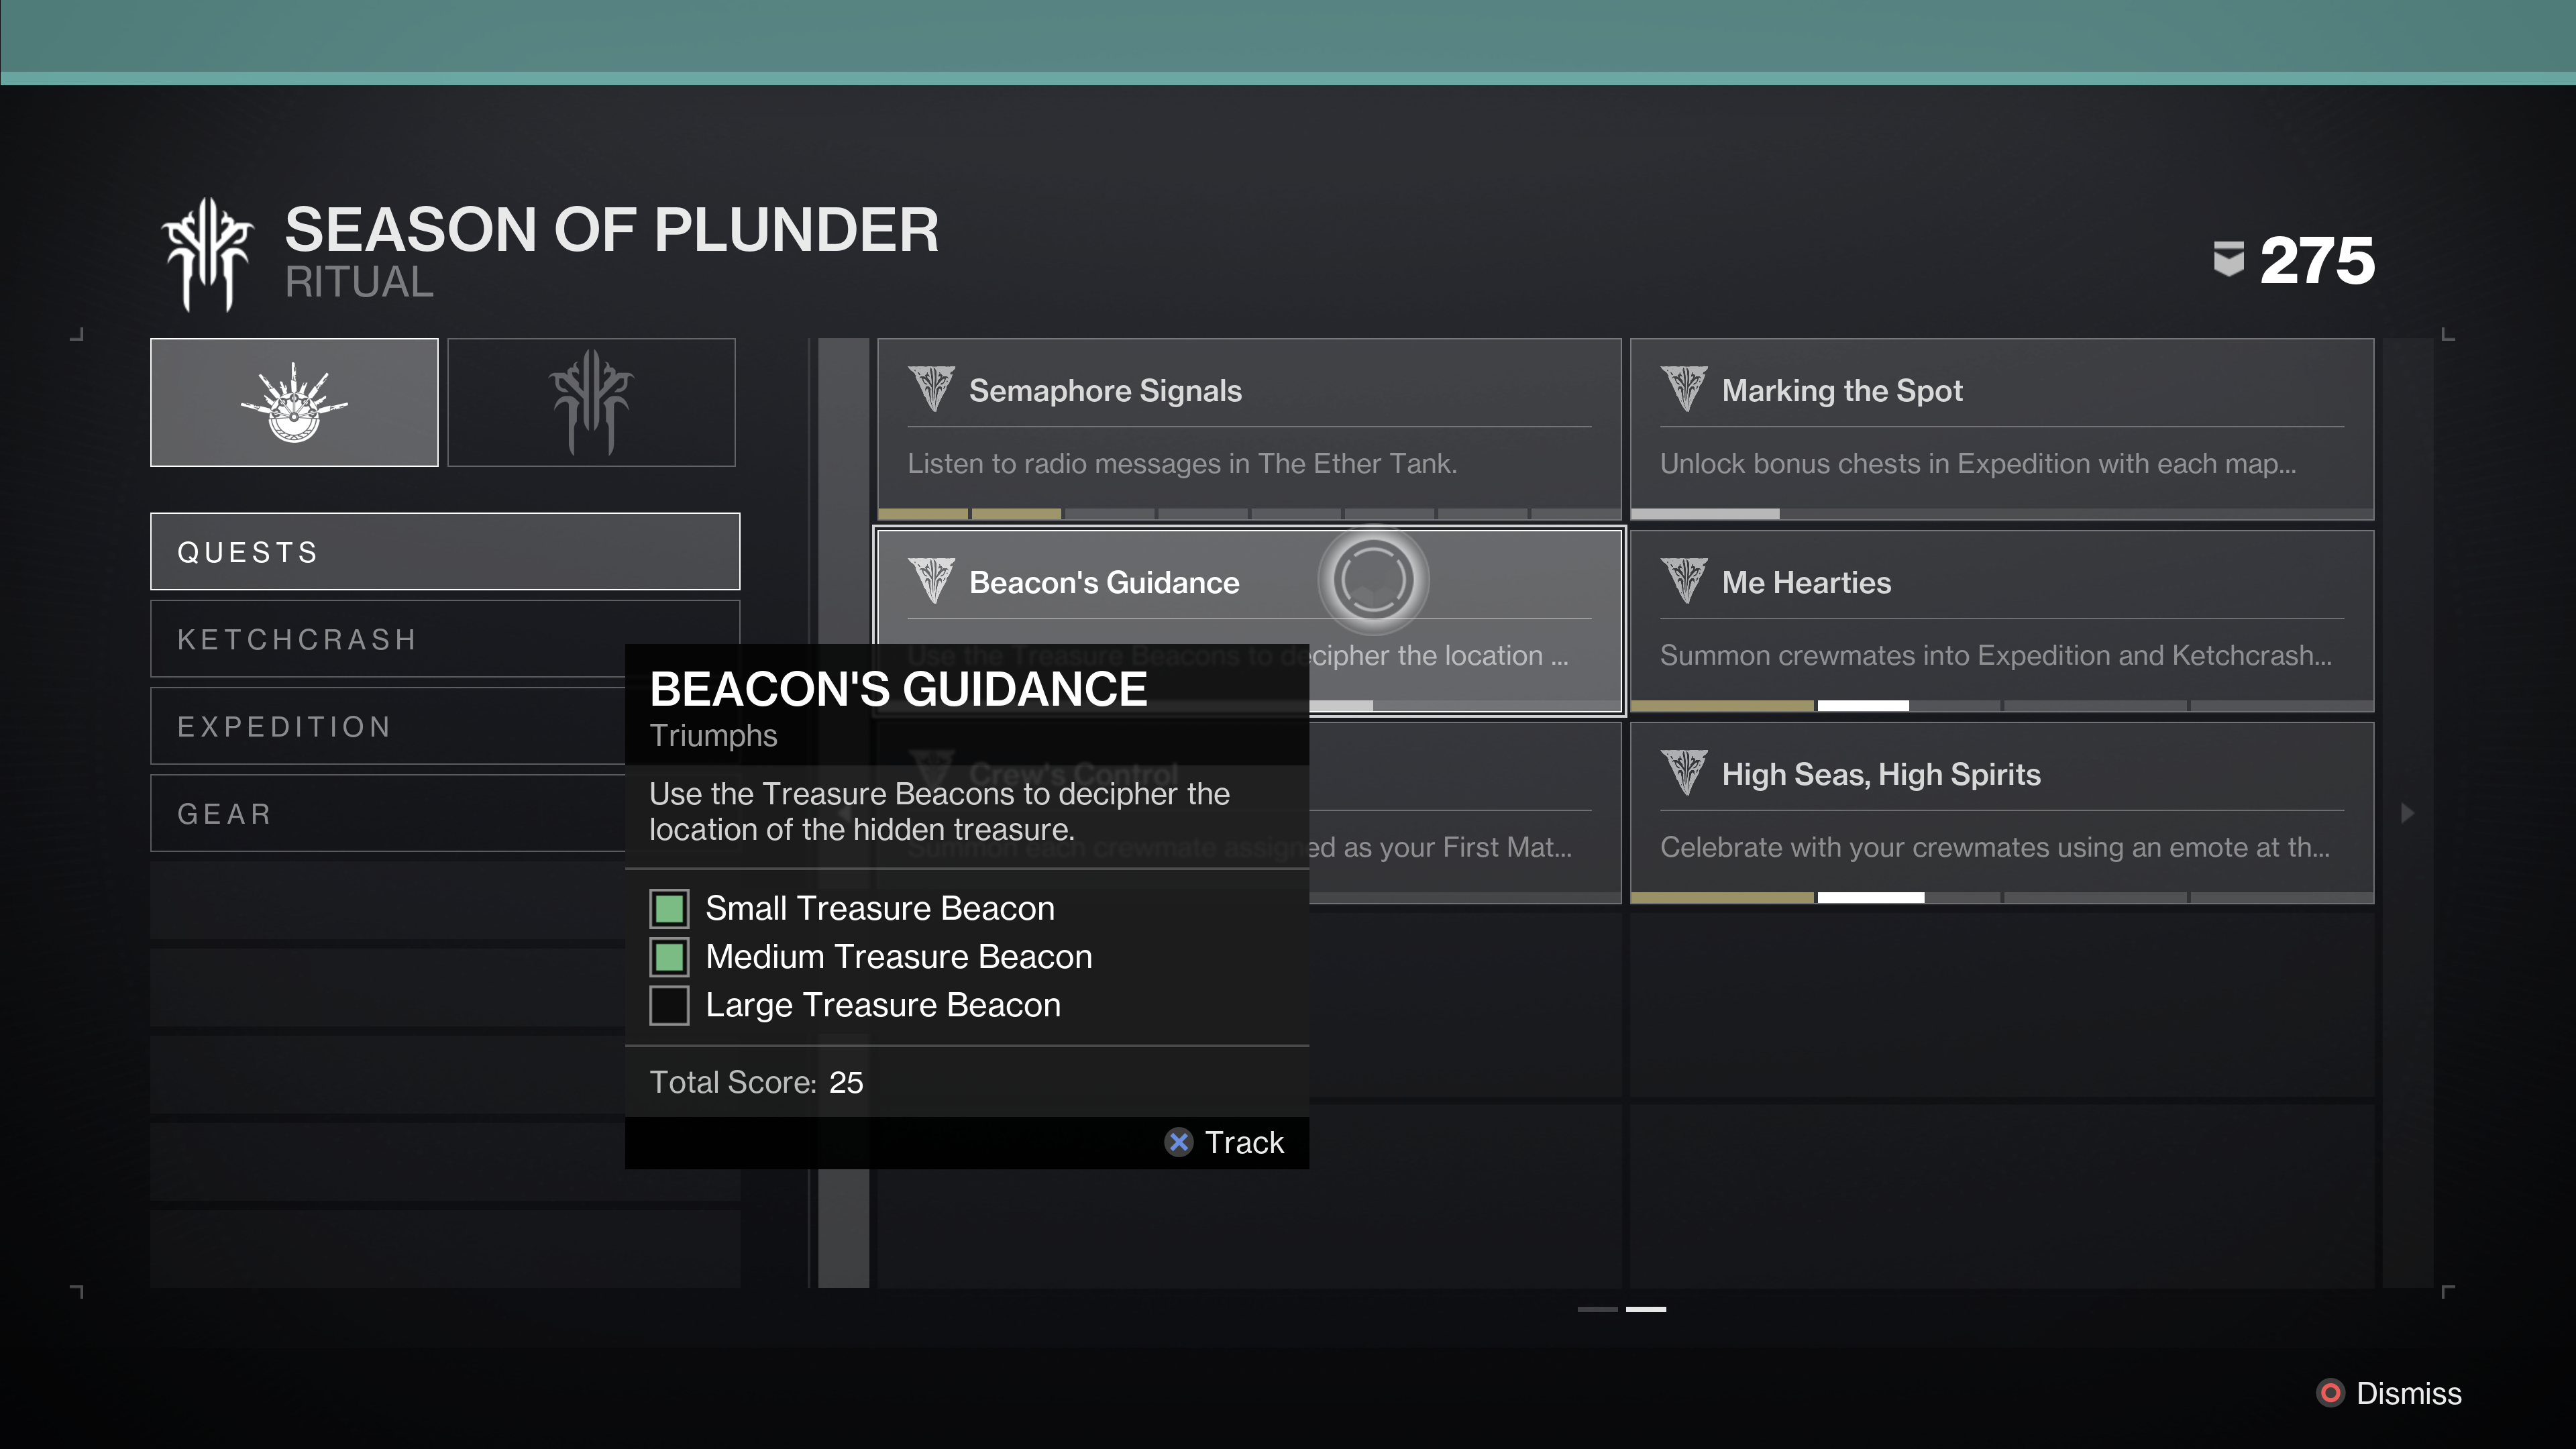
Acquire the first Cryptic Quatrain quest by reaching Rank 7 with the Star Chart vendor in the HELM and collecting the “Small Treasure Beacon”.
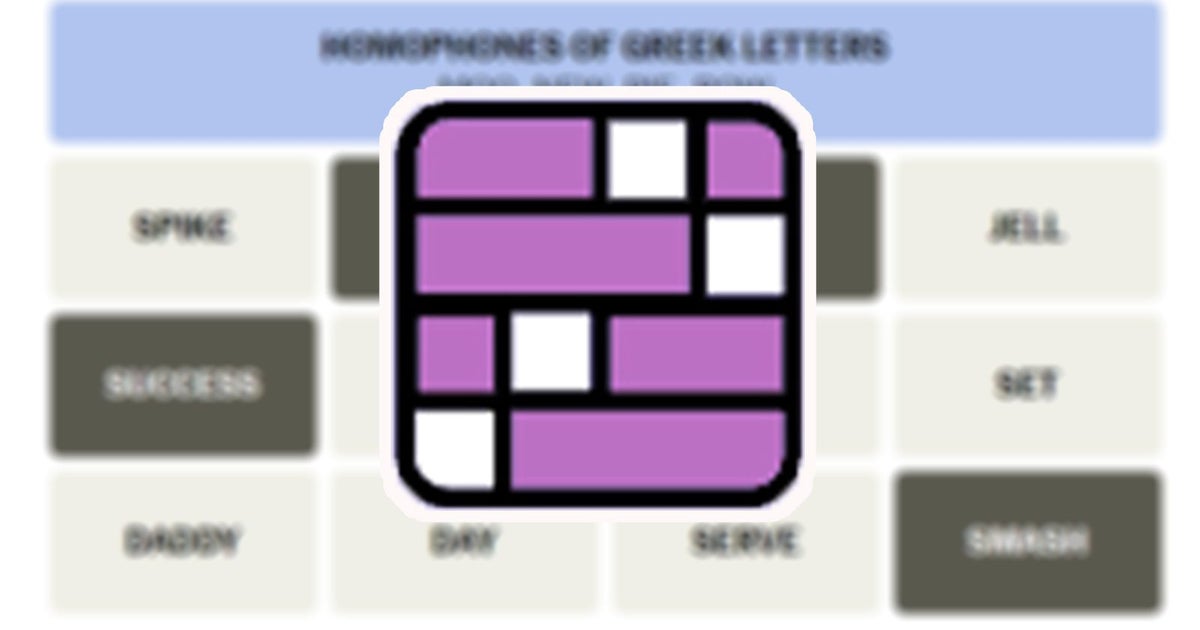
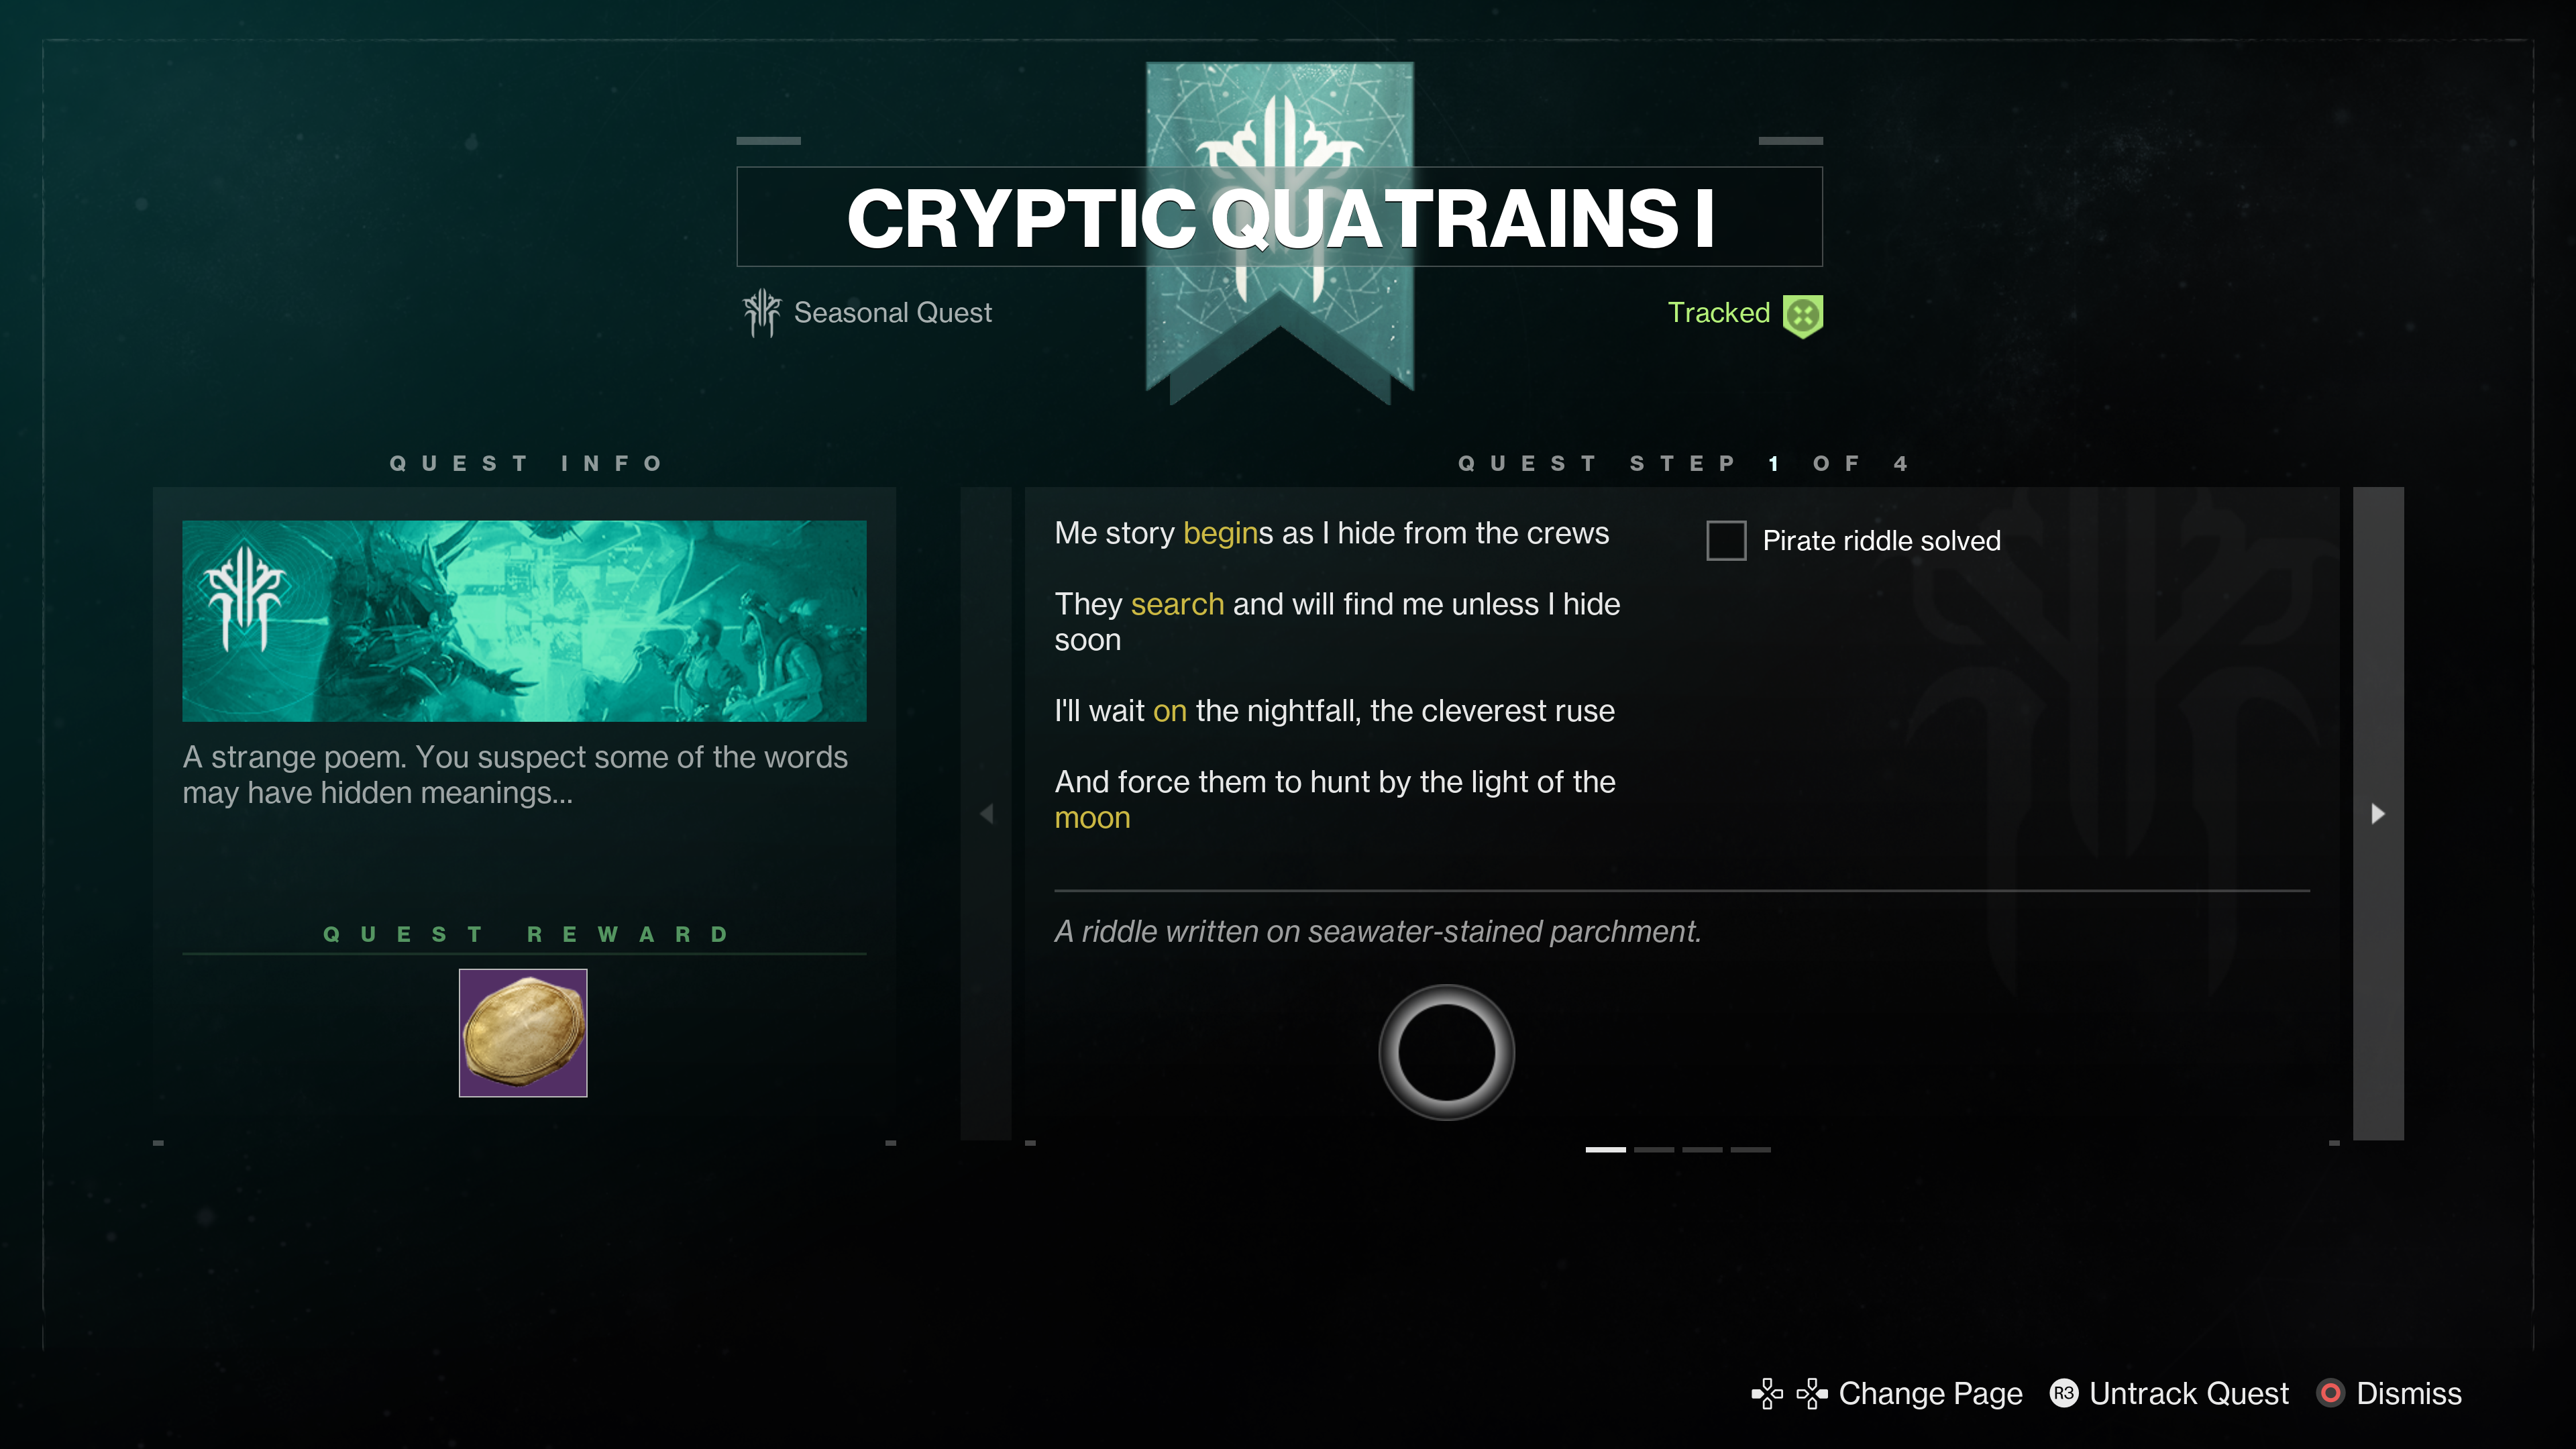
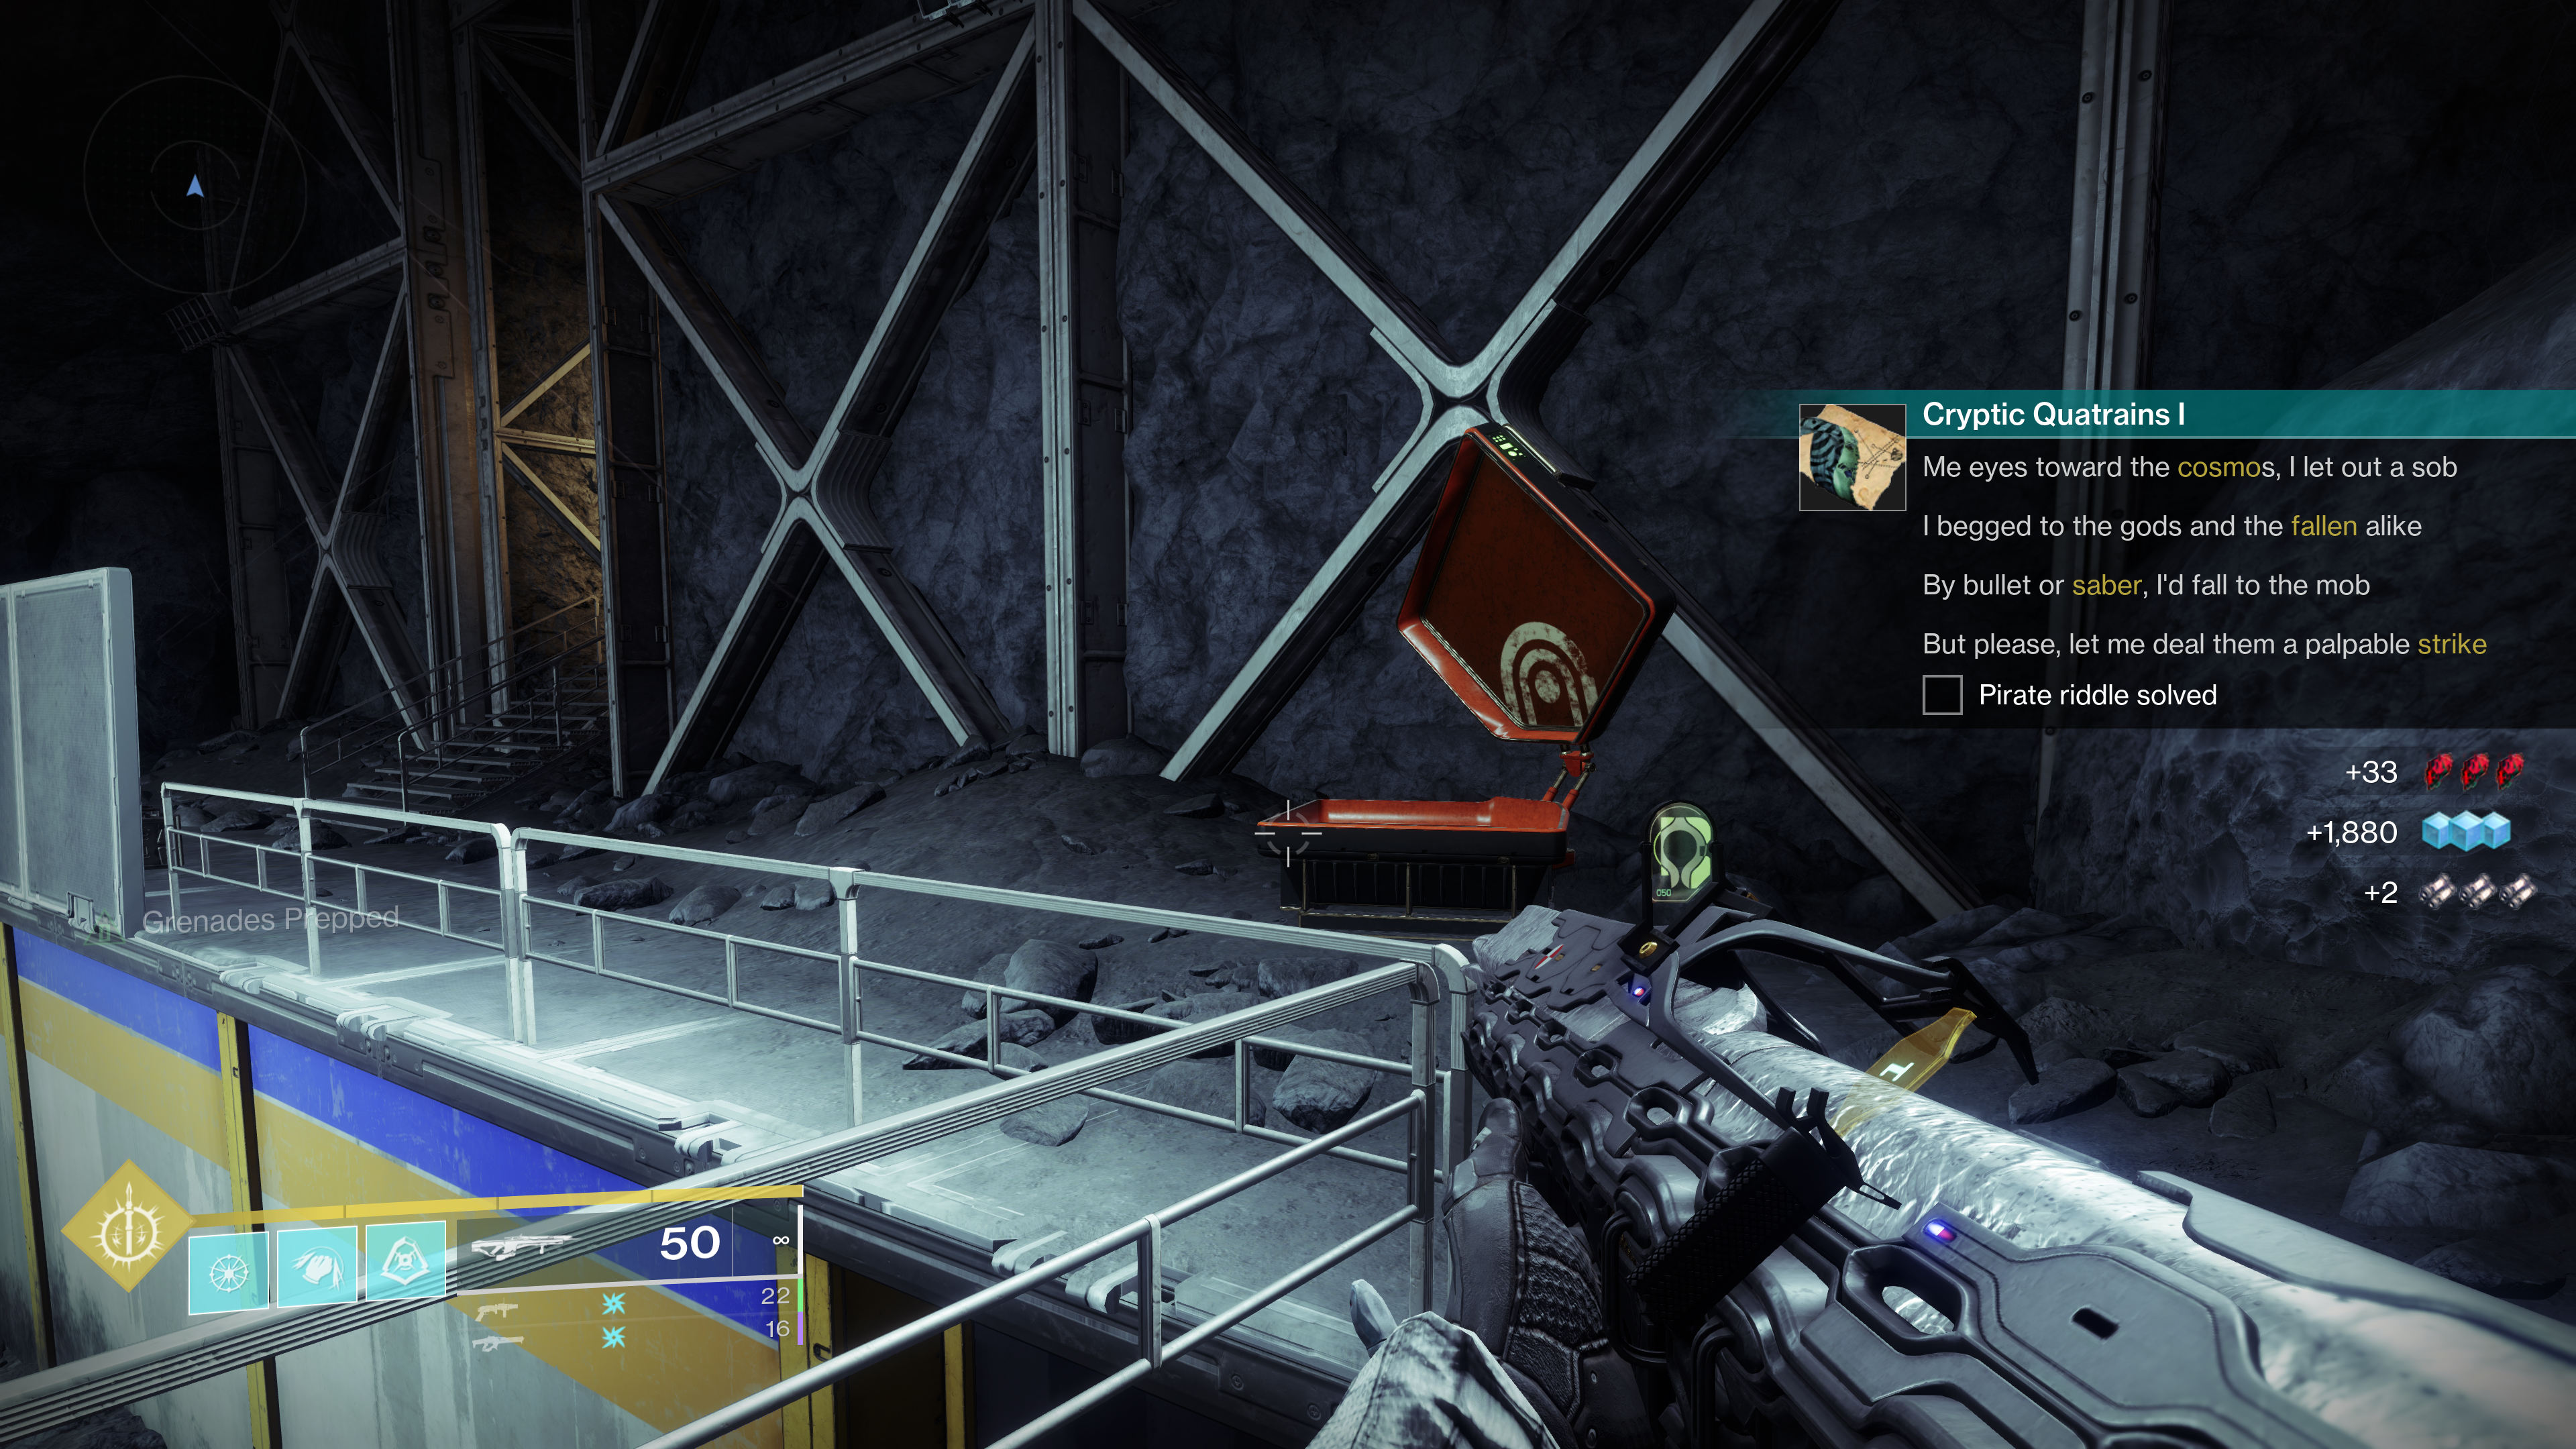
This first quest begins with a riddle; where, highlighted in yellow, are words that spell: “begin the search on the moon” – as such, head for the Moon.
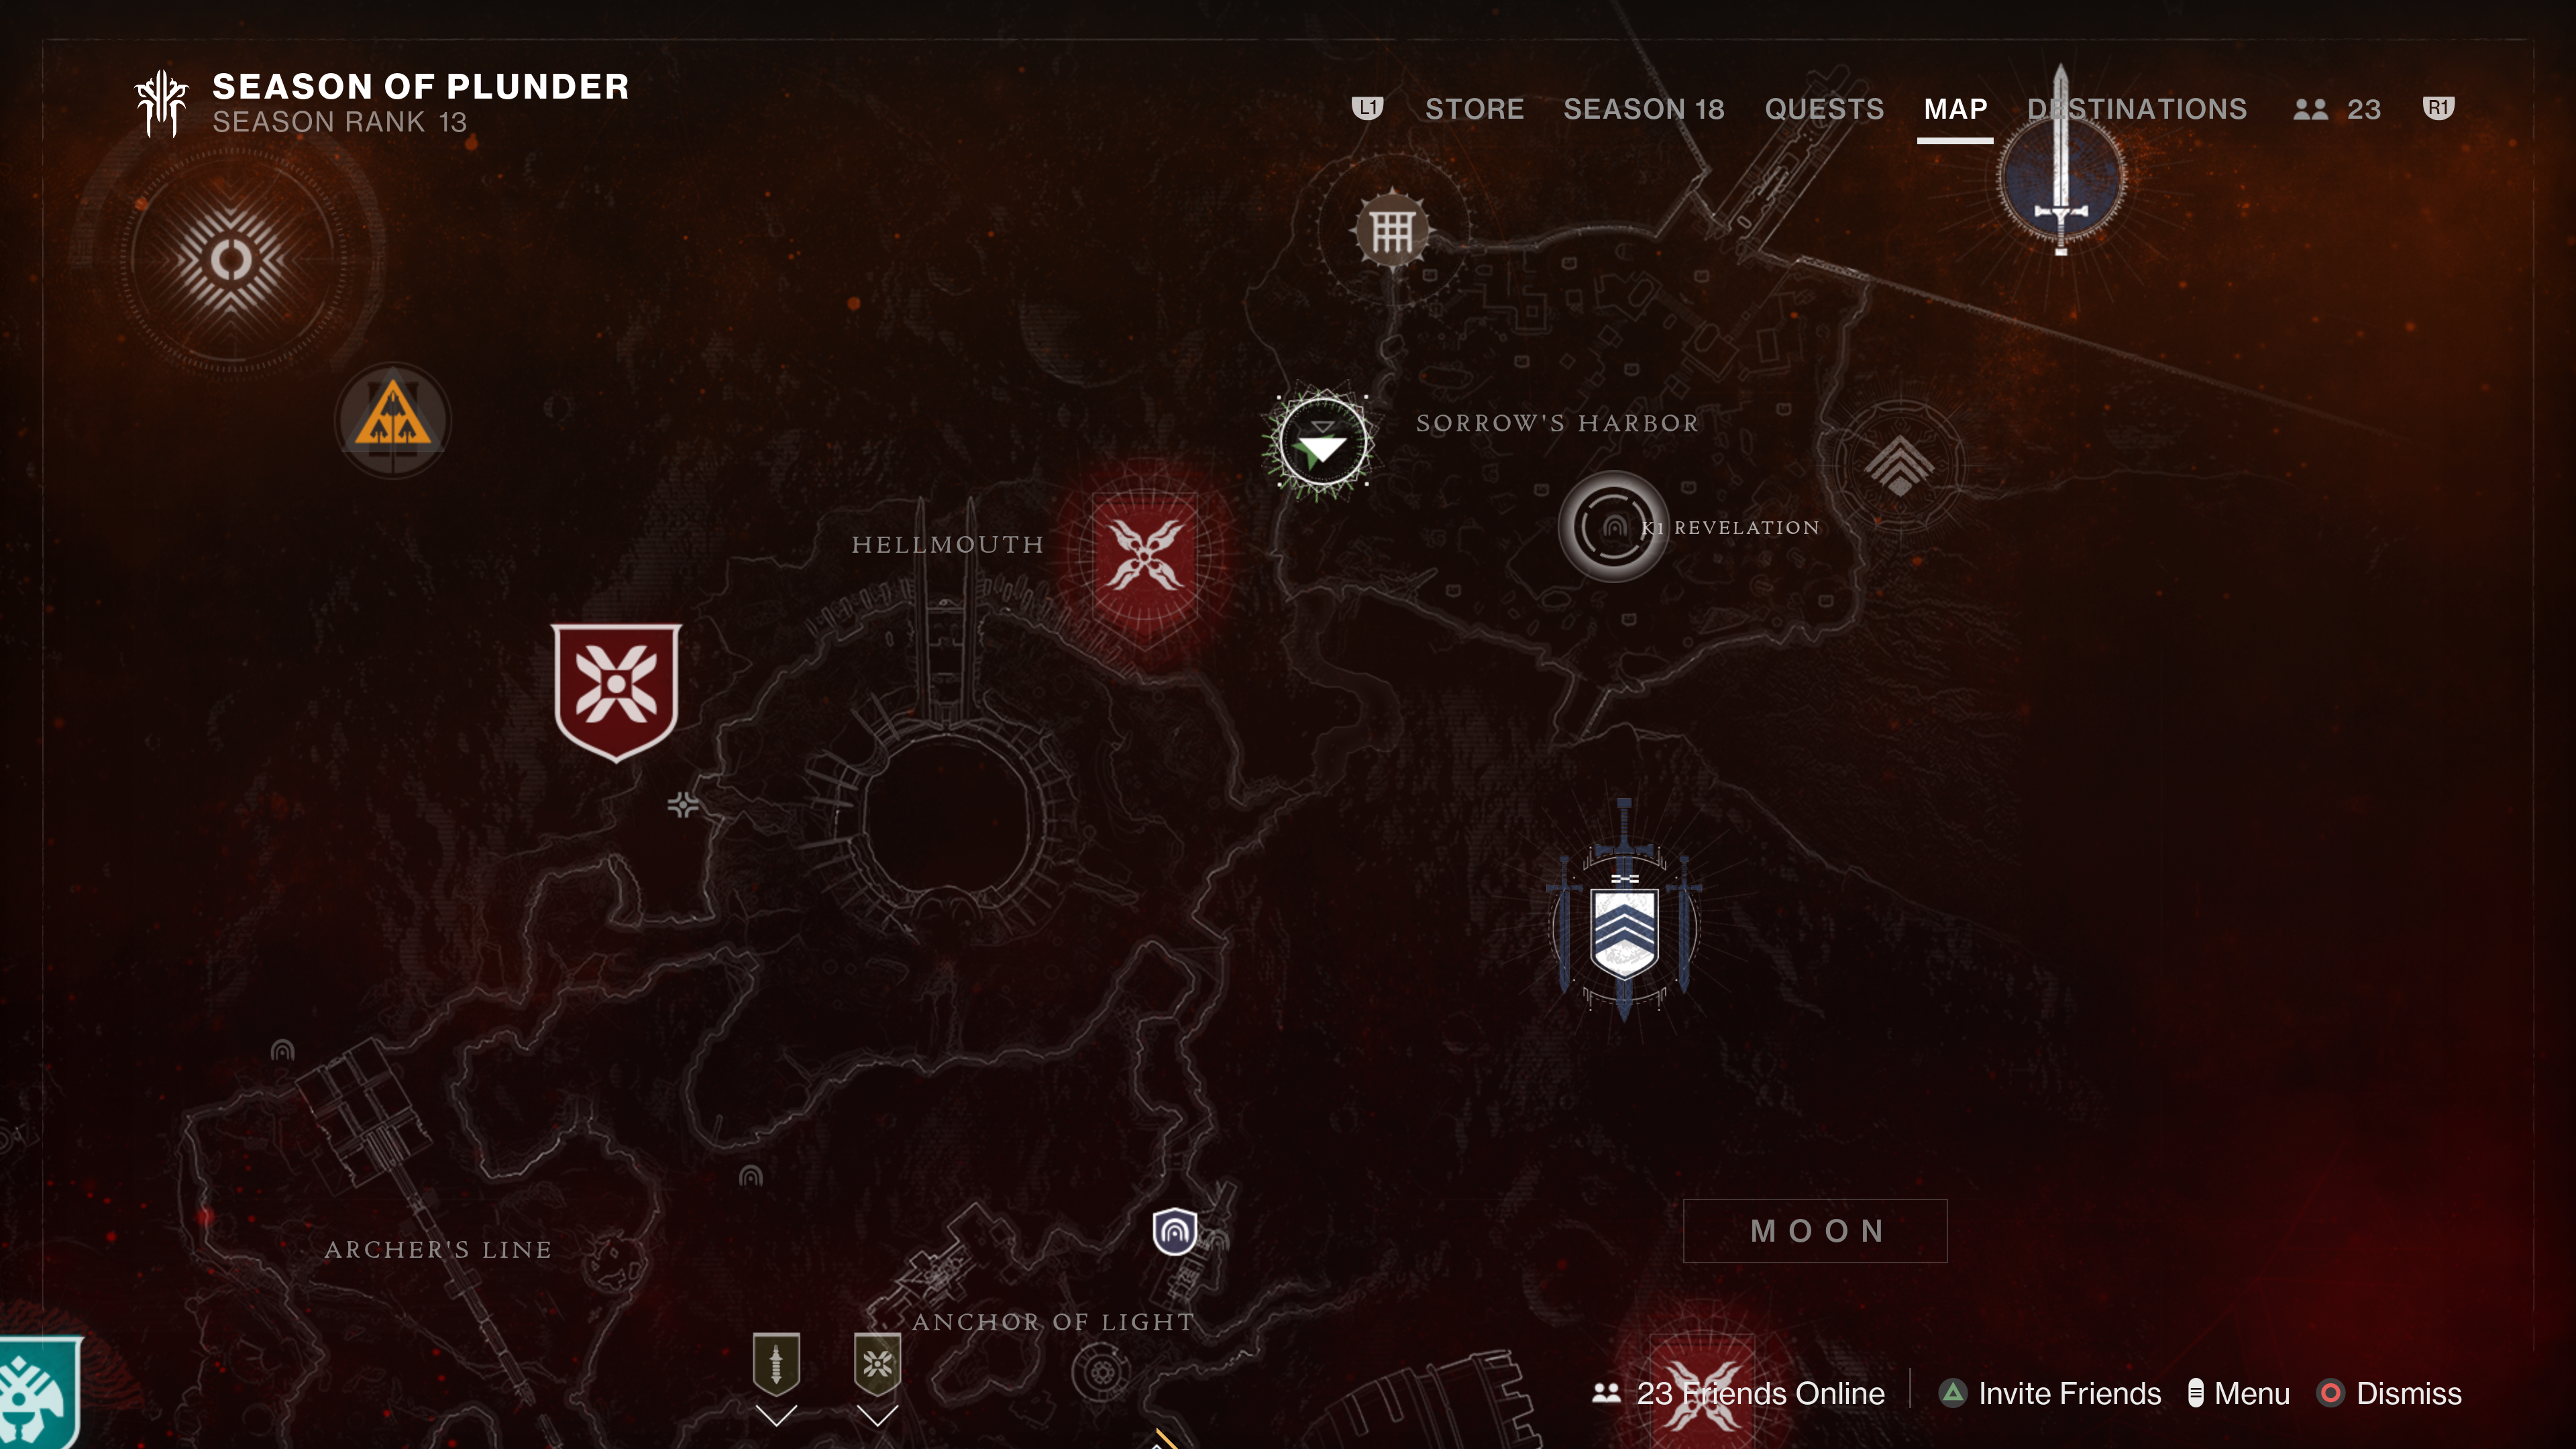
To save time, select Sorrow’s Harbor as the landing zone.
Once you land, the quest will update with a new puzzle, pictured below.
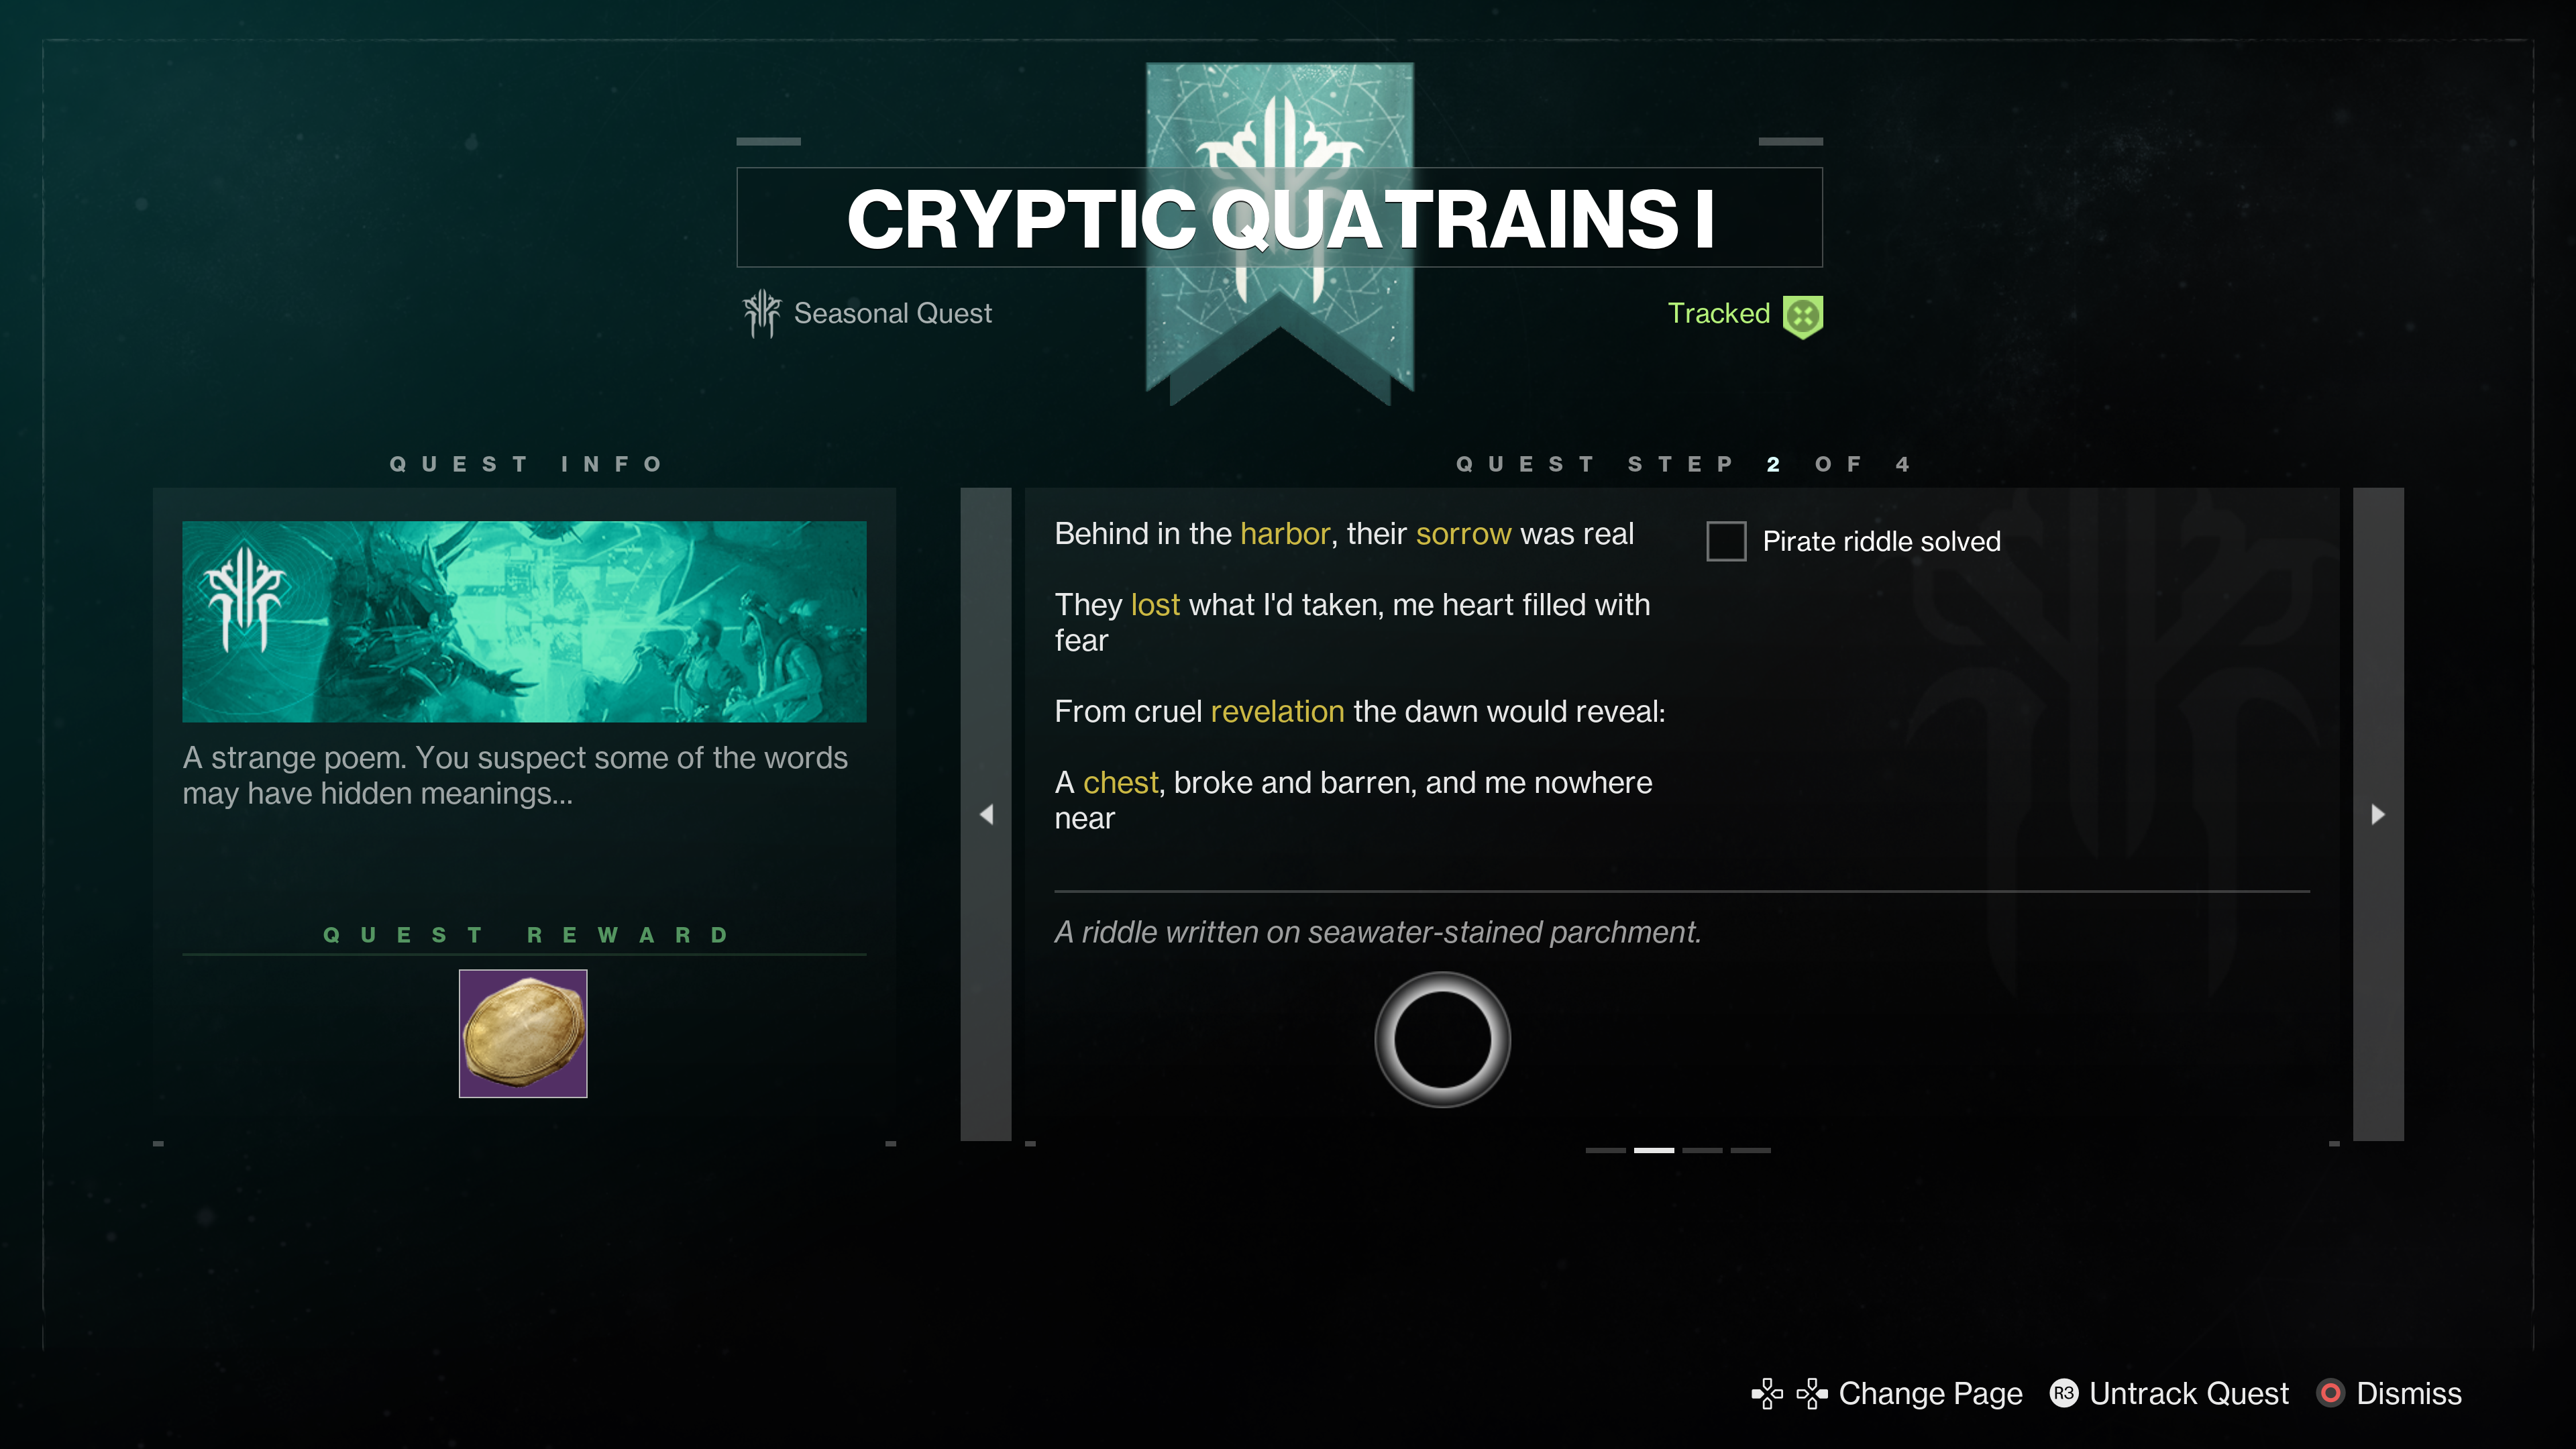
This next step directs you to the K1 Revelation Lost Sector, located in Sorrow’s Harbor, pictured below – head there.
Once you reach the entrance to the Lost Sector, head inside and follow the path until you encounter some enemies.
Once inside, eliminate all the enemies by destroying the three floating crystals as you go.
Once done, destroy a fourth crystal to spawn the Nightmare of Arguth boss.
Defeat him, then head to the balcony behind where the final boss spawned and open the orange and black chest – before it’s opened it will glow with a bluish white light.
Once opened, the quest will be updated again with a new puzzle.

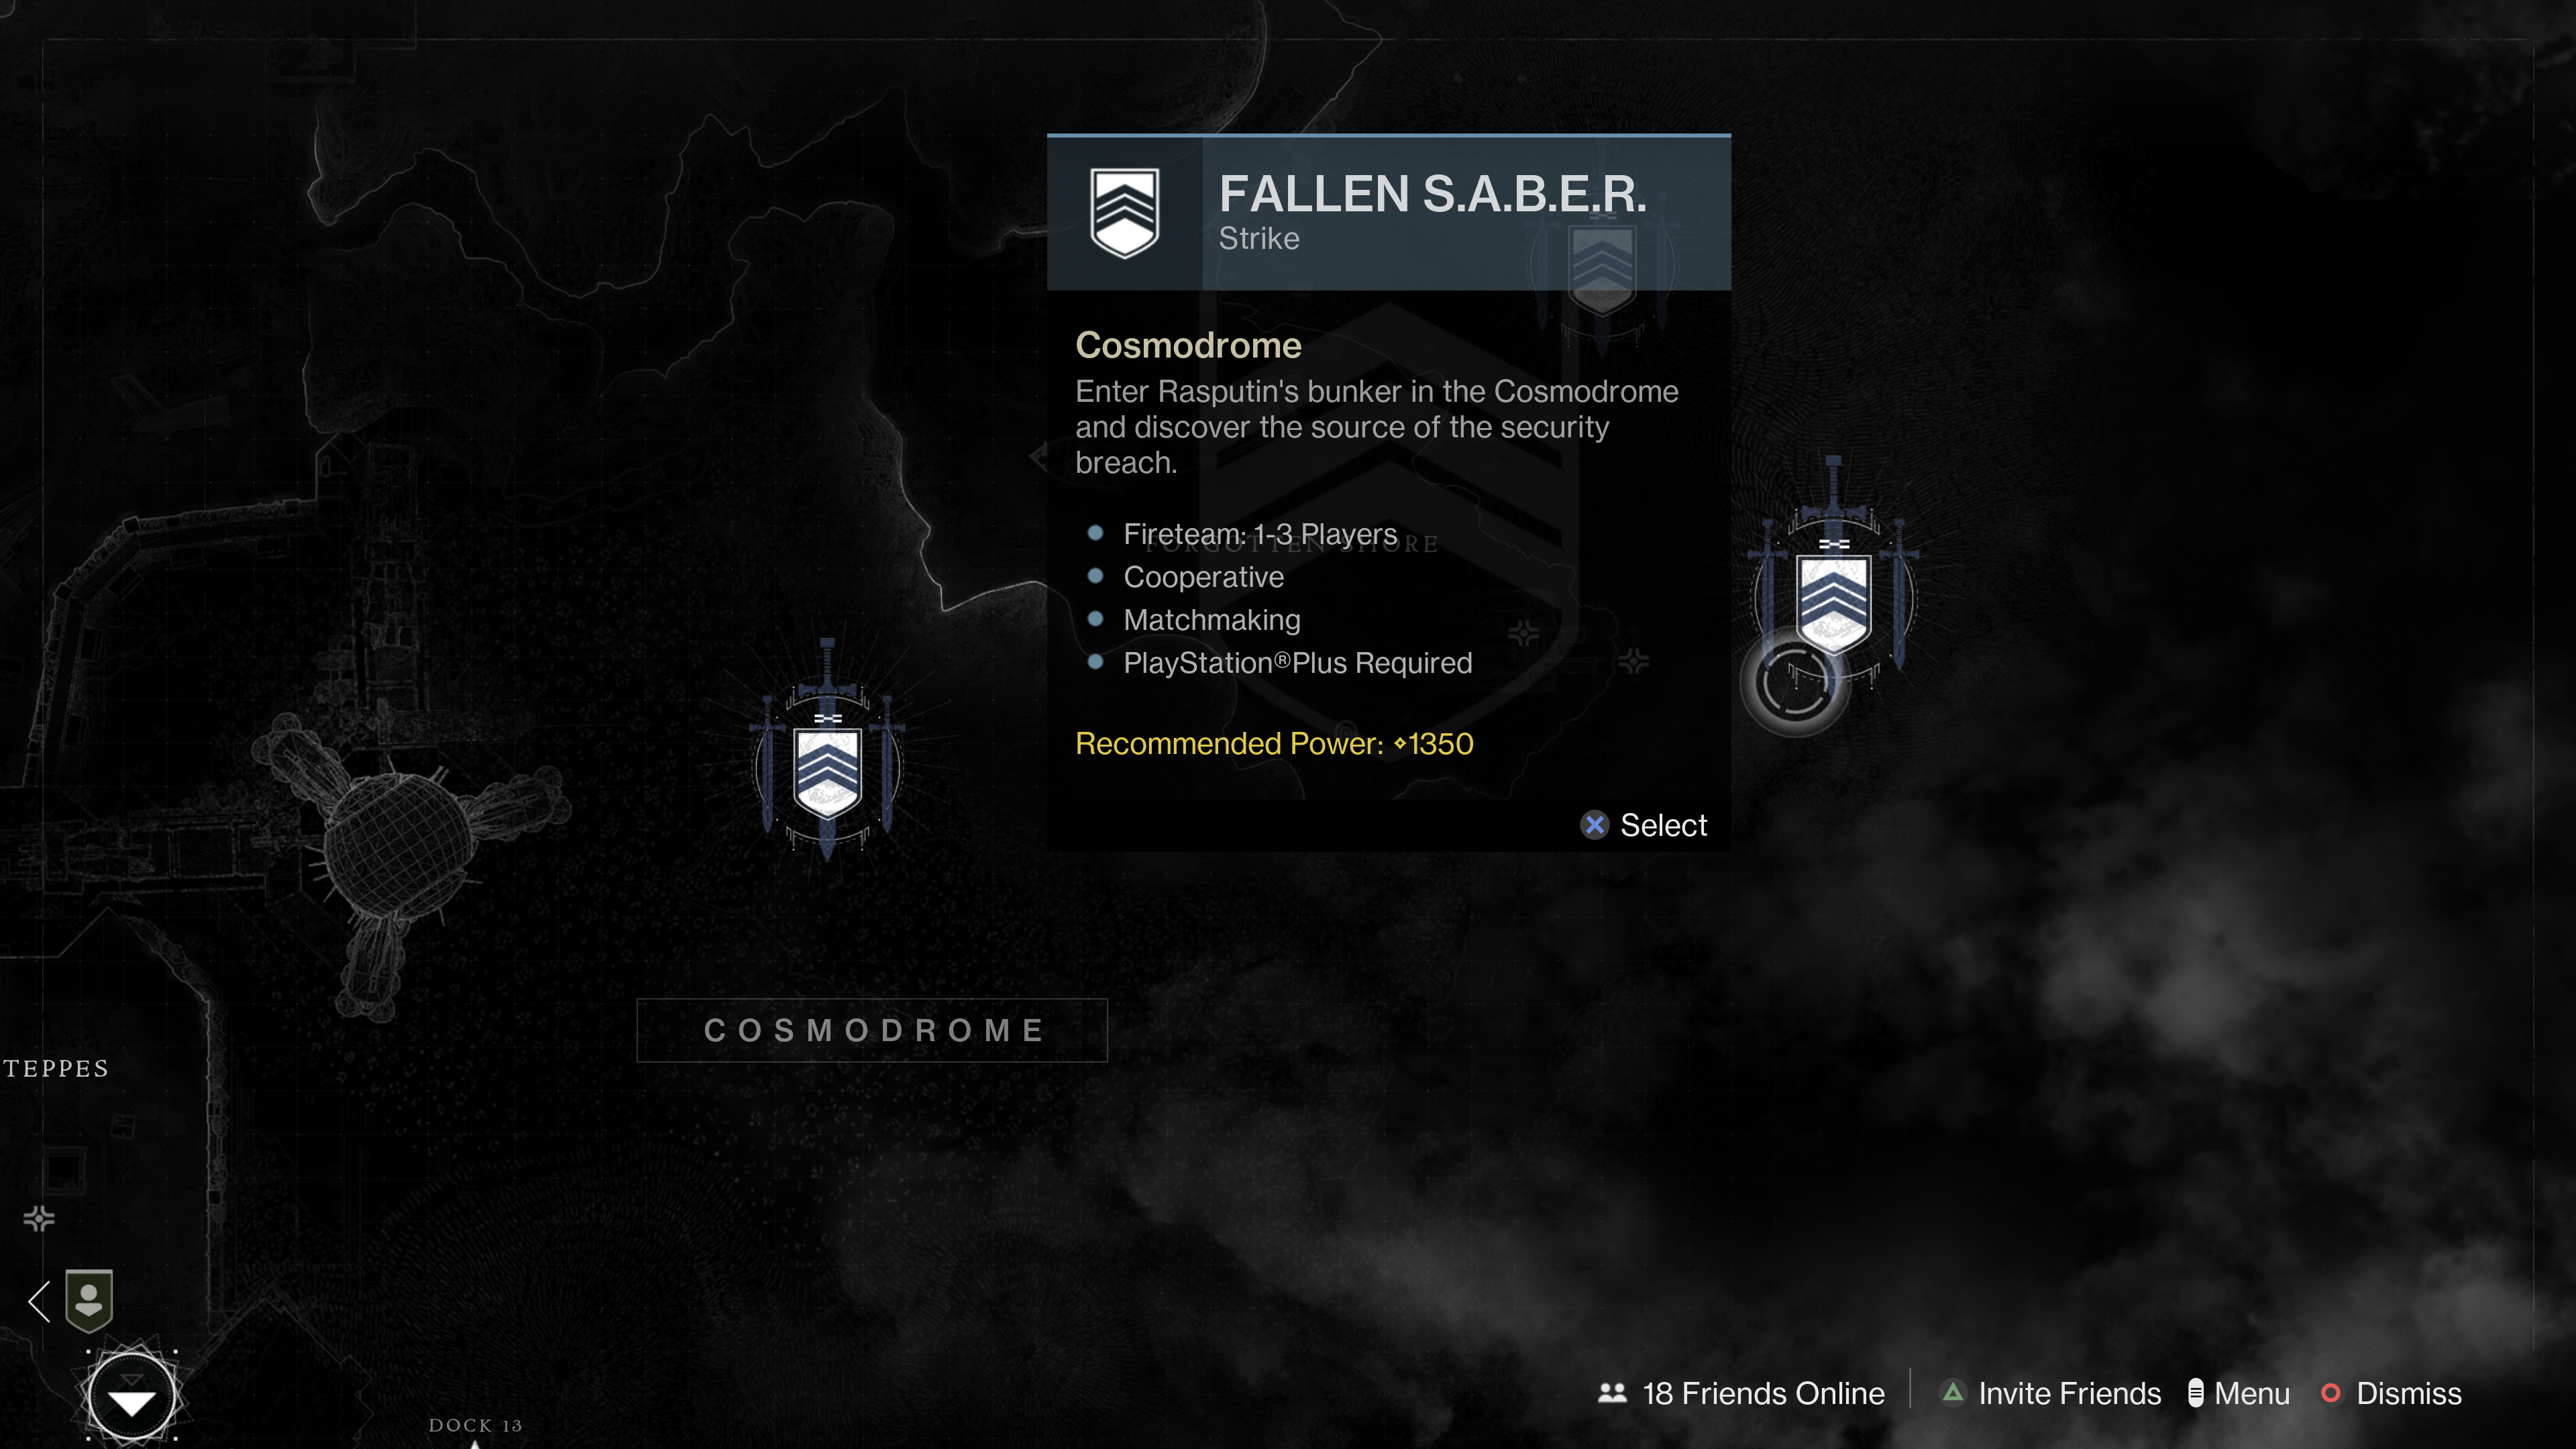
This new puzzle requires you to complete the Fallen SABER Strike on the Cosmodrome – open the director and launch into the Strike through its activity node on the right side of the Cosmodrome map.
When the strike ends, the quest will be updated for a fourth and final time.

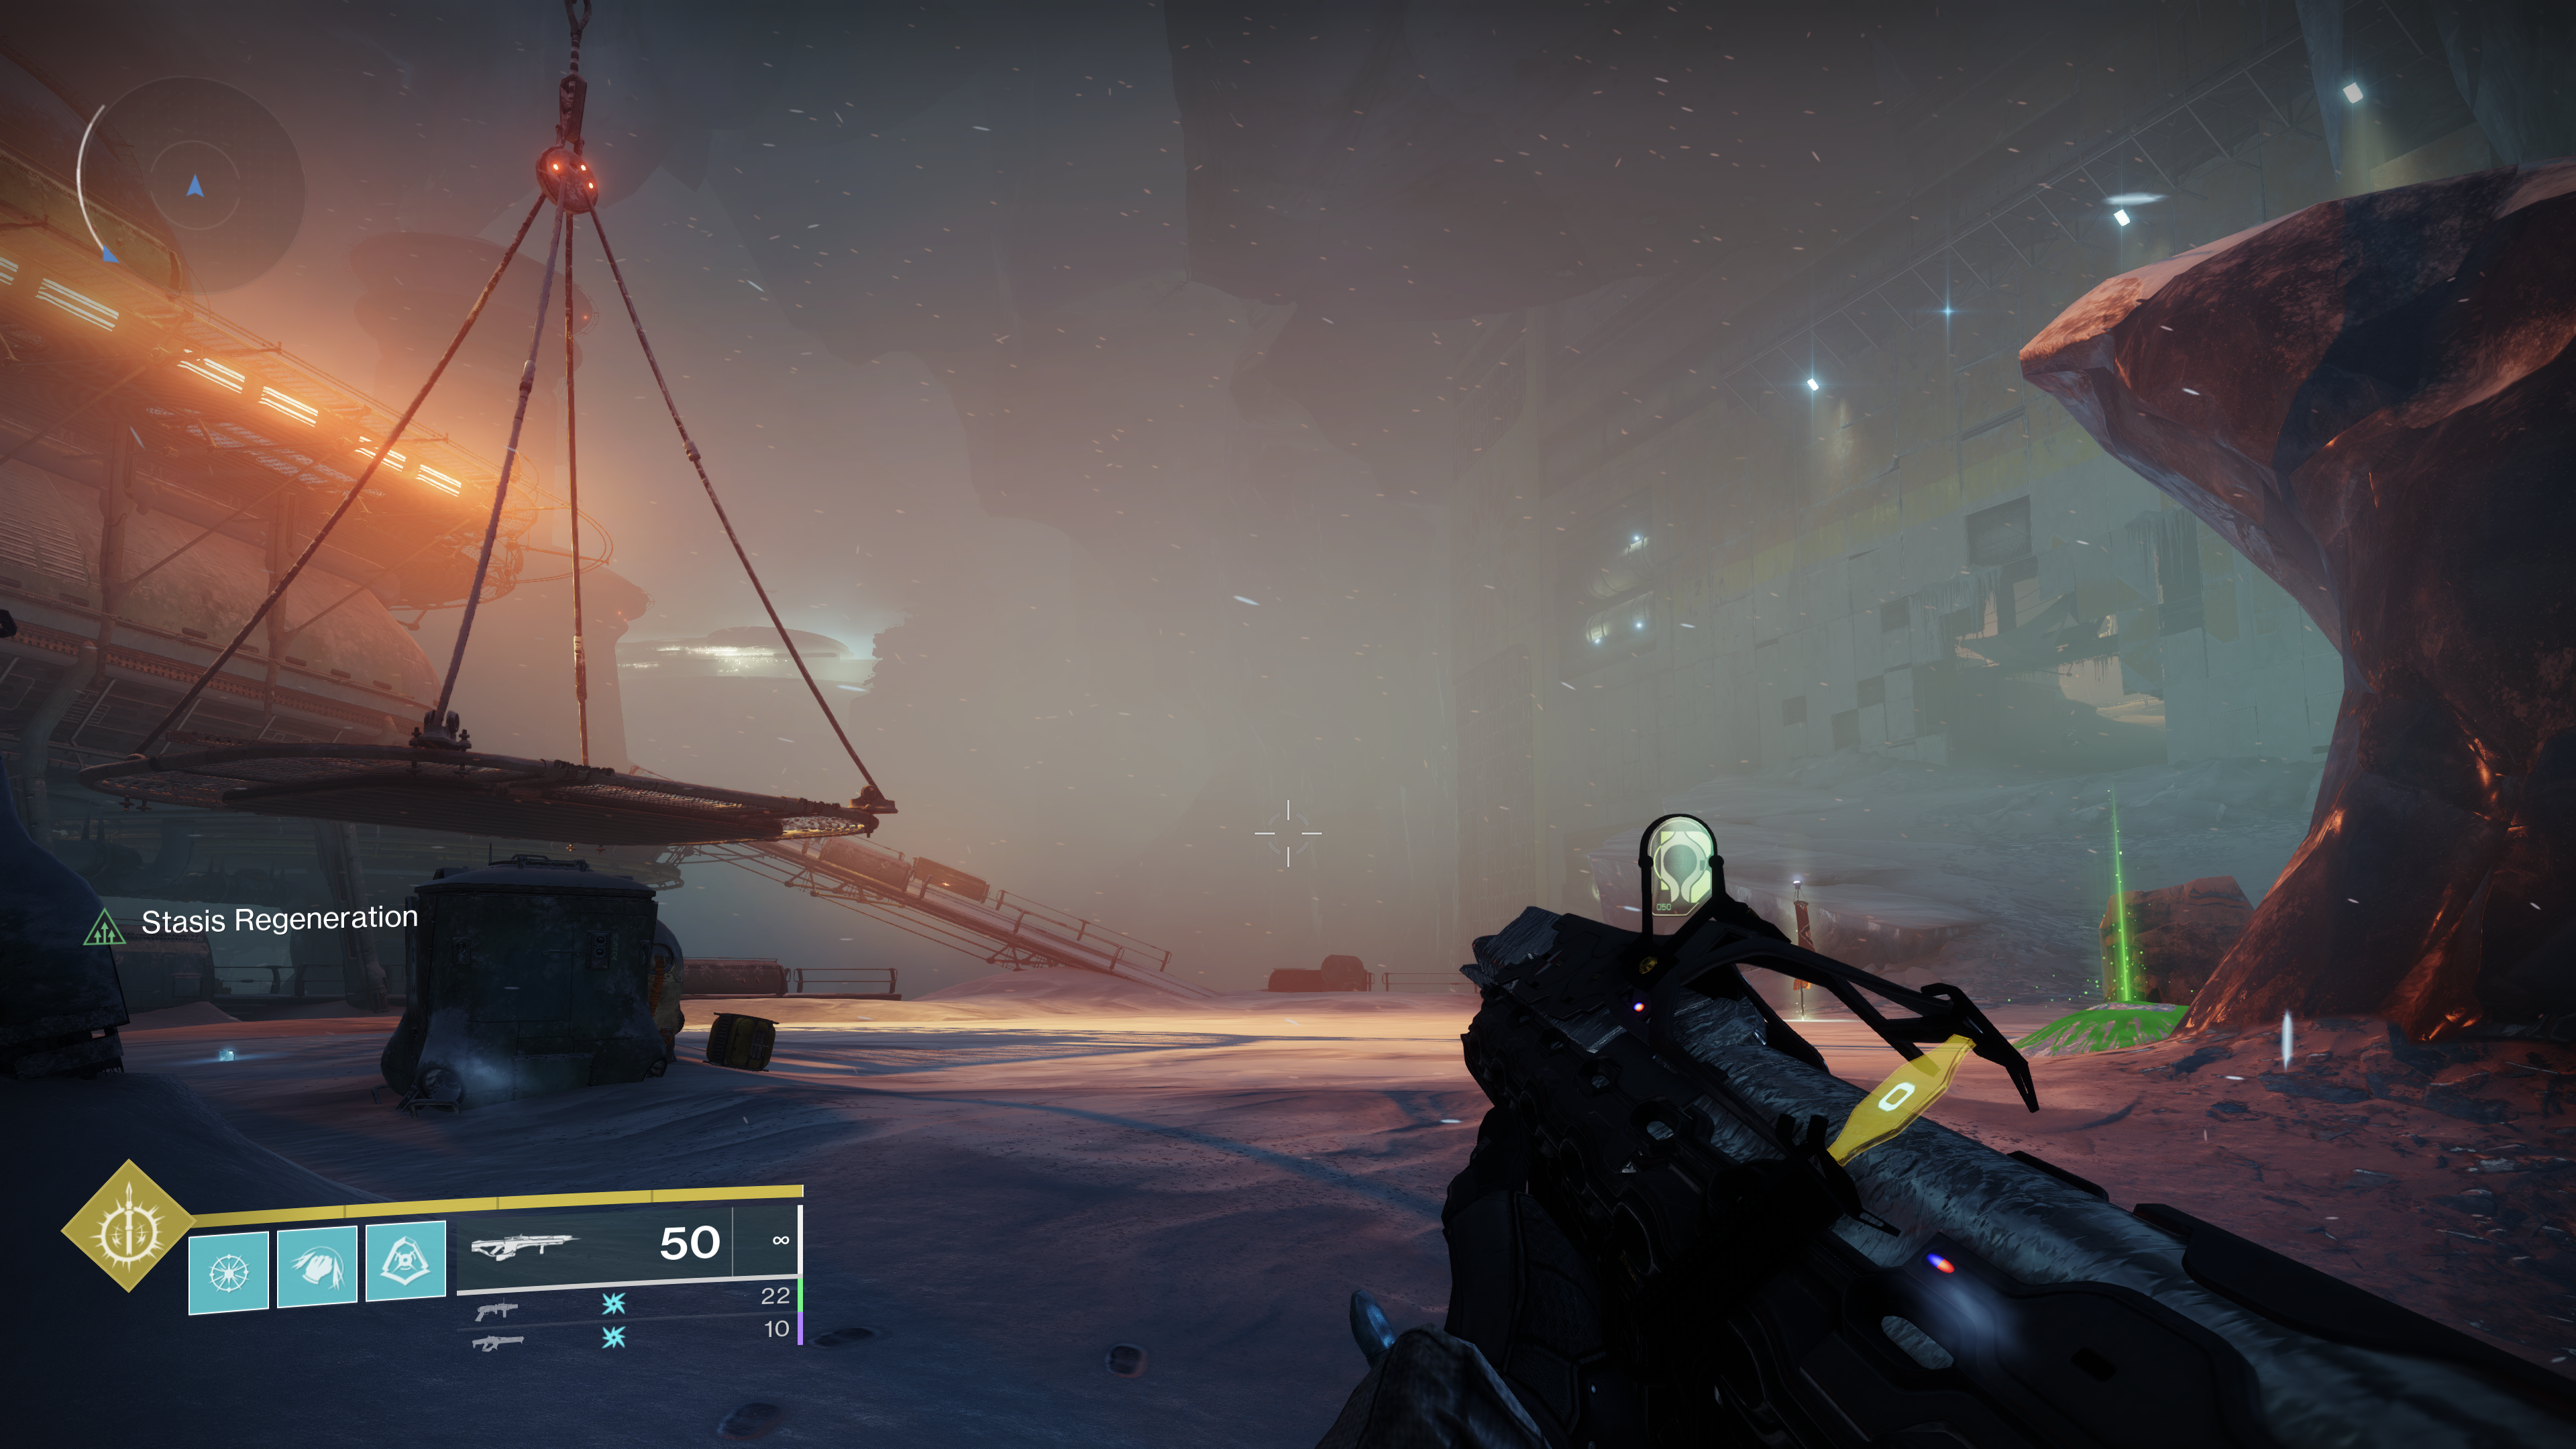
This directs you to Europa, specifically a location in Eventide Ruins – head to the Eventide Ruins landing zone to begin the search for the buried treasure.
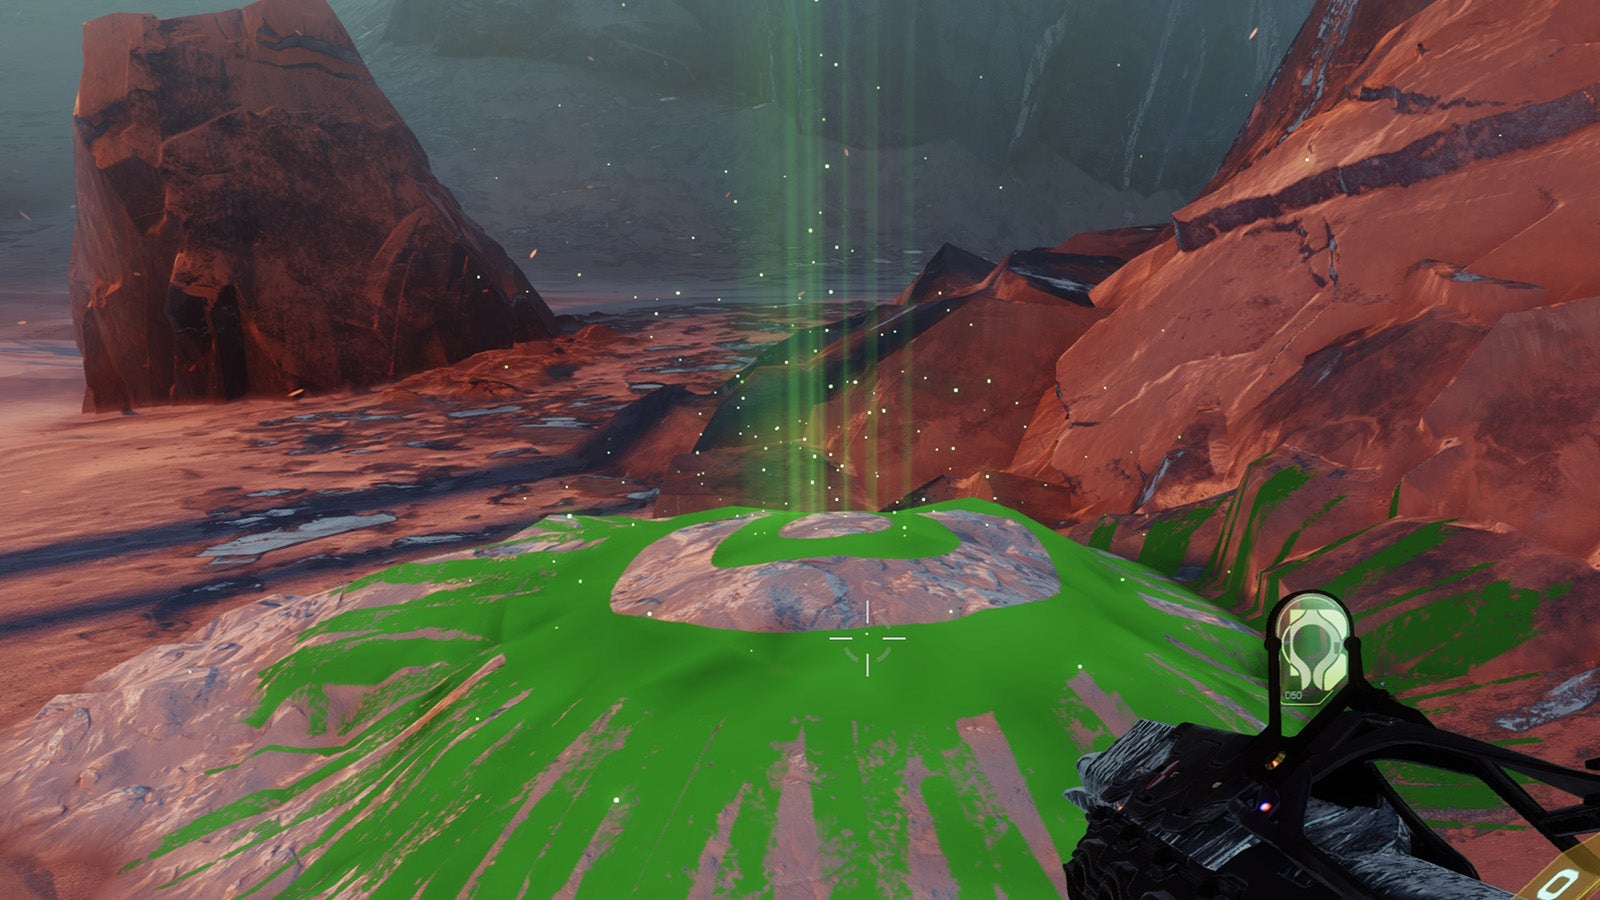
Once you’ve landed, head towards the crane visible near the middle of the image below – it’s in the blurry orange area.
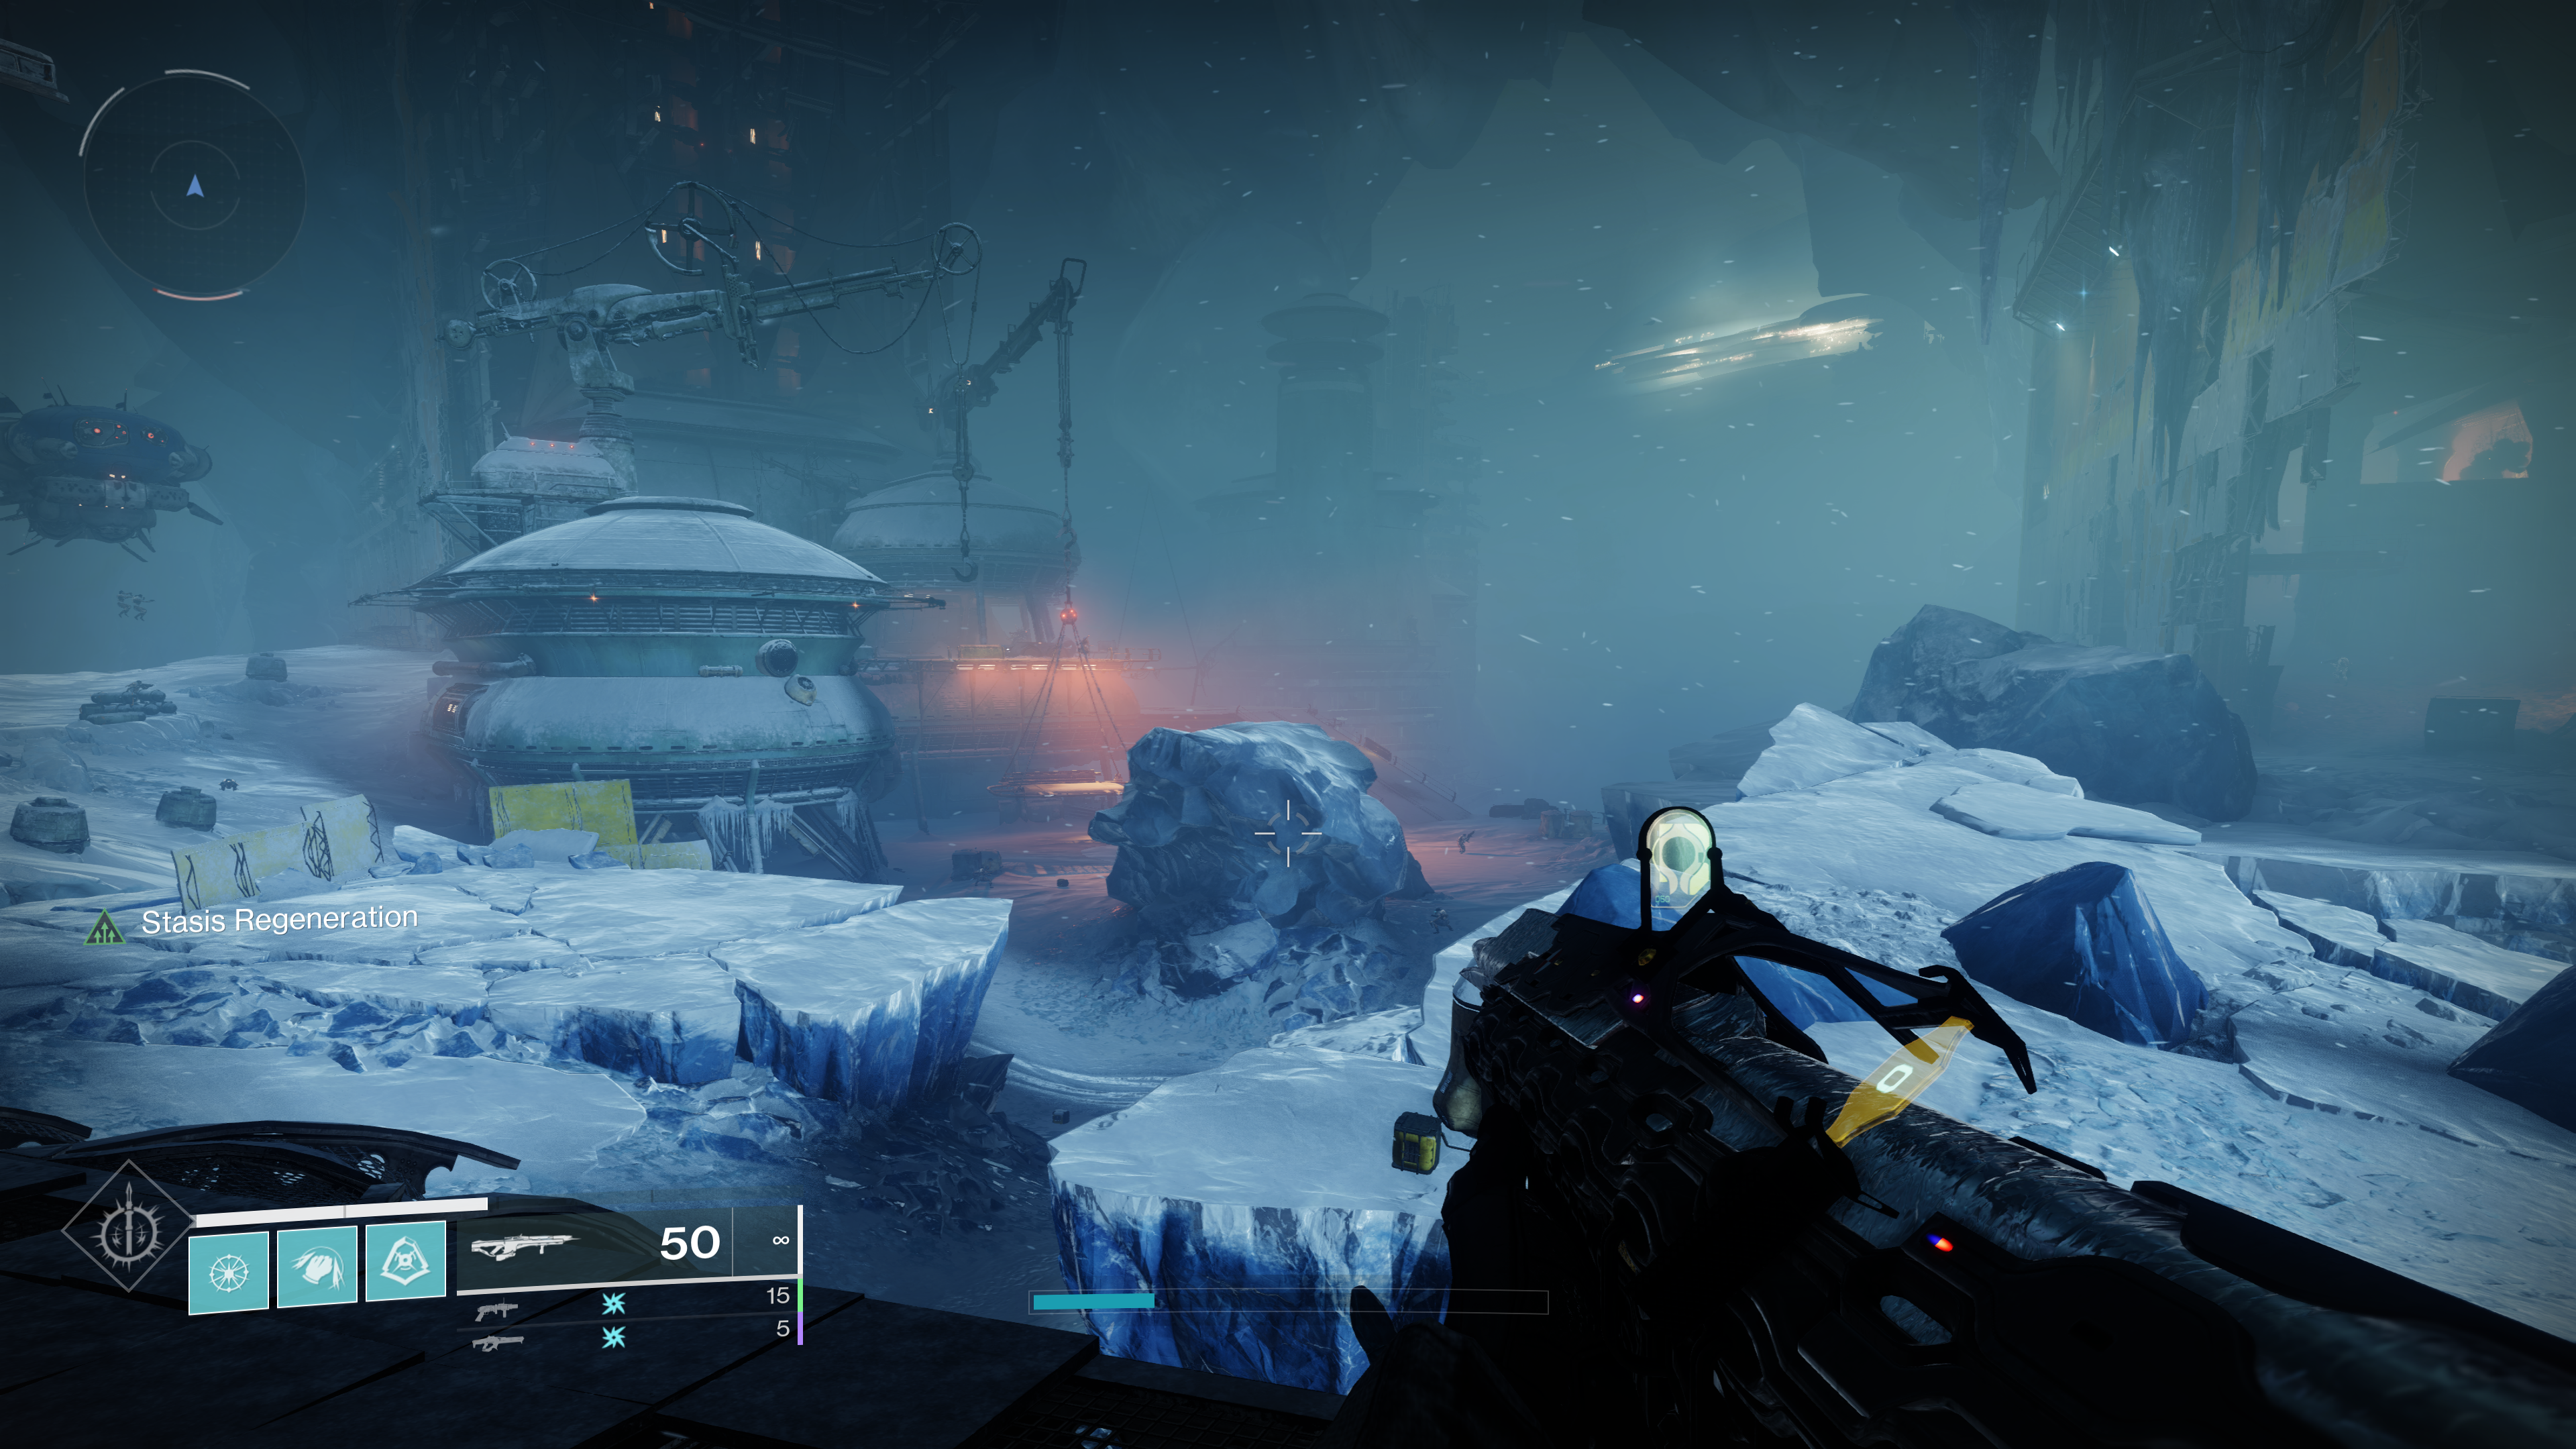
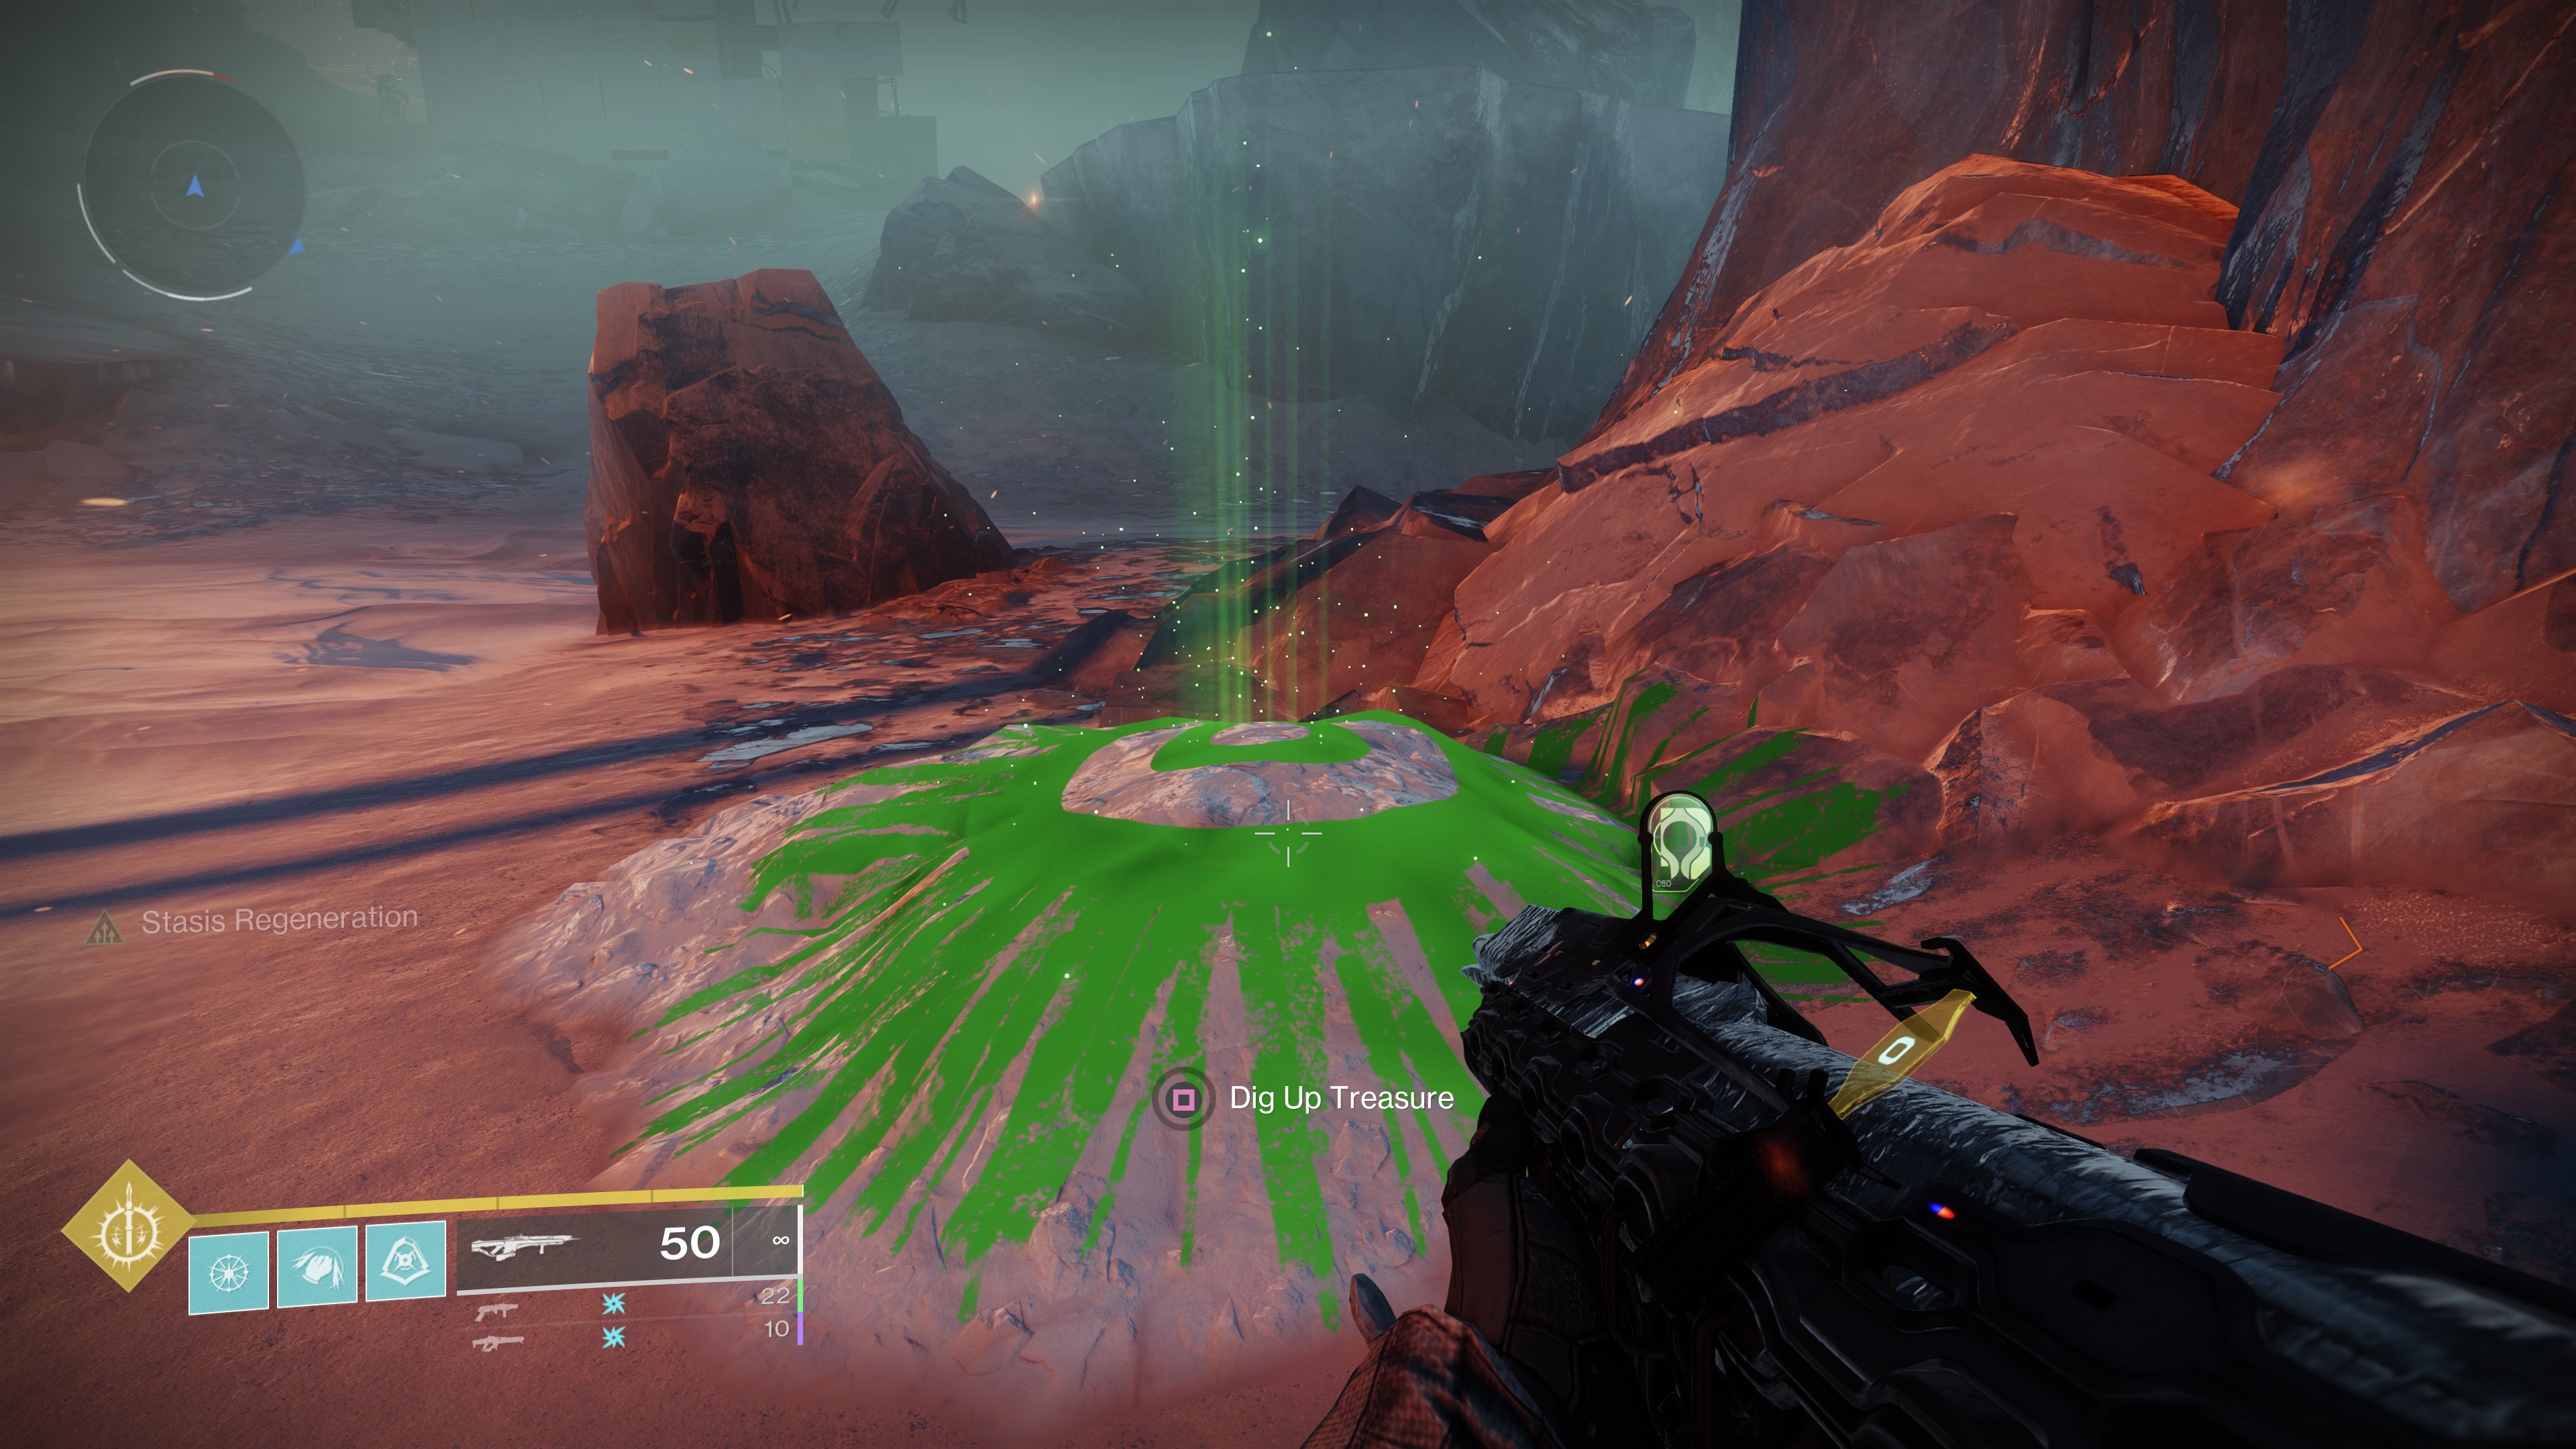
After reaching the crane, look to the right of it where you will see the buried treasure, glowing green from the ground.
Walk to the bright green light and dig up your treasure!
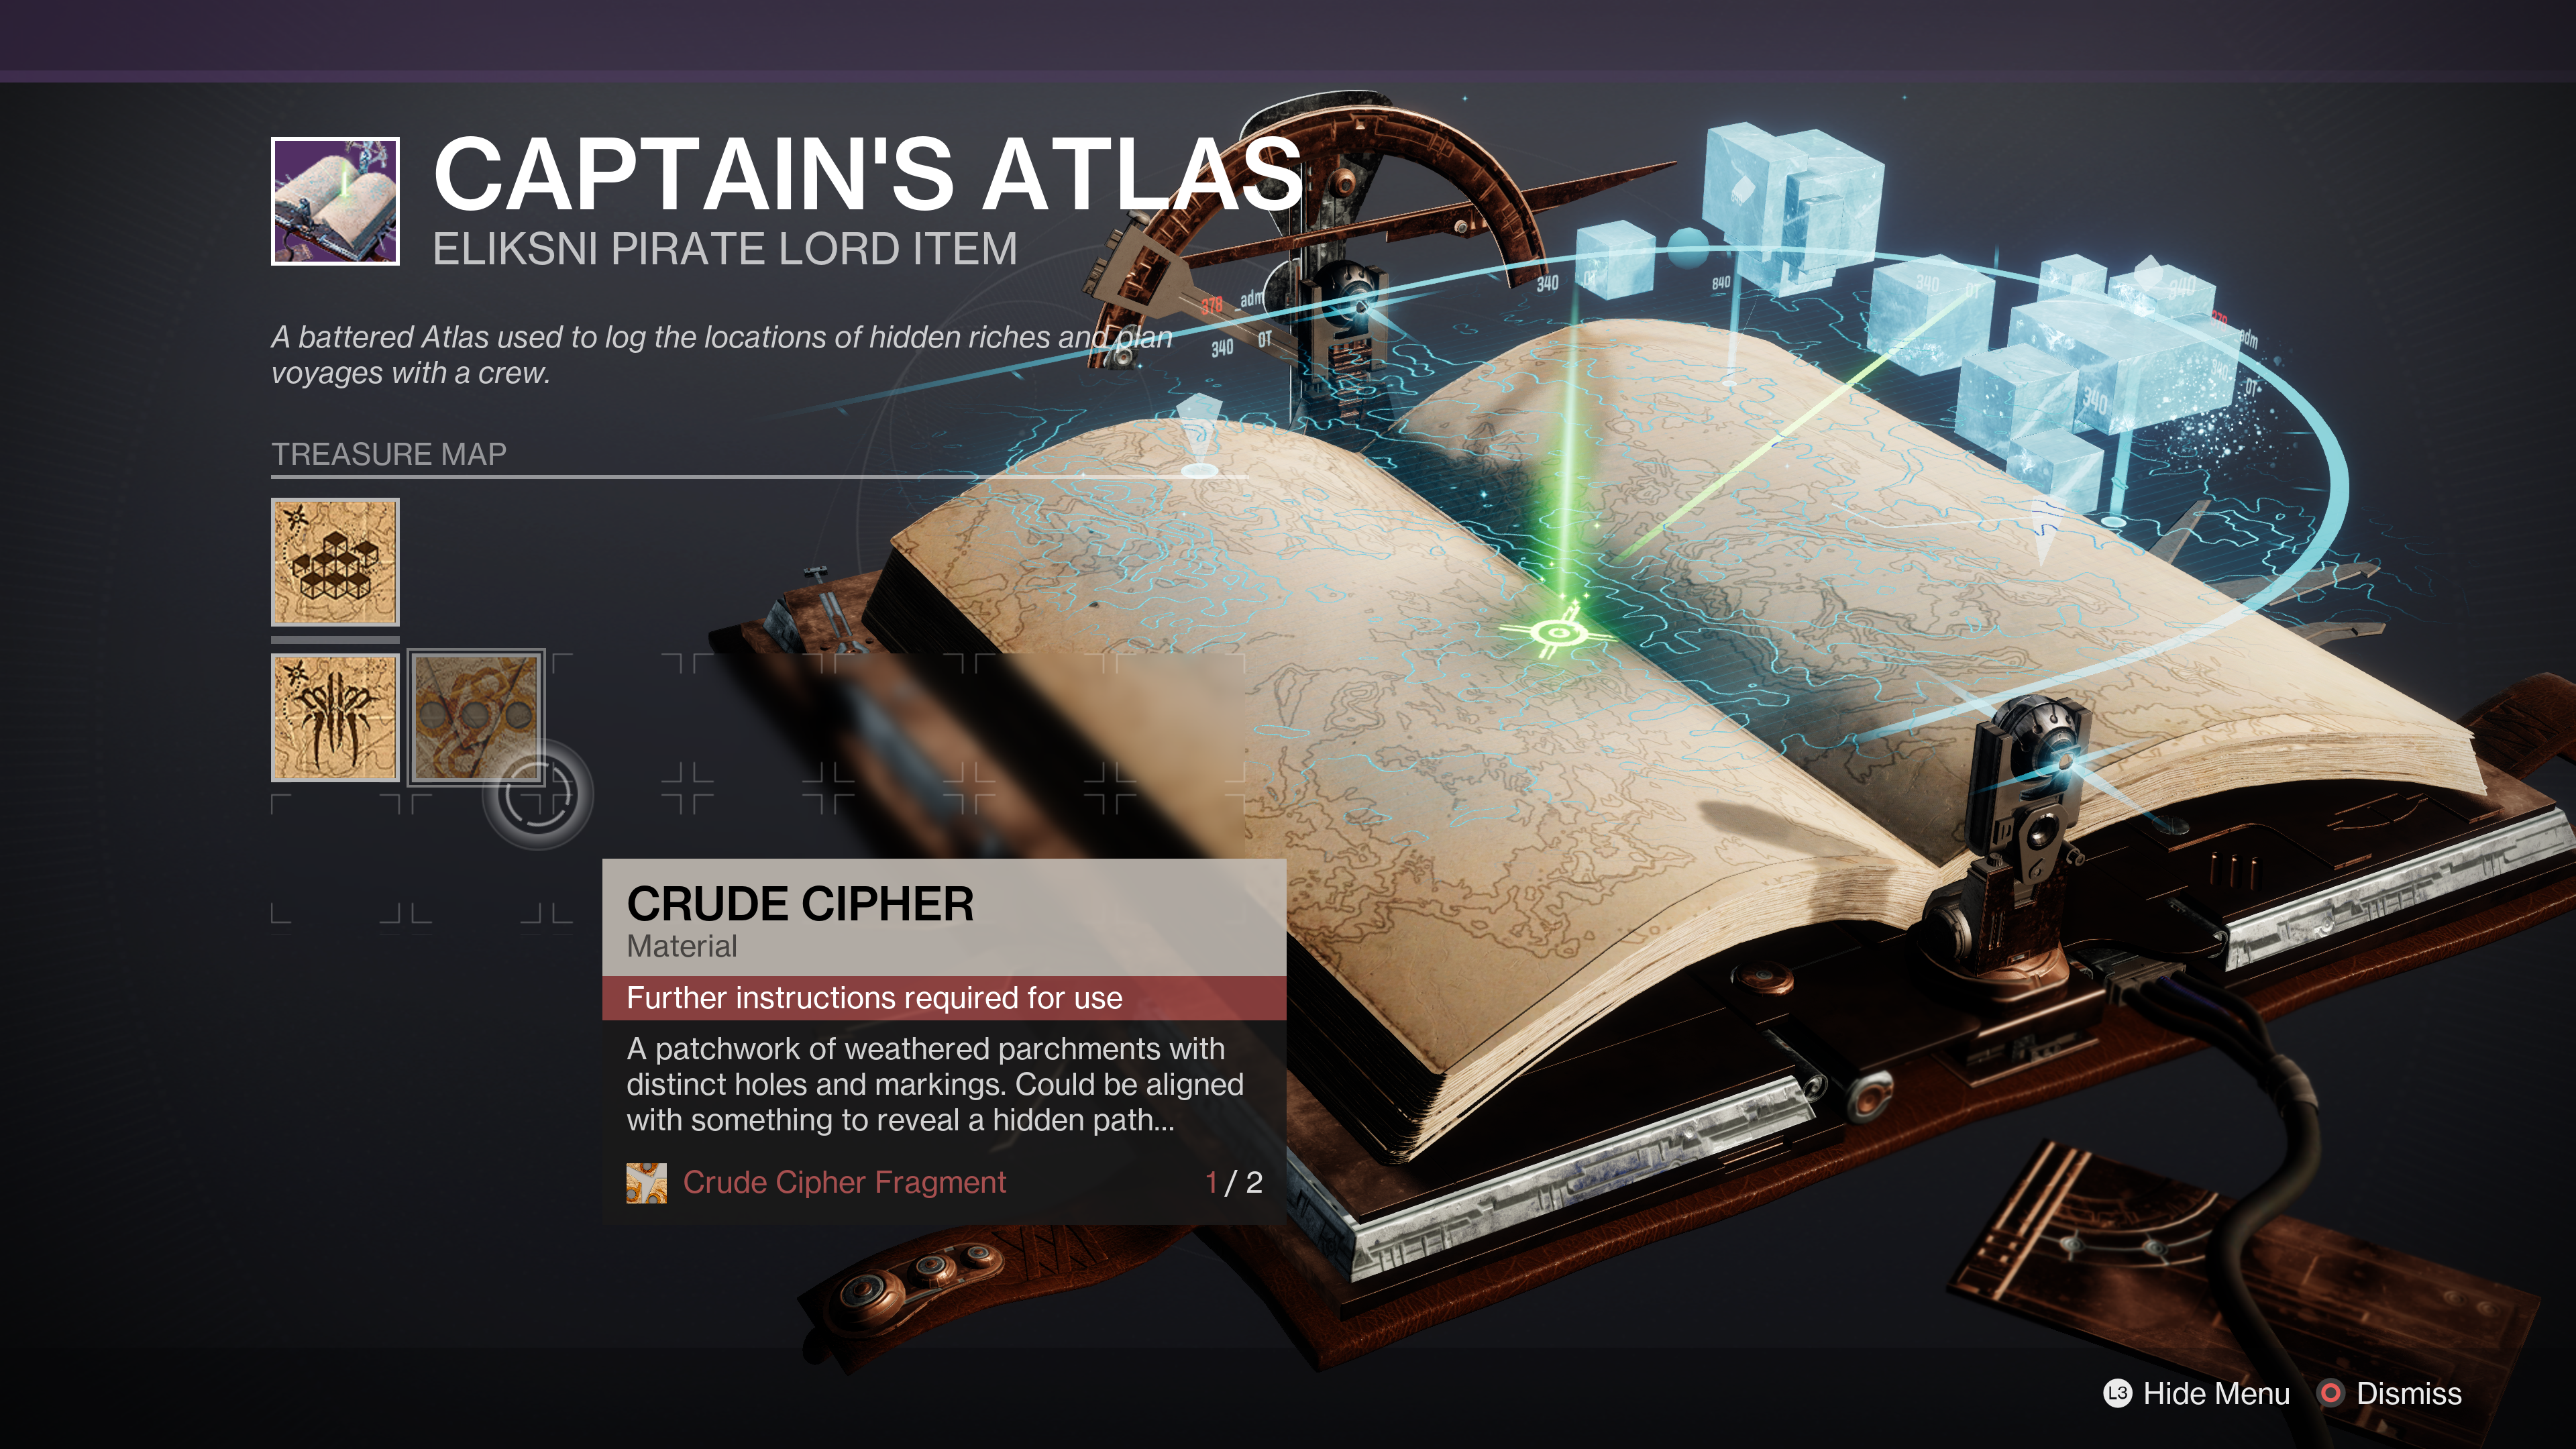
Congratulations – you’ve completed the first of three Cryptic Quatrain quests, progress through a seasonal challenge and triumph, and acquire a mysterious Crude Cipher Fragment, the first of two required to unlock Completed Crude Cipher. Progress can be tracked on this in the Captain’s Atlas.
Read on to find out how to complete the second and third Cryptic Quatrain quests and how to acquire the raw cipher.
The season of plunder has arrived! New additions include the Sails of the Shipstealer quest and Quicksilver Storm. Meanwhile, there is the arrival of King’s Fall. Before that, haunting season continues. Familiarize yourself with our leveling guide before tackling the Duality dungeon and learn how to collect Calus Bobblehead locations, Calus Automaton locations, and find all Opulent Key chests. For The Witch Queen, find out how to get Exotics including Dead Messenger and Parasite. Late last year, we saw Bungie’s 30th anniversary, which introduced the Grasp of Avarice dungeon, weird rooms, and new Exotics including the Gjallarhorn and Forerunner.
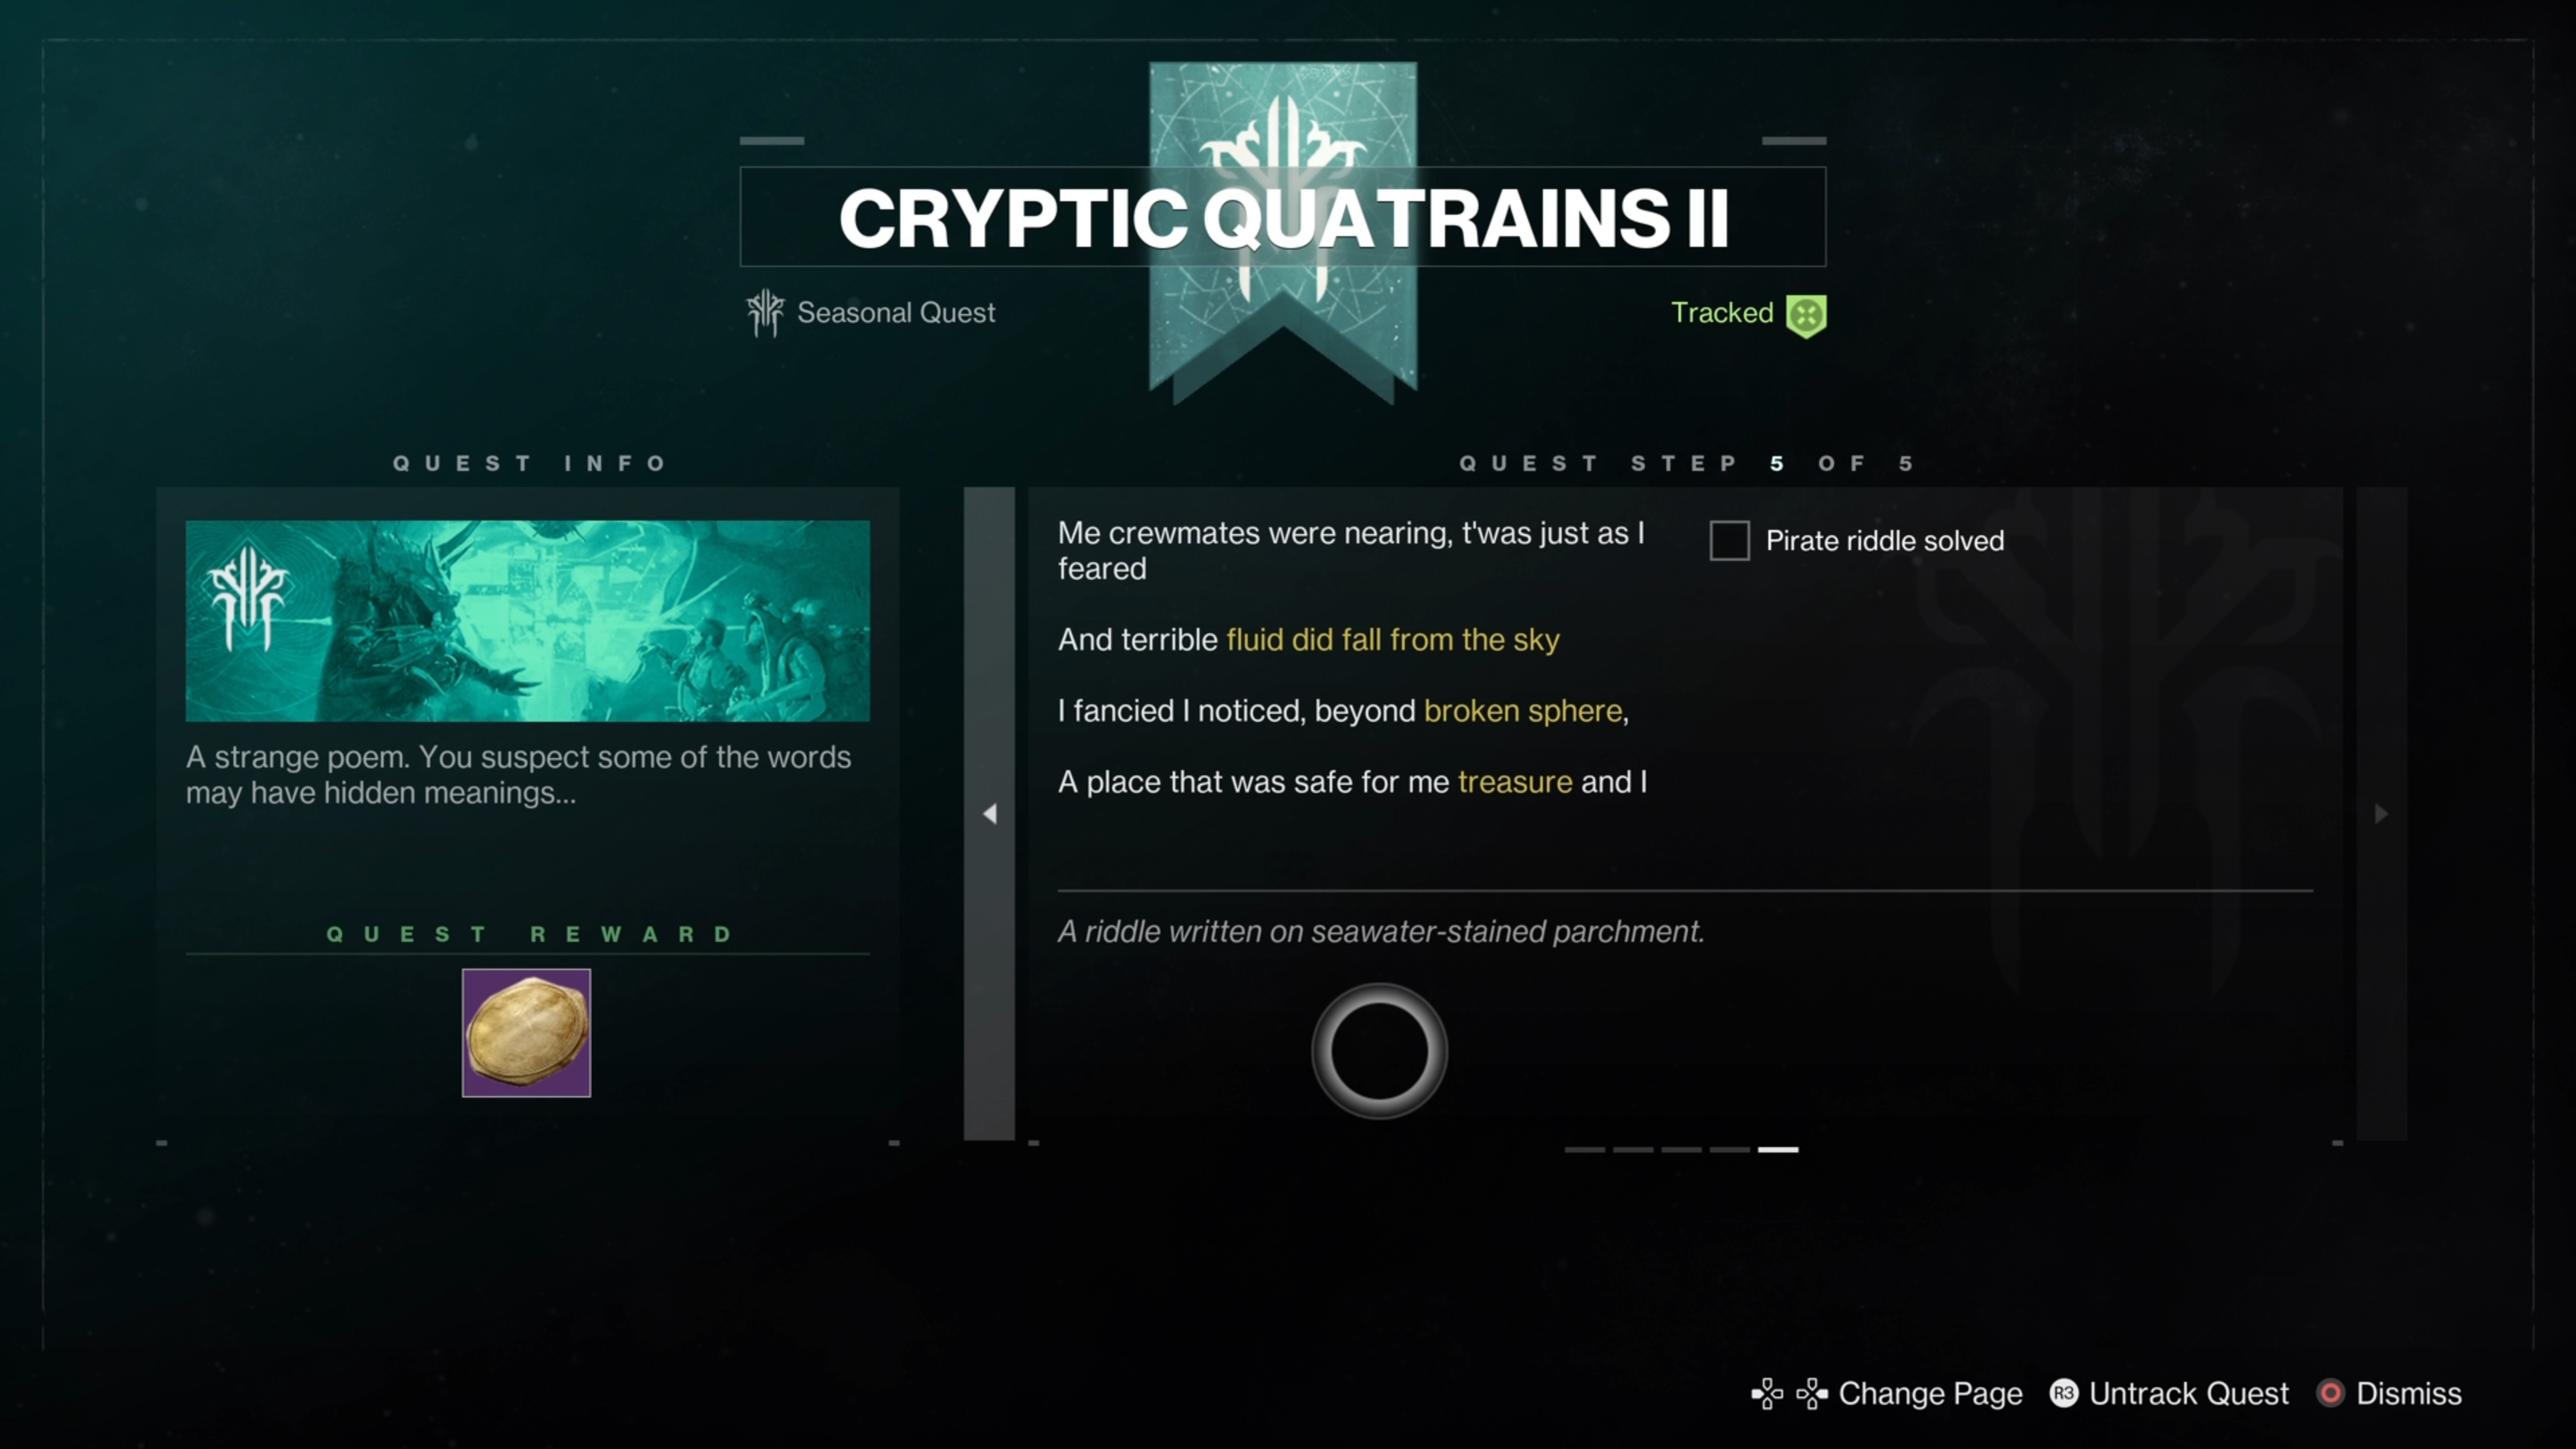
Destiny 2 Cryptic Quatrain 2 Quest Steps, Puzzle & Location
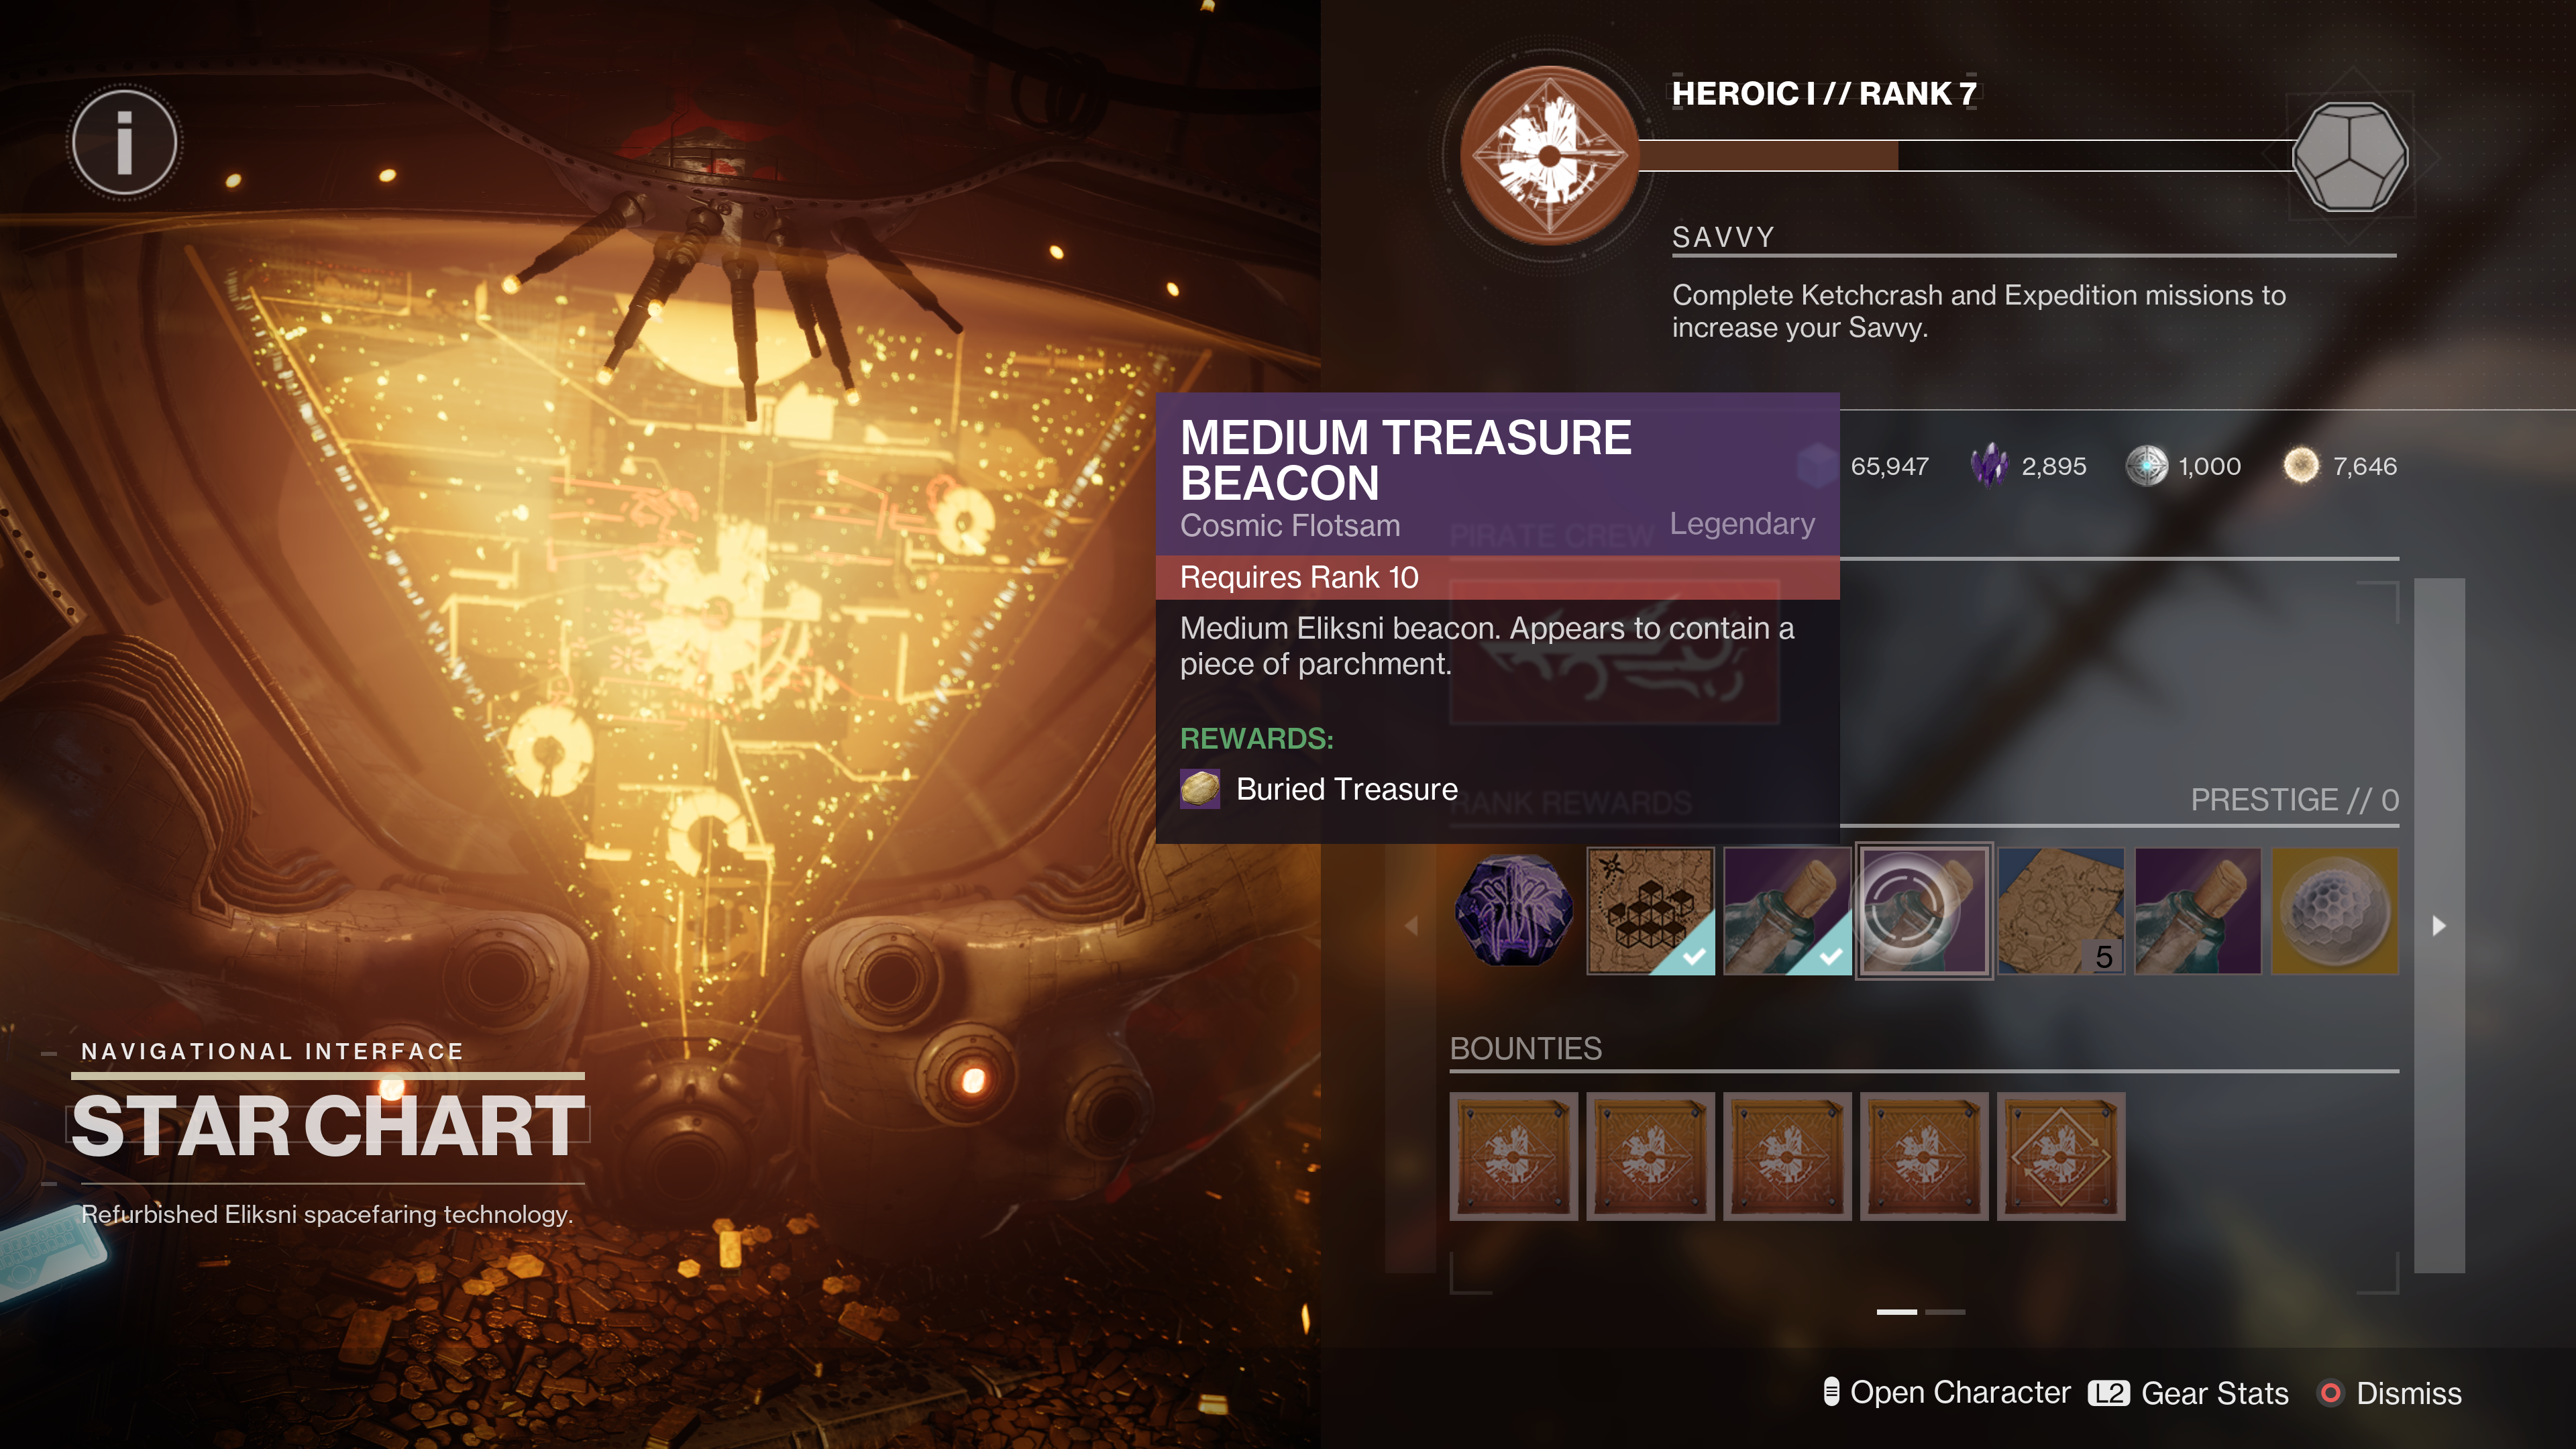
To unlock this second quest, you need to reach rank 10 with the Star Chart vendor in the HELM. Once you’ve done that, pick up the “medium treasure beacon” to begin the quest.
Just like the first quest, it begins with a riddle.
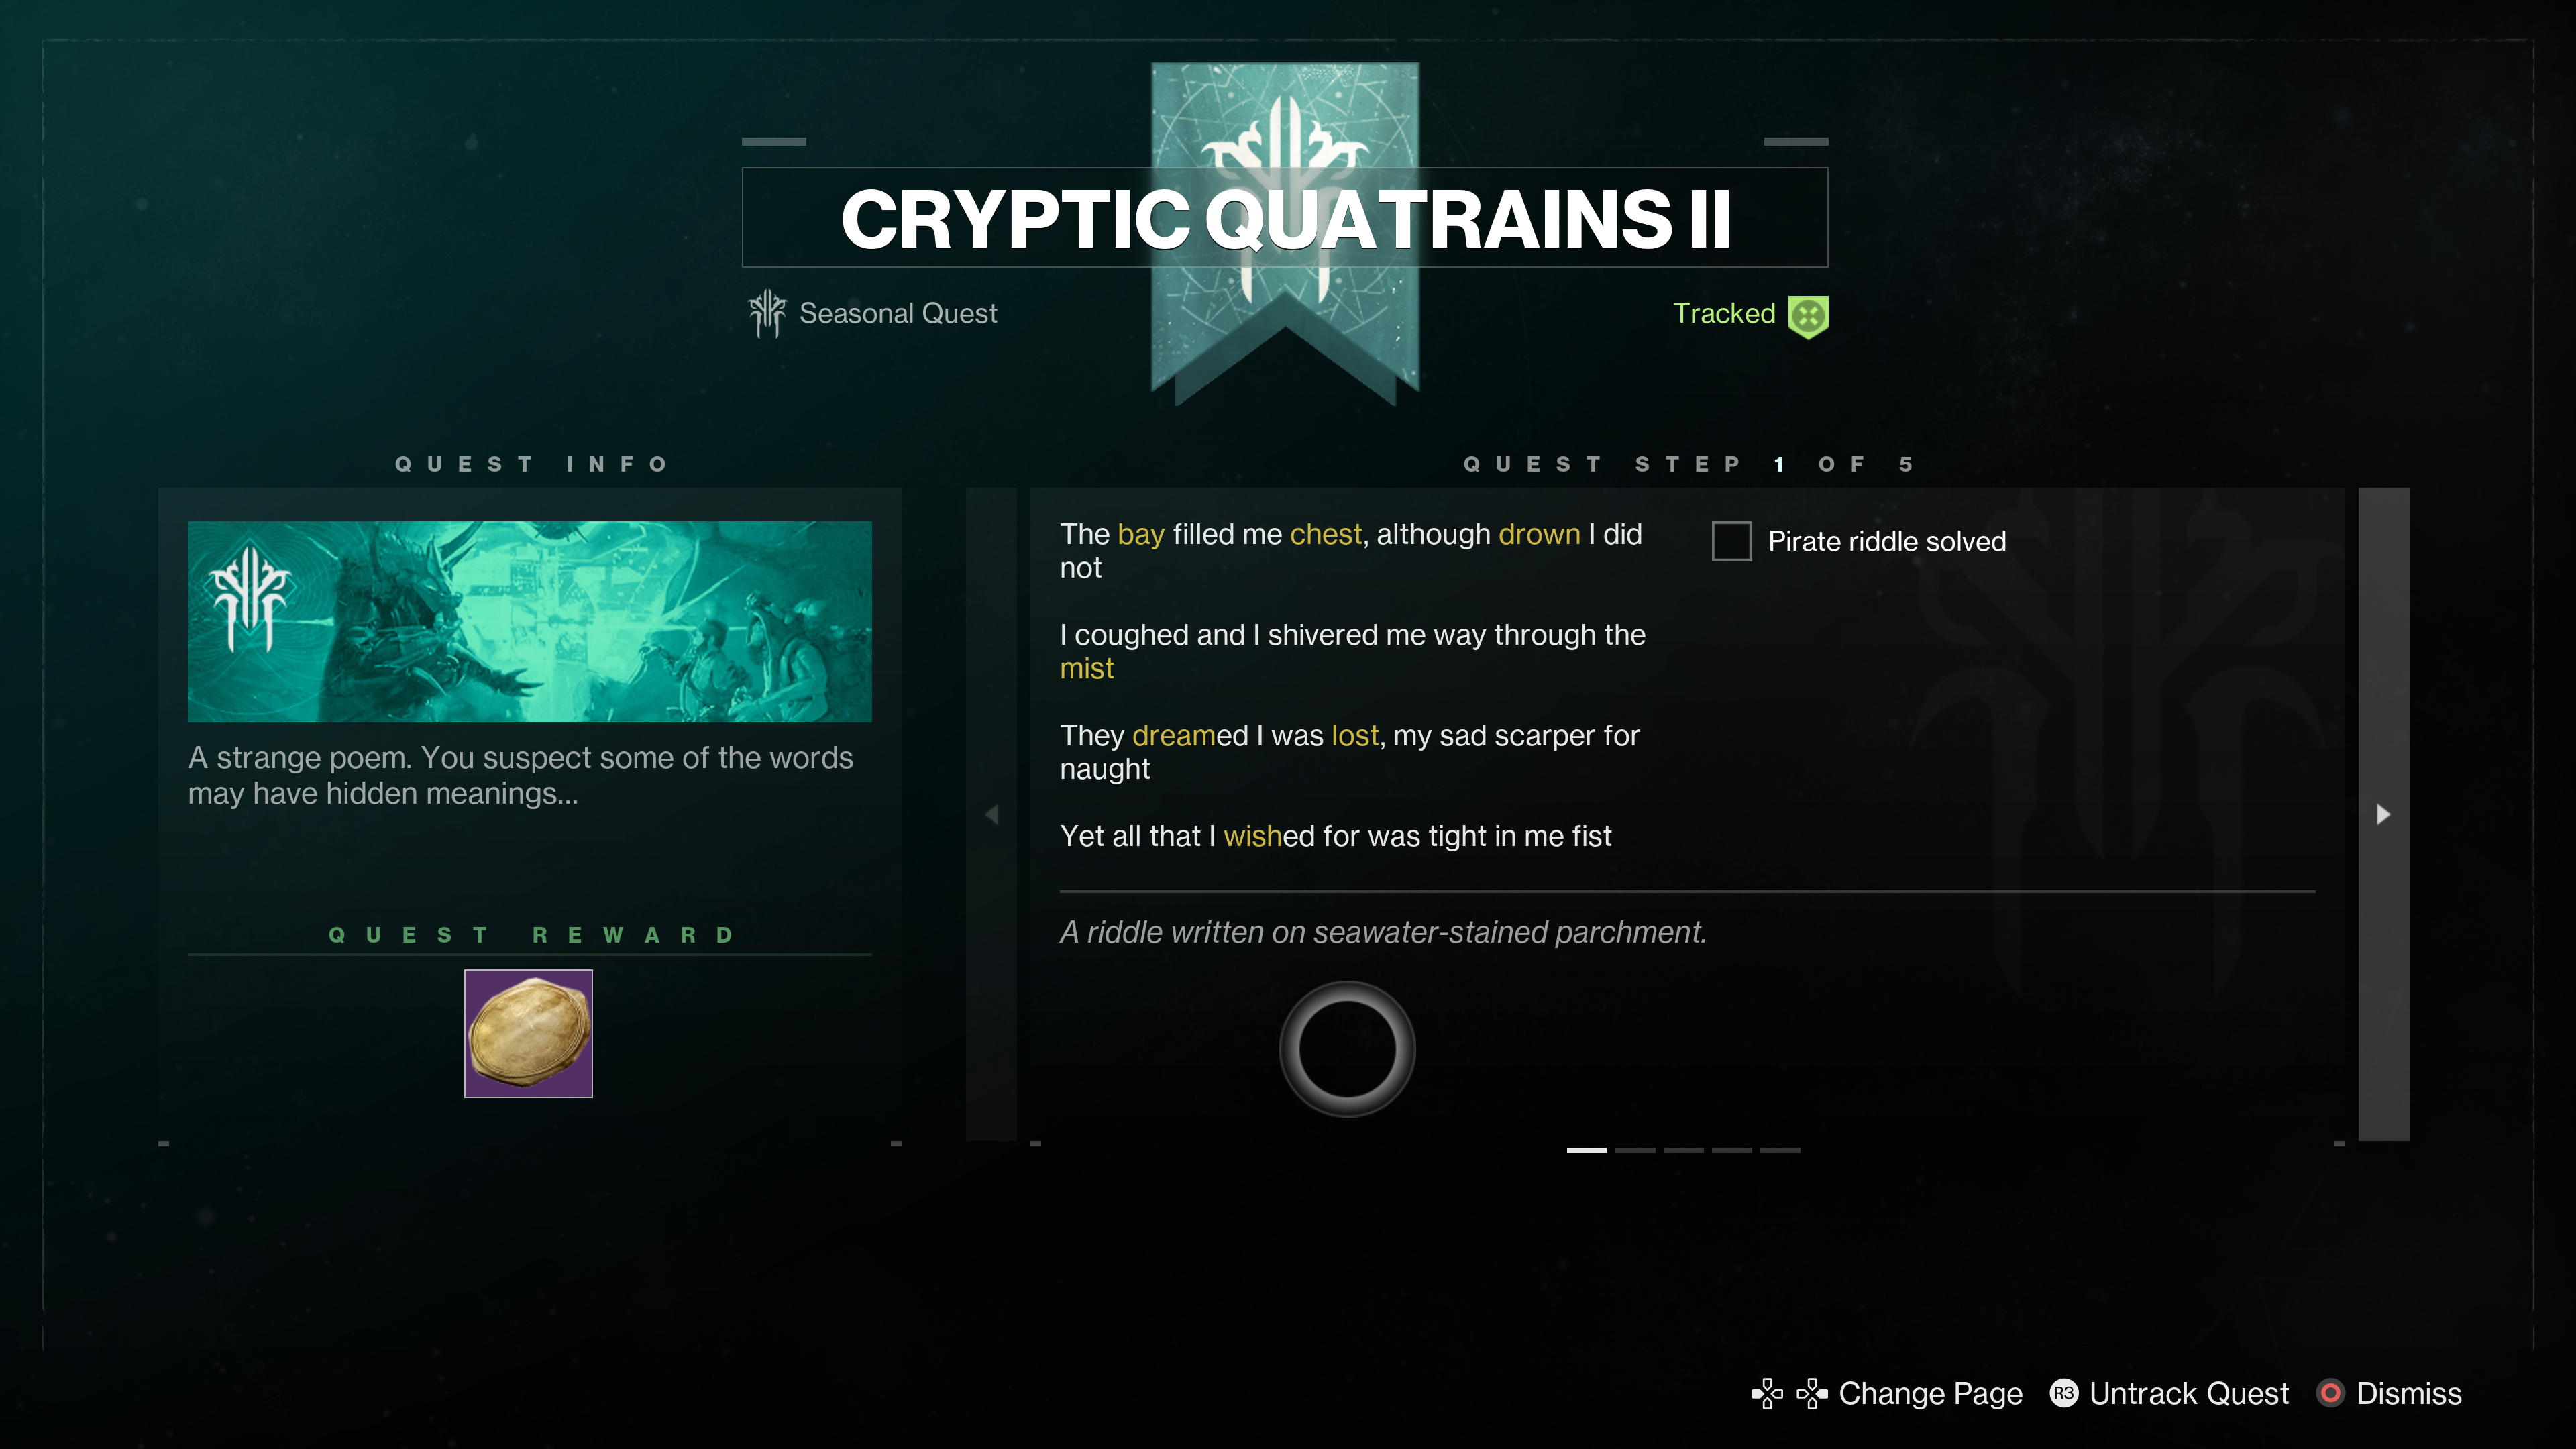
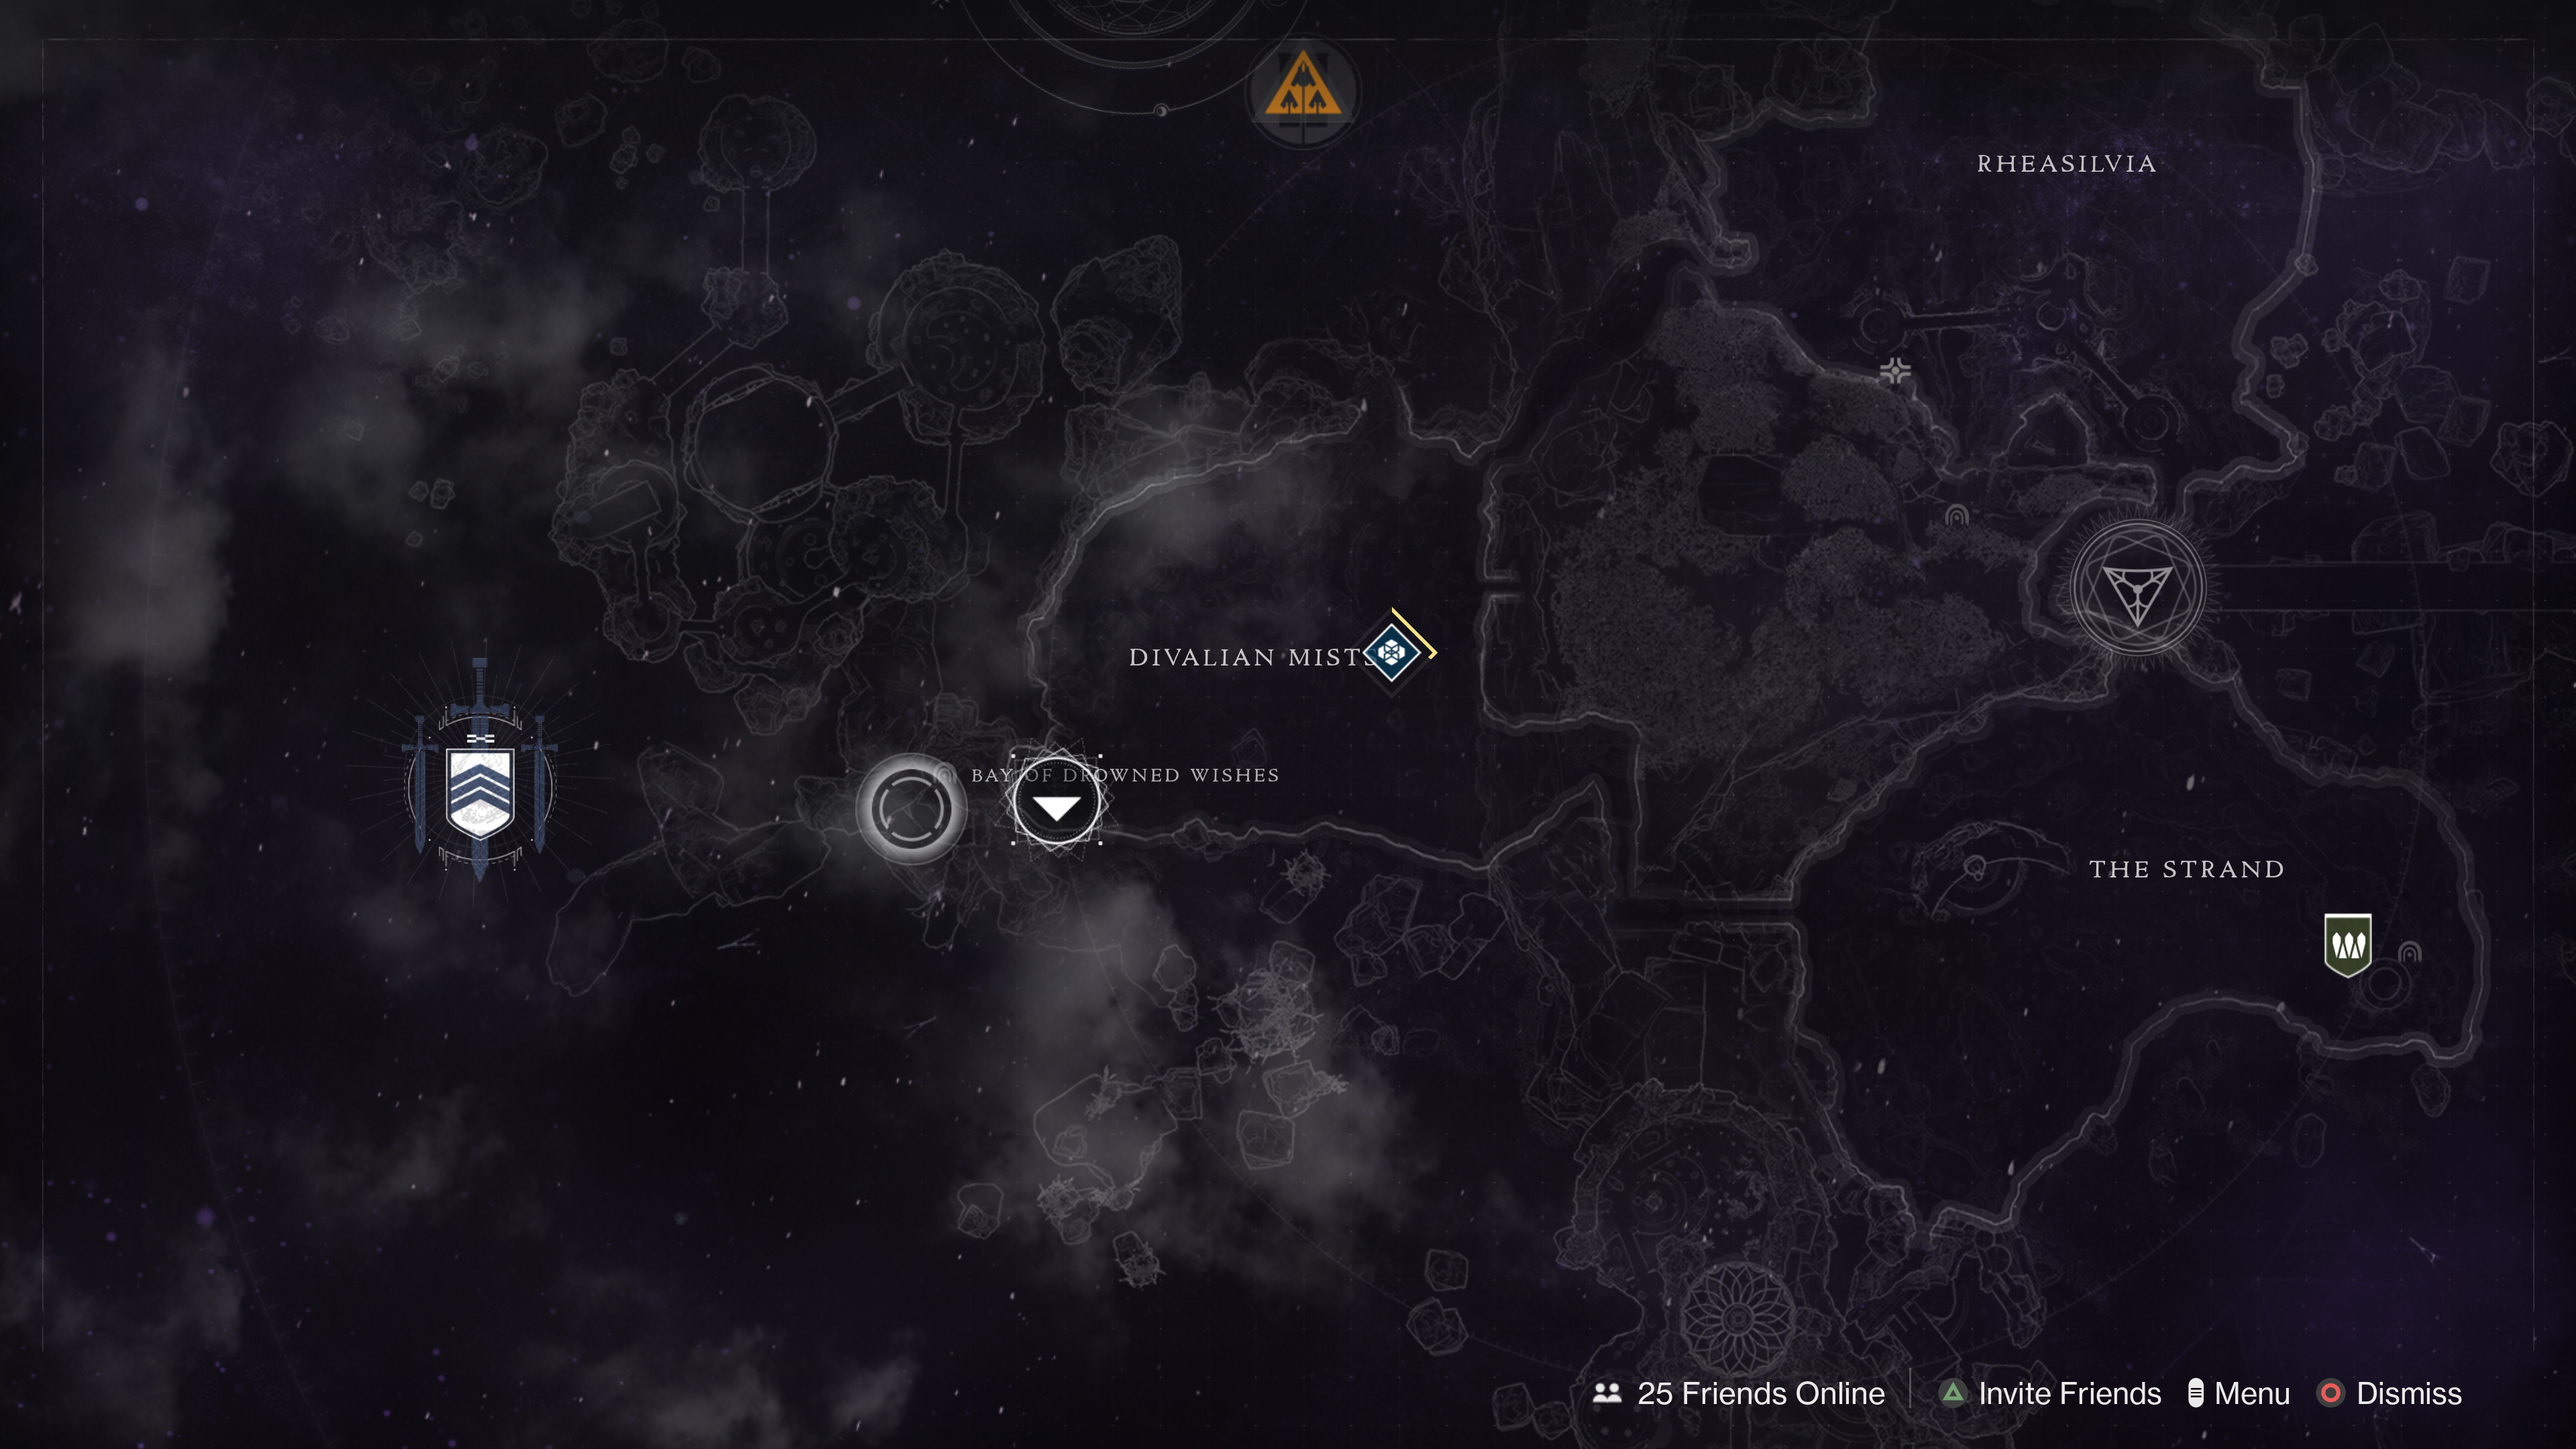
This one directs you to the Dreaming City, more specifically the Bay of Drowned Wishes Lost Sector, accessible from the Divalian Mists – load into it via its associated landing zone.
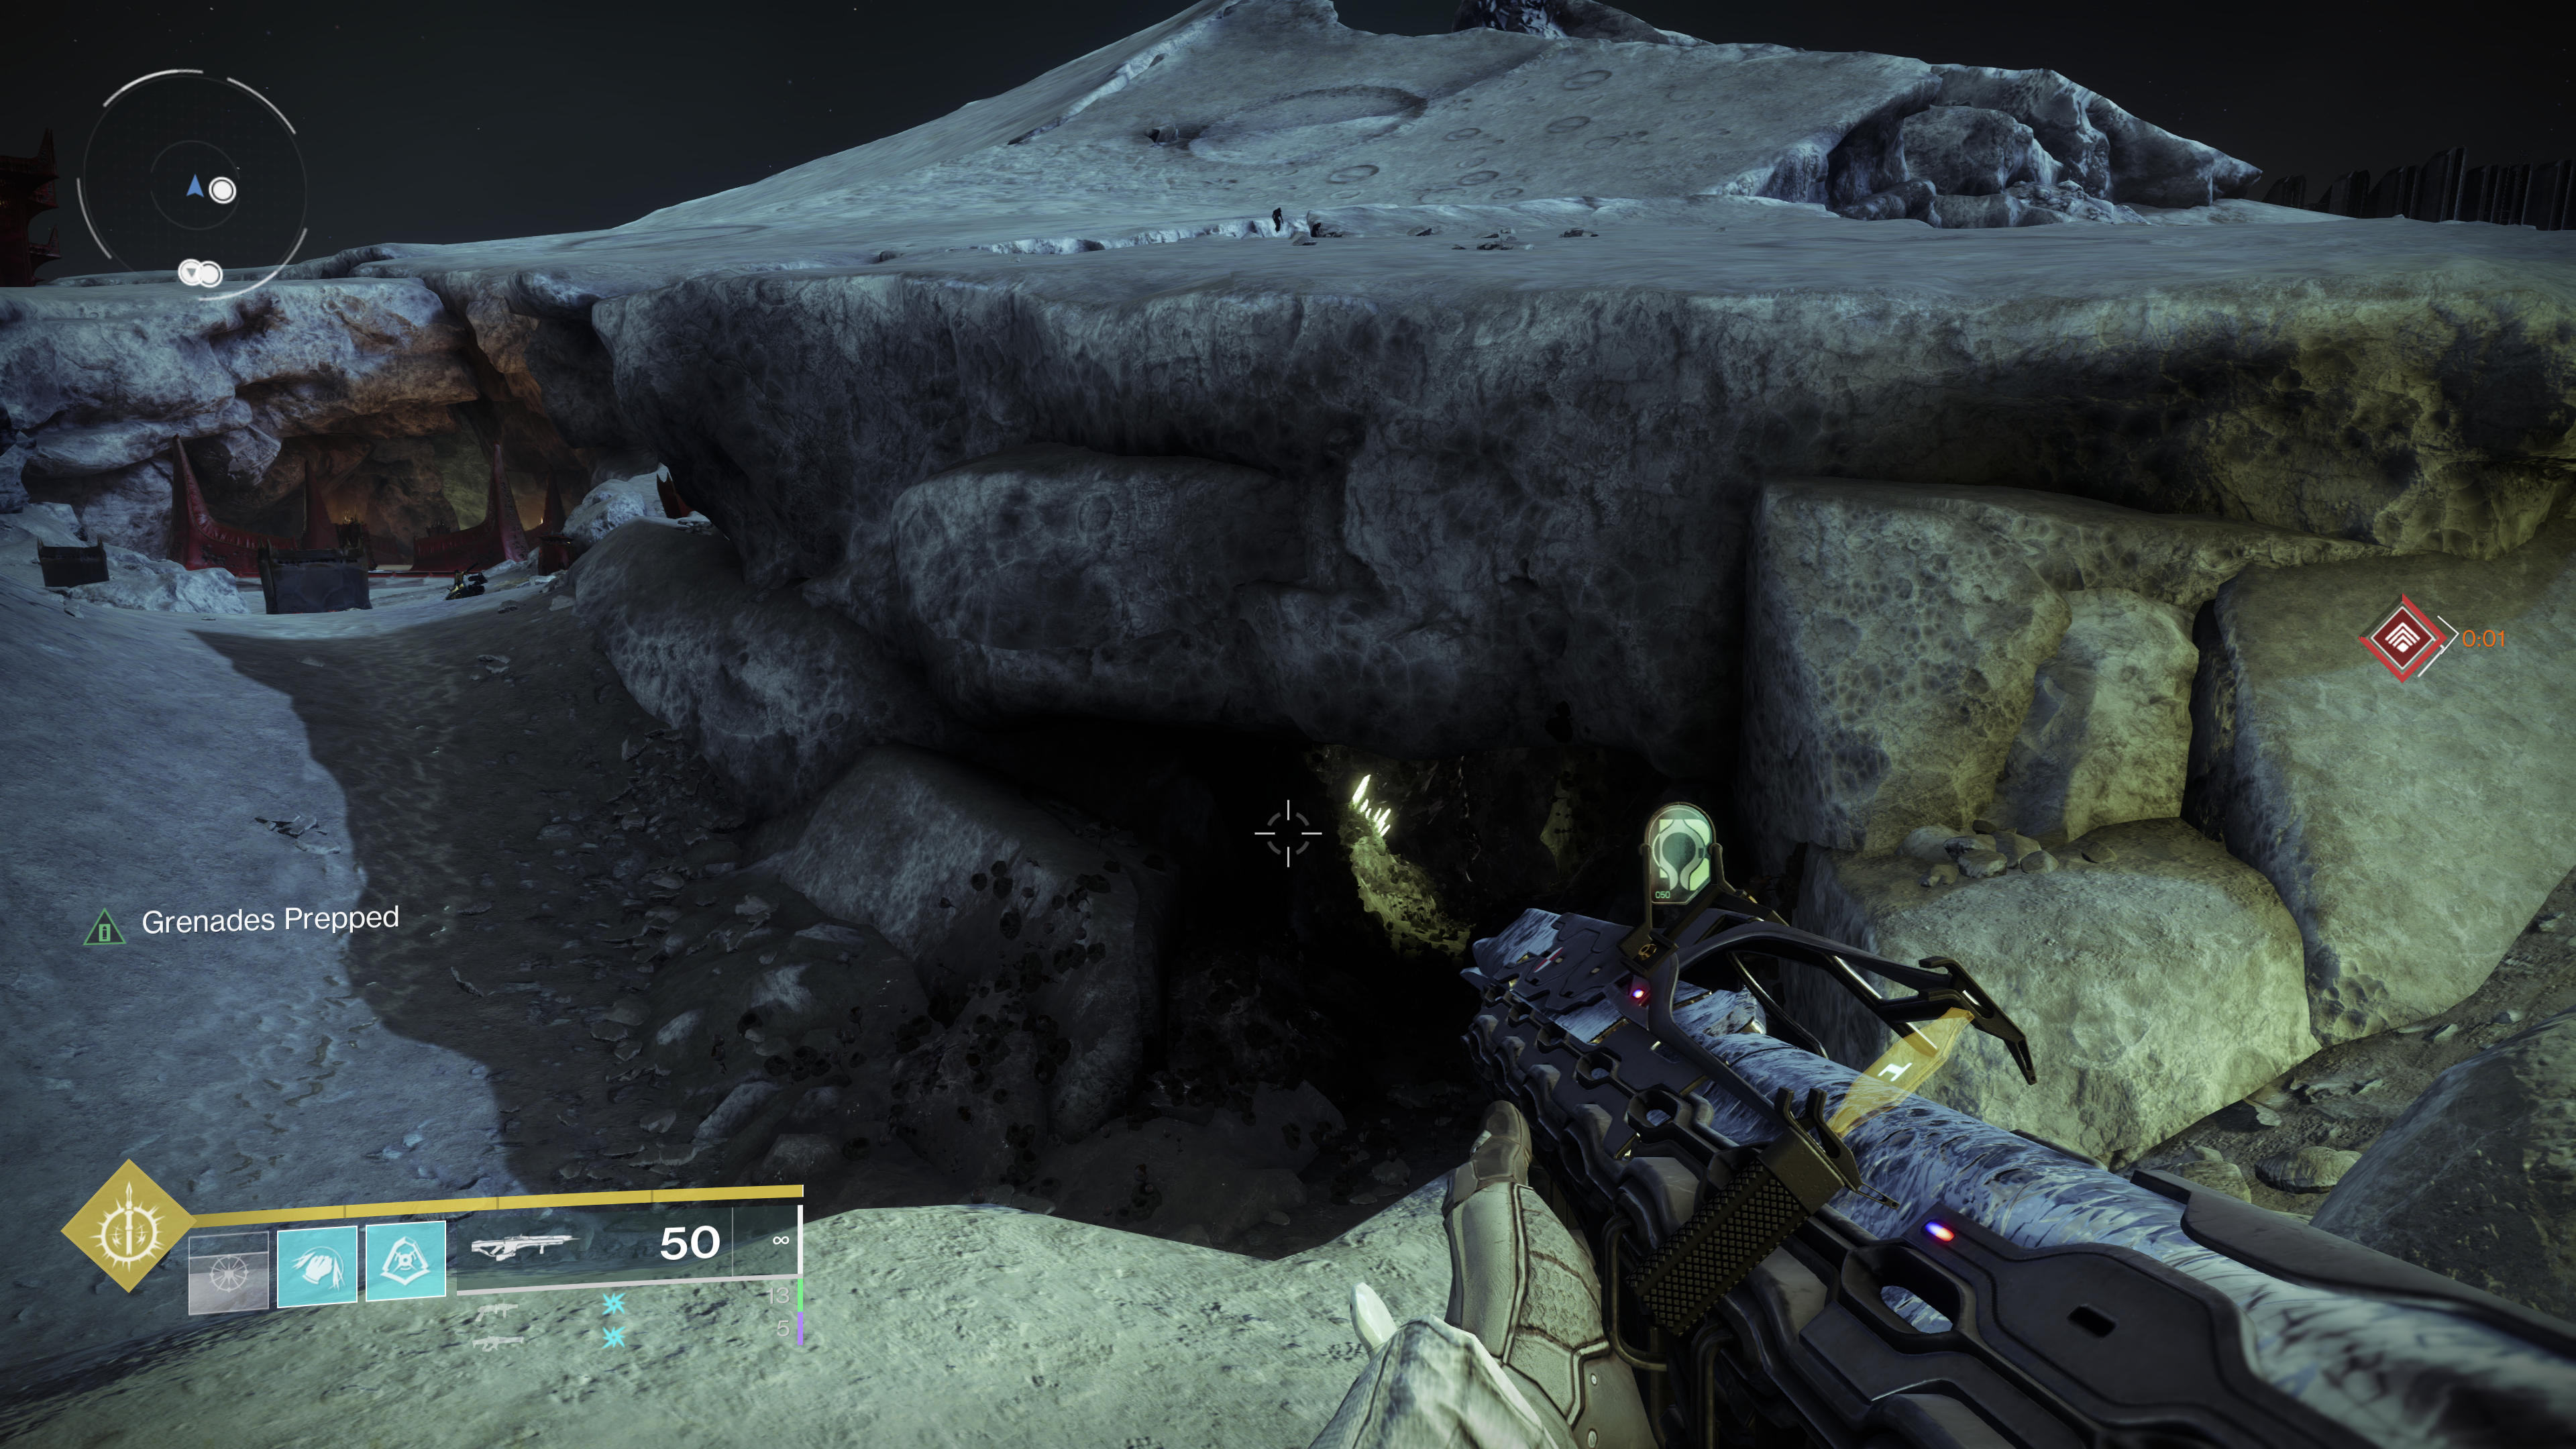
Once you’ve loaded up, turn around, climb up the rocks, and enter the cave pictured below.

After a bit of running, you’ll be in the Lost Sector – take out all the enemies and the final boss, then open the chest waiting at the end of the area.
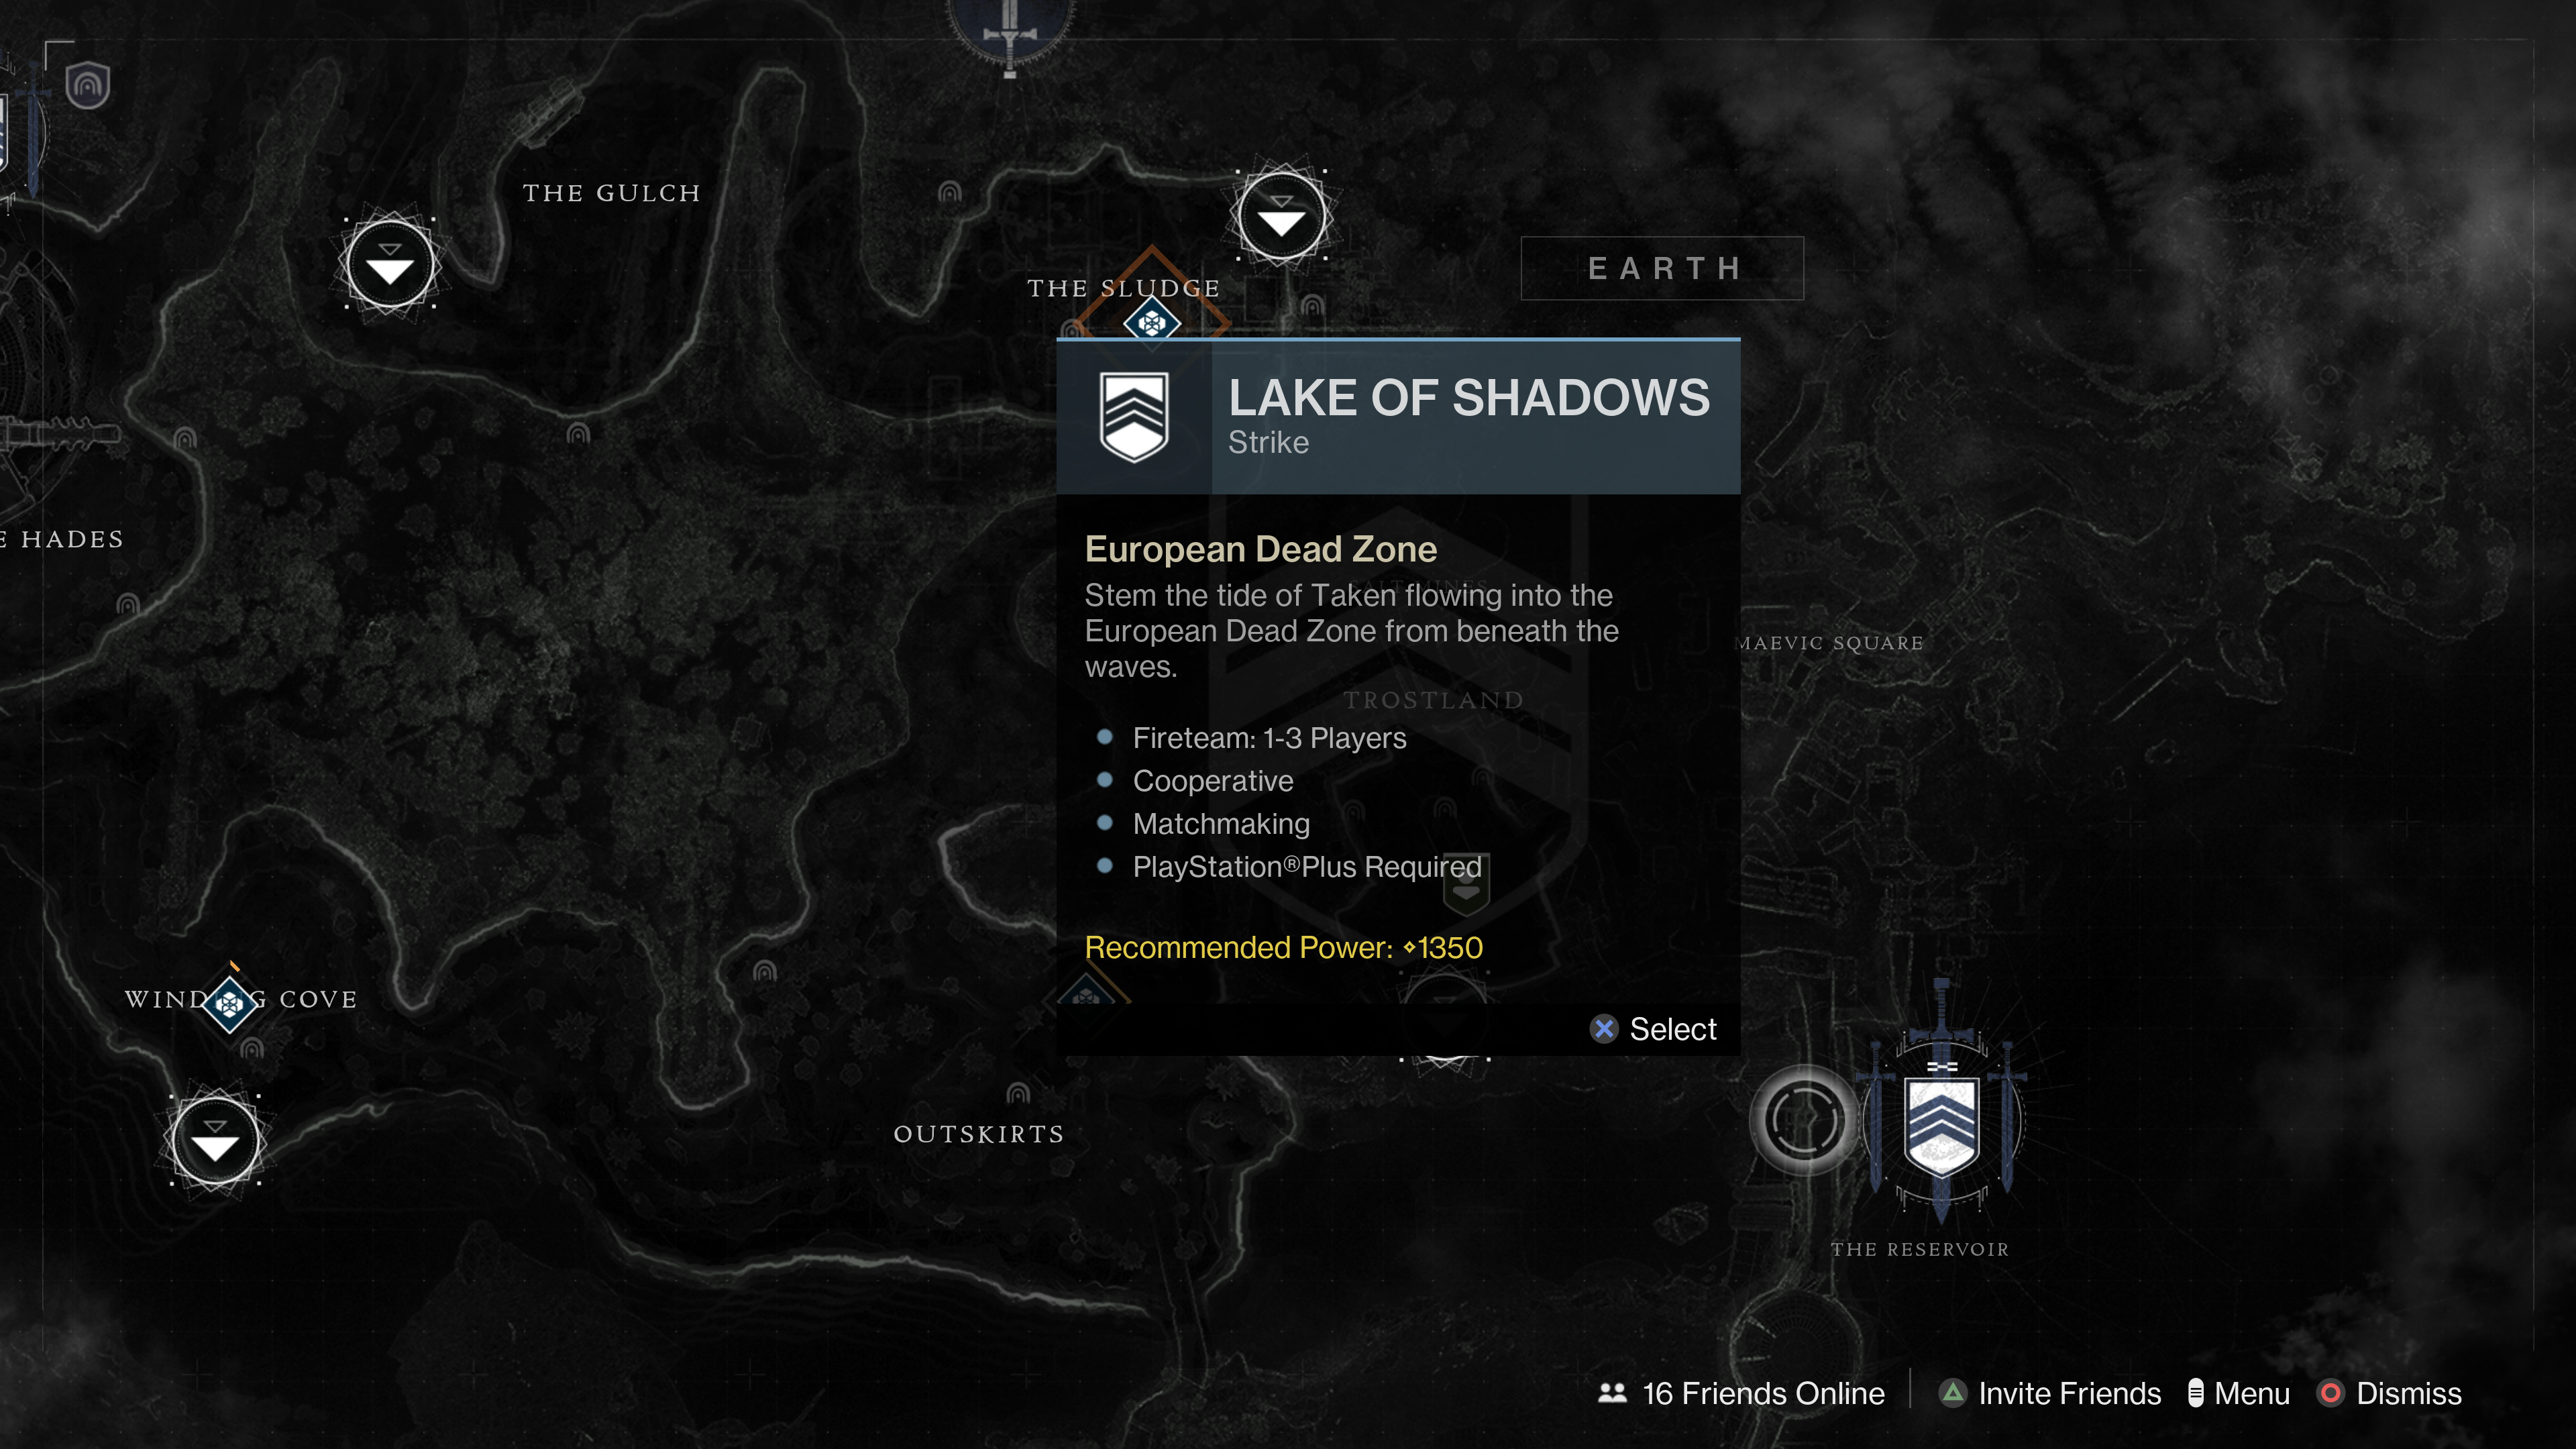
Opening this chest will update the quest. Then you’ll head to the EDZ to complete the Lake of Shadows Strike, accessible from the director.

When this strike ends, the quest will be updated again.
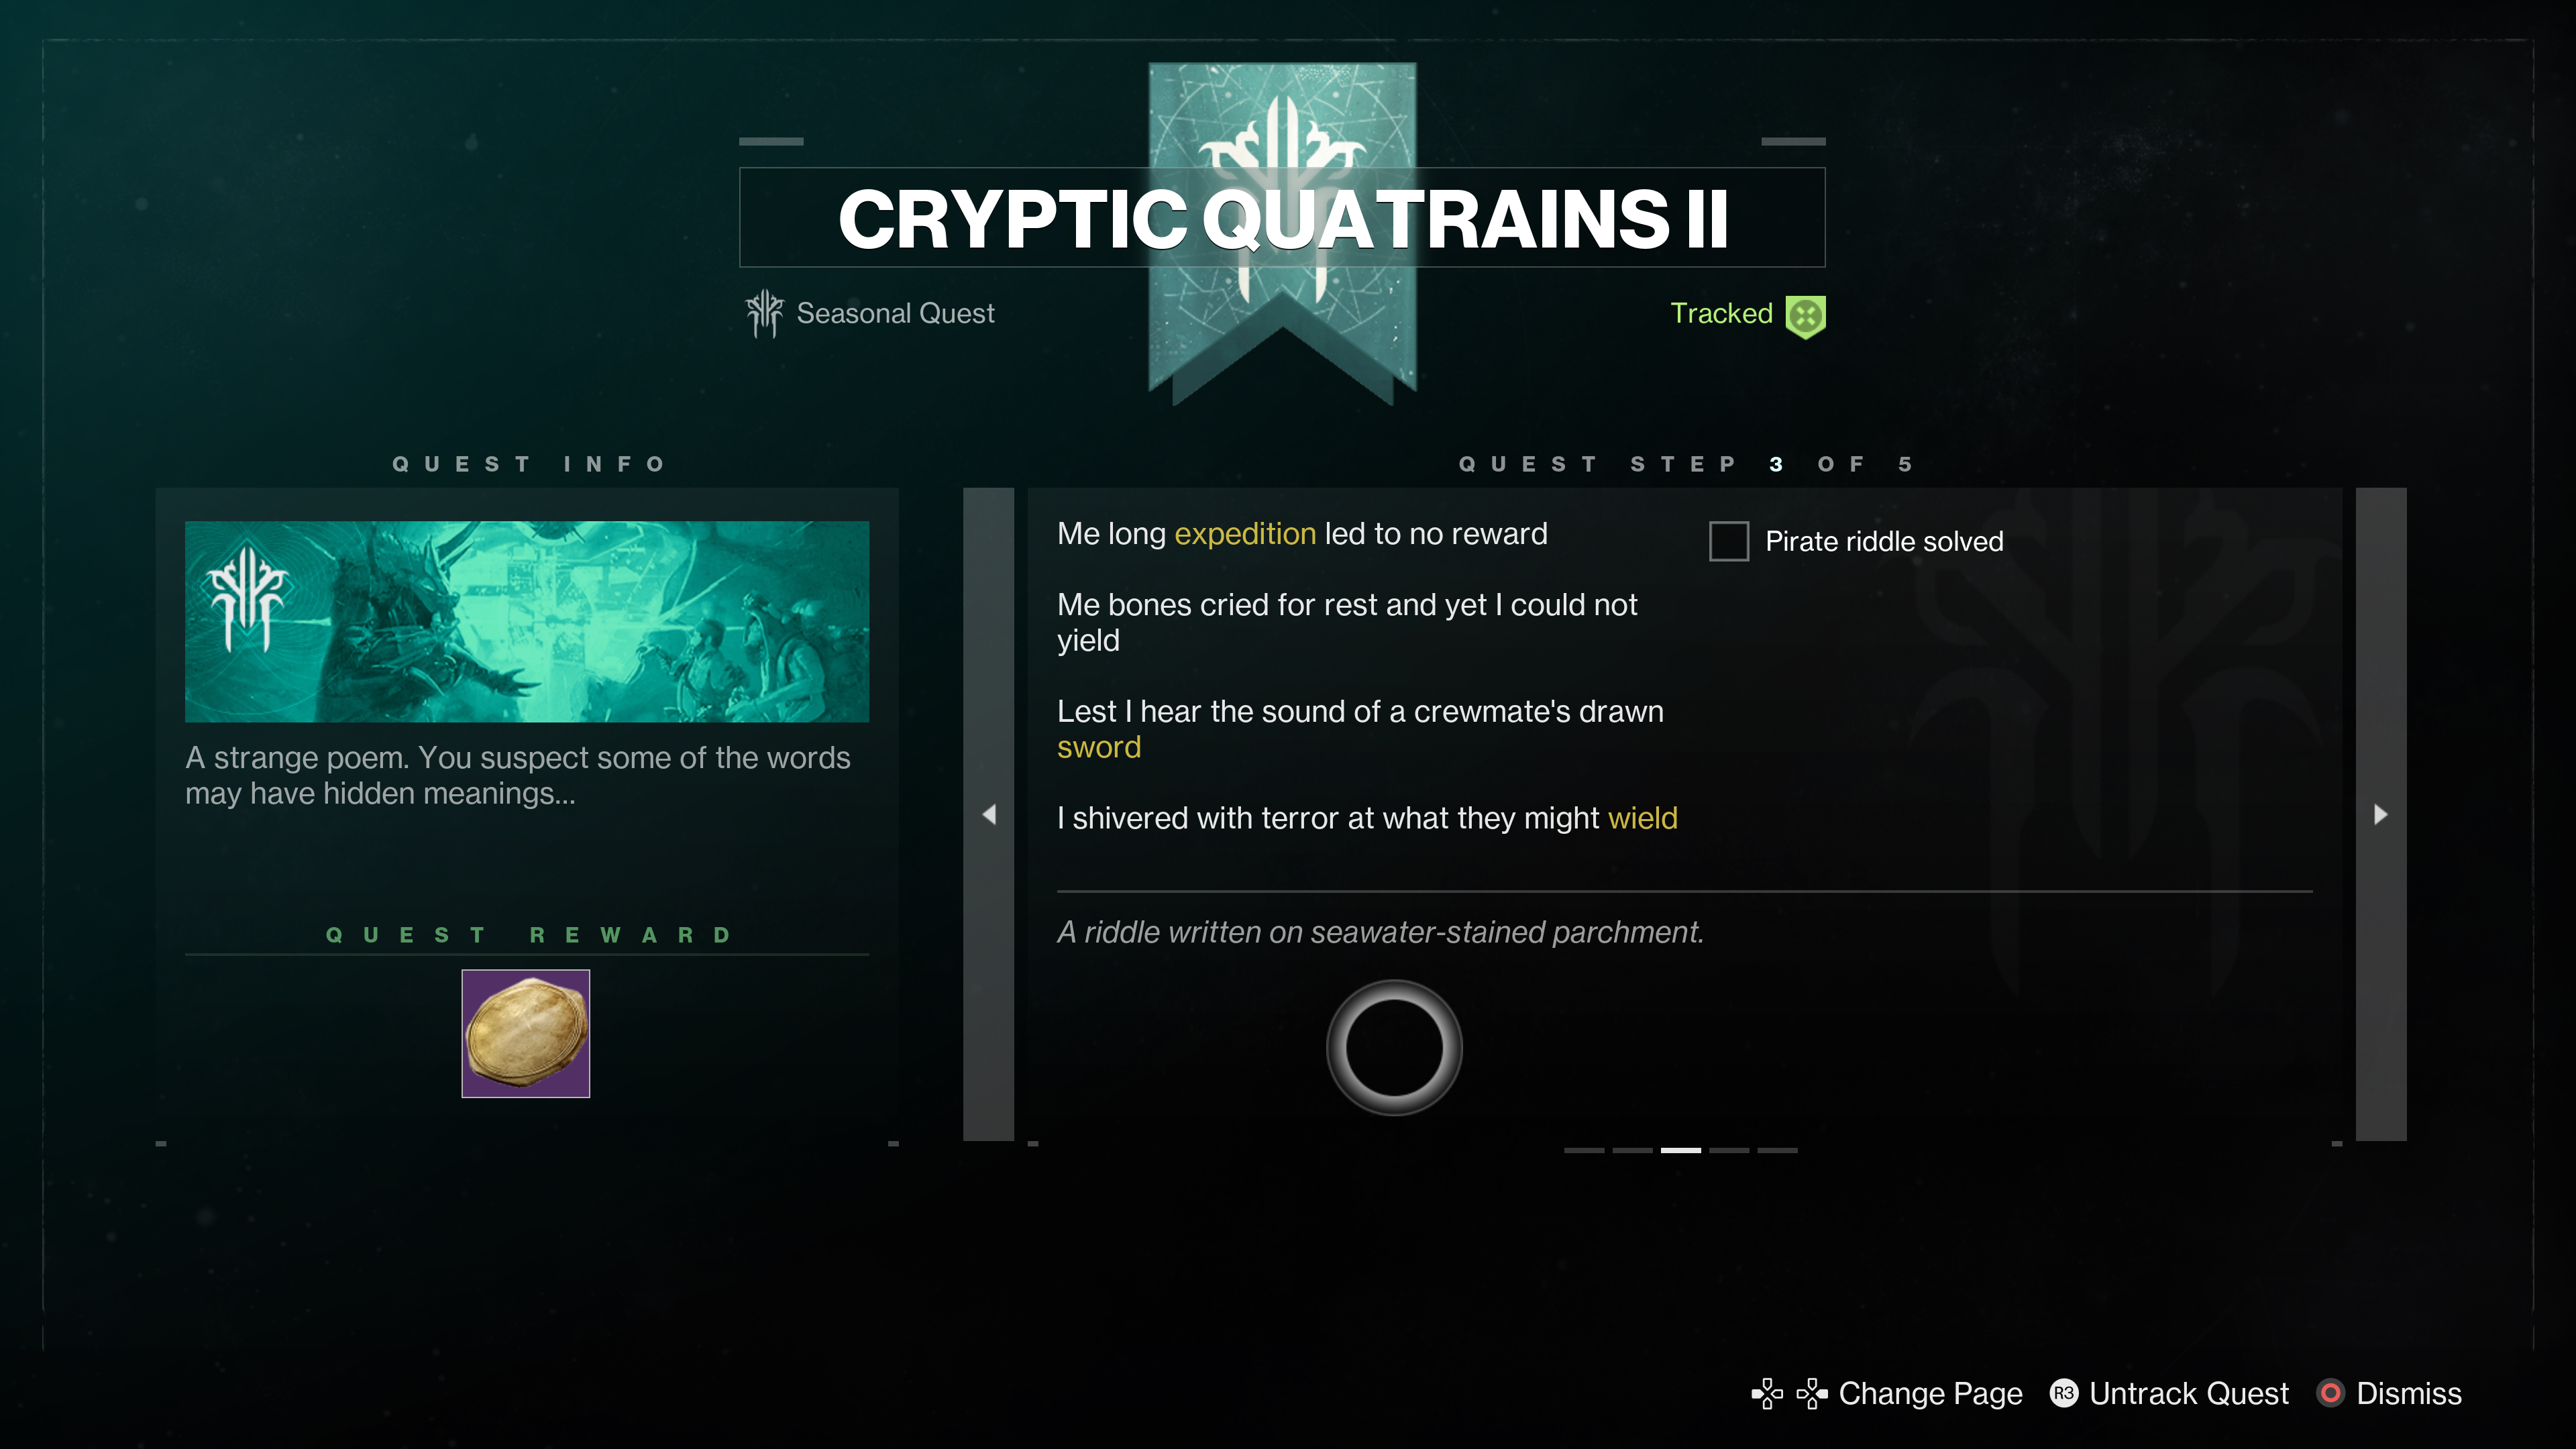
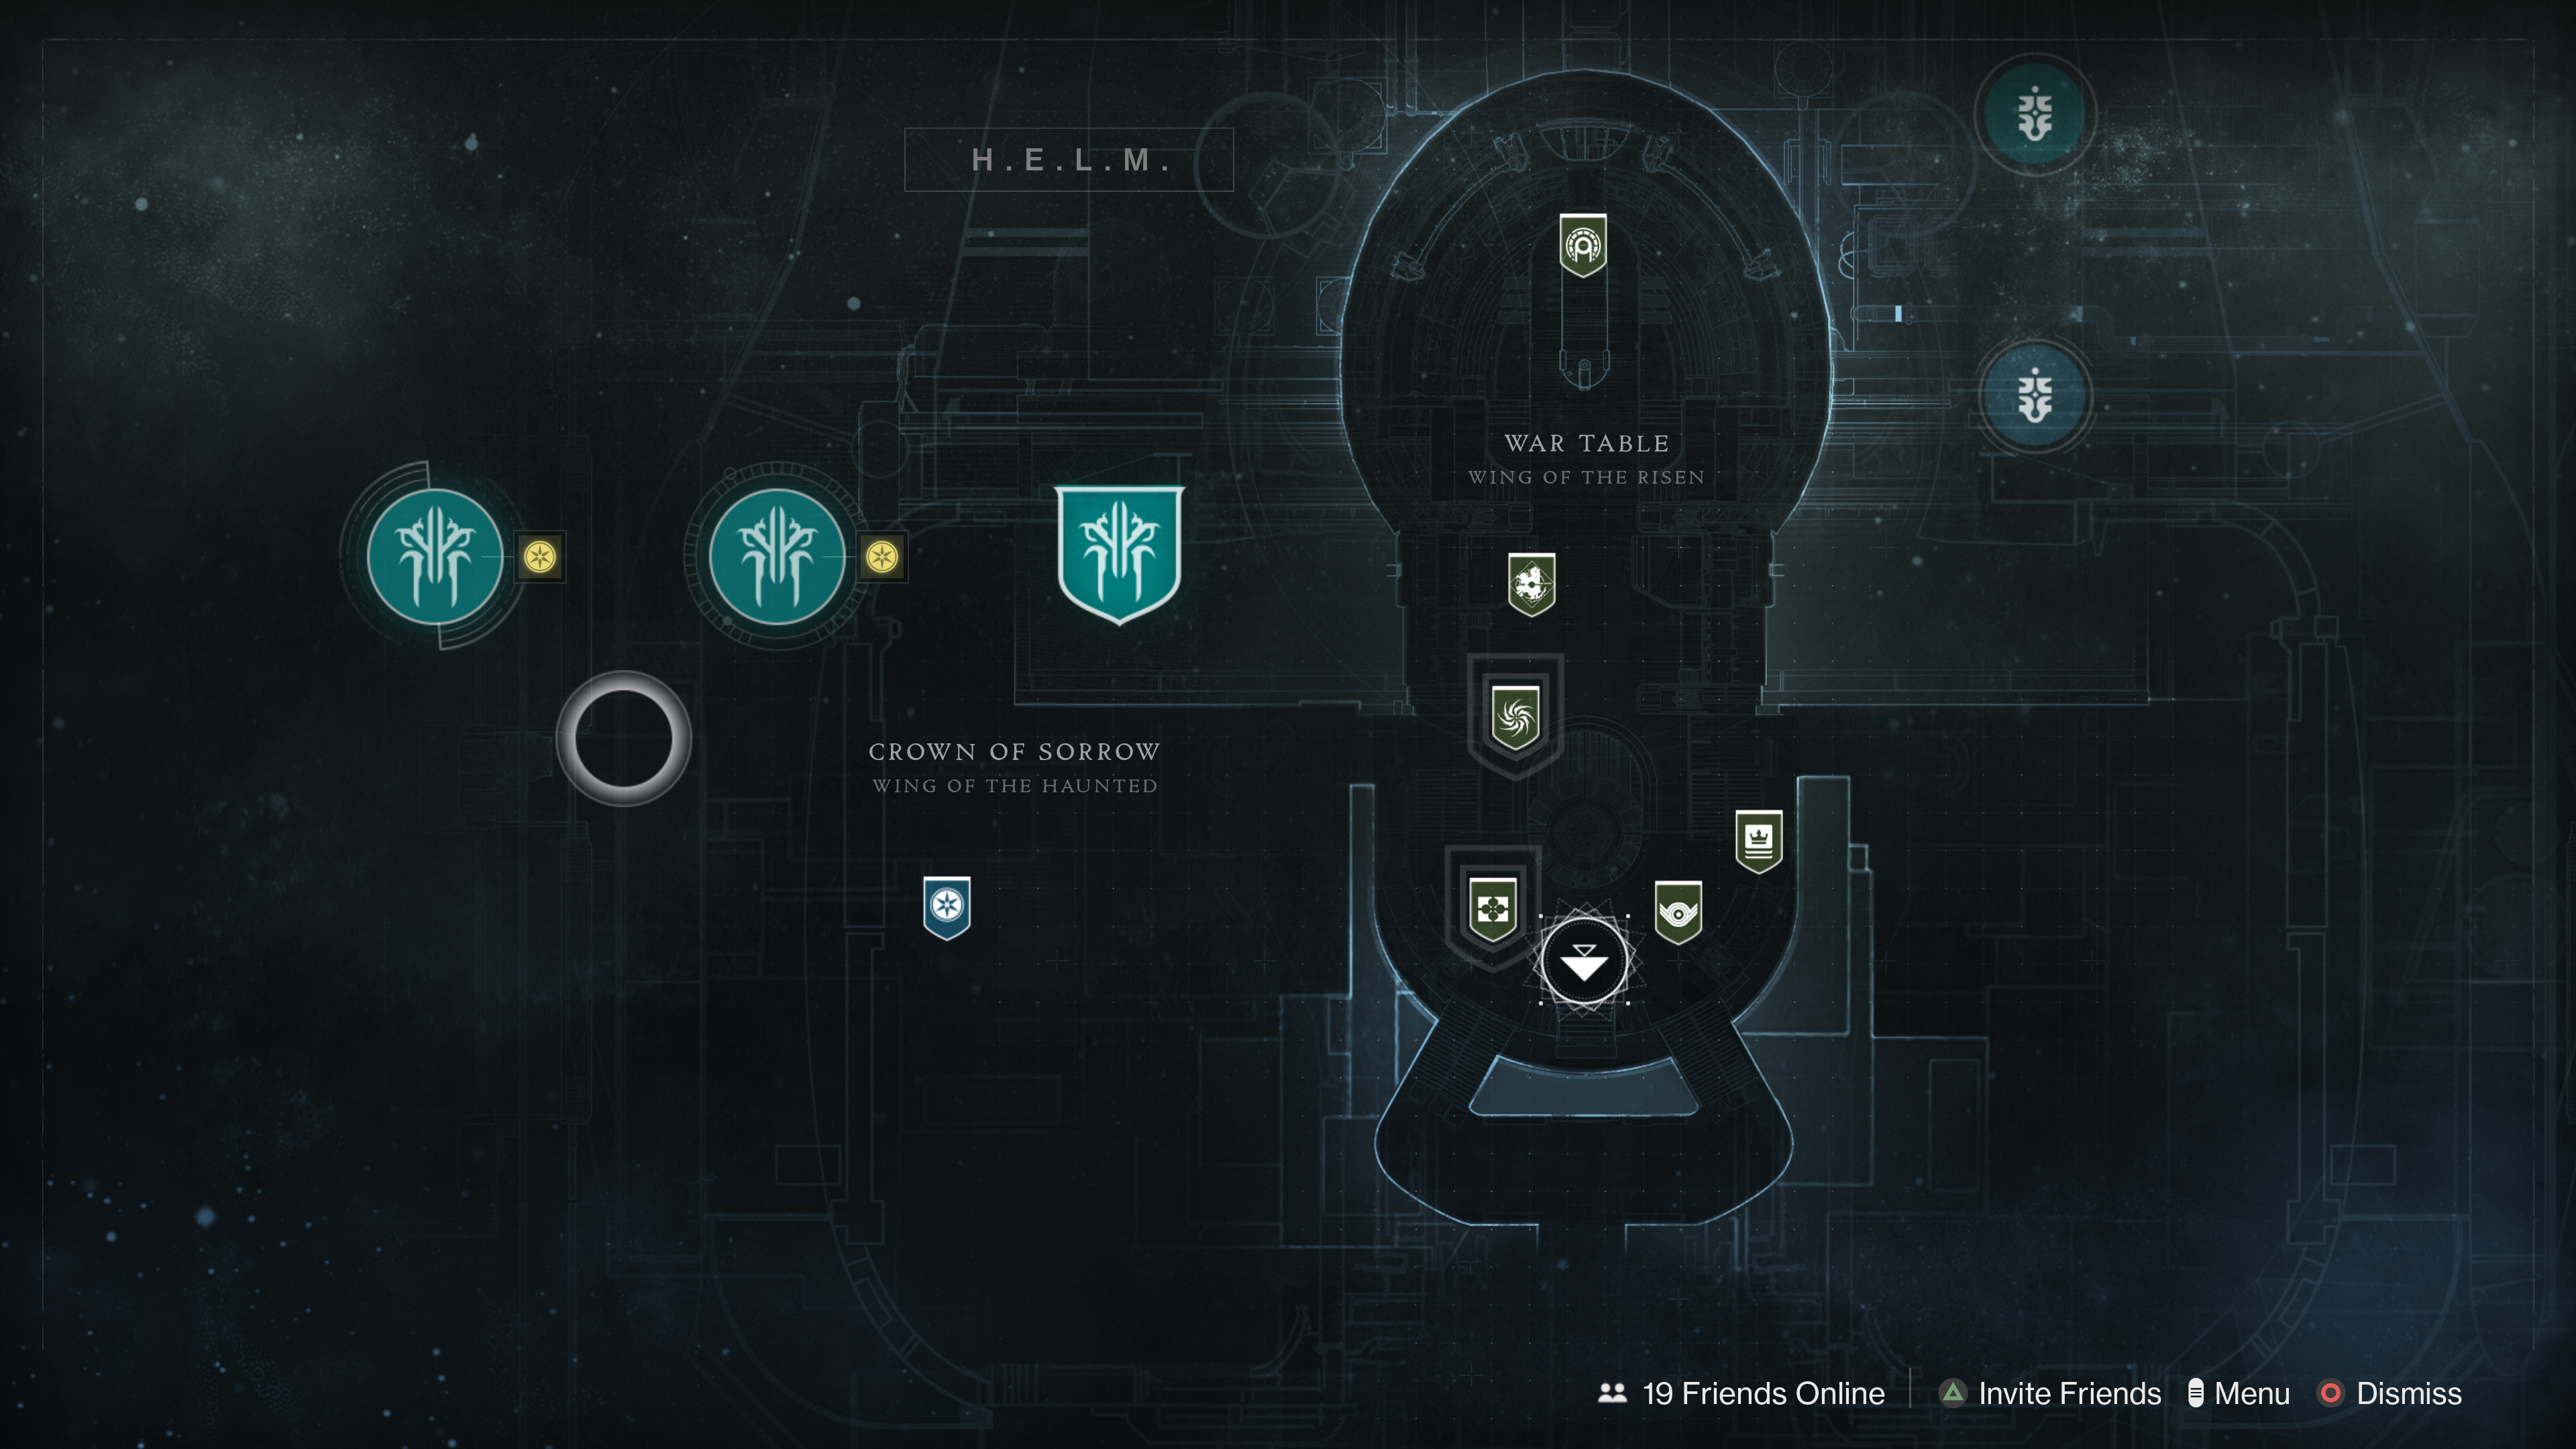
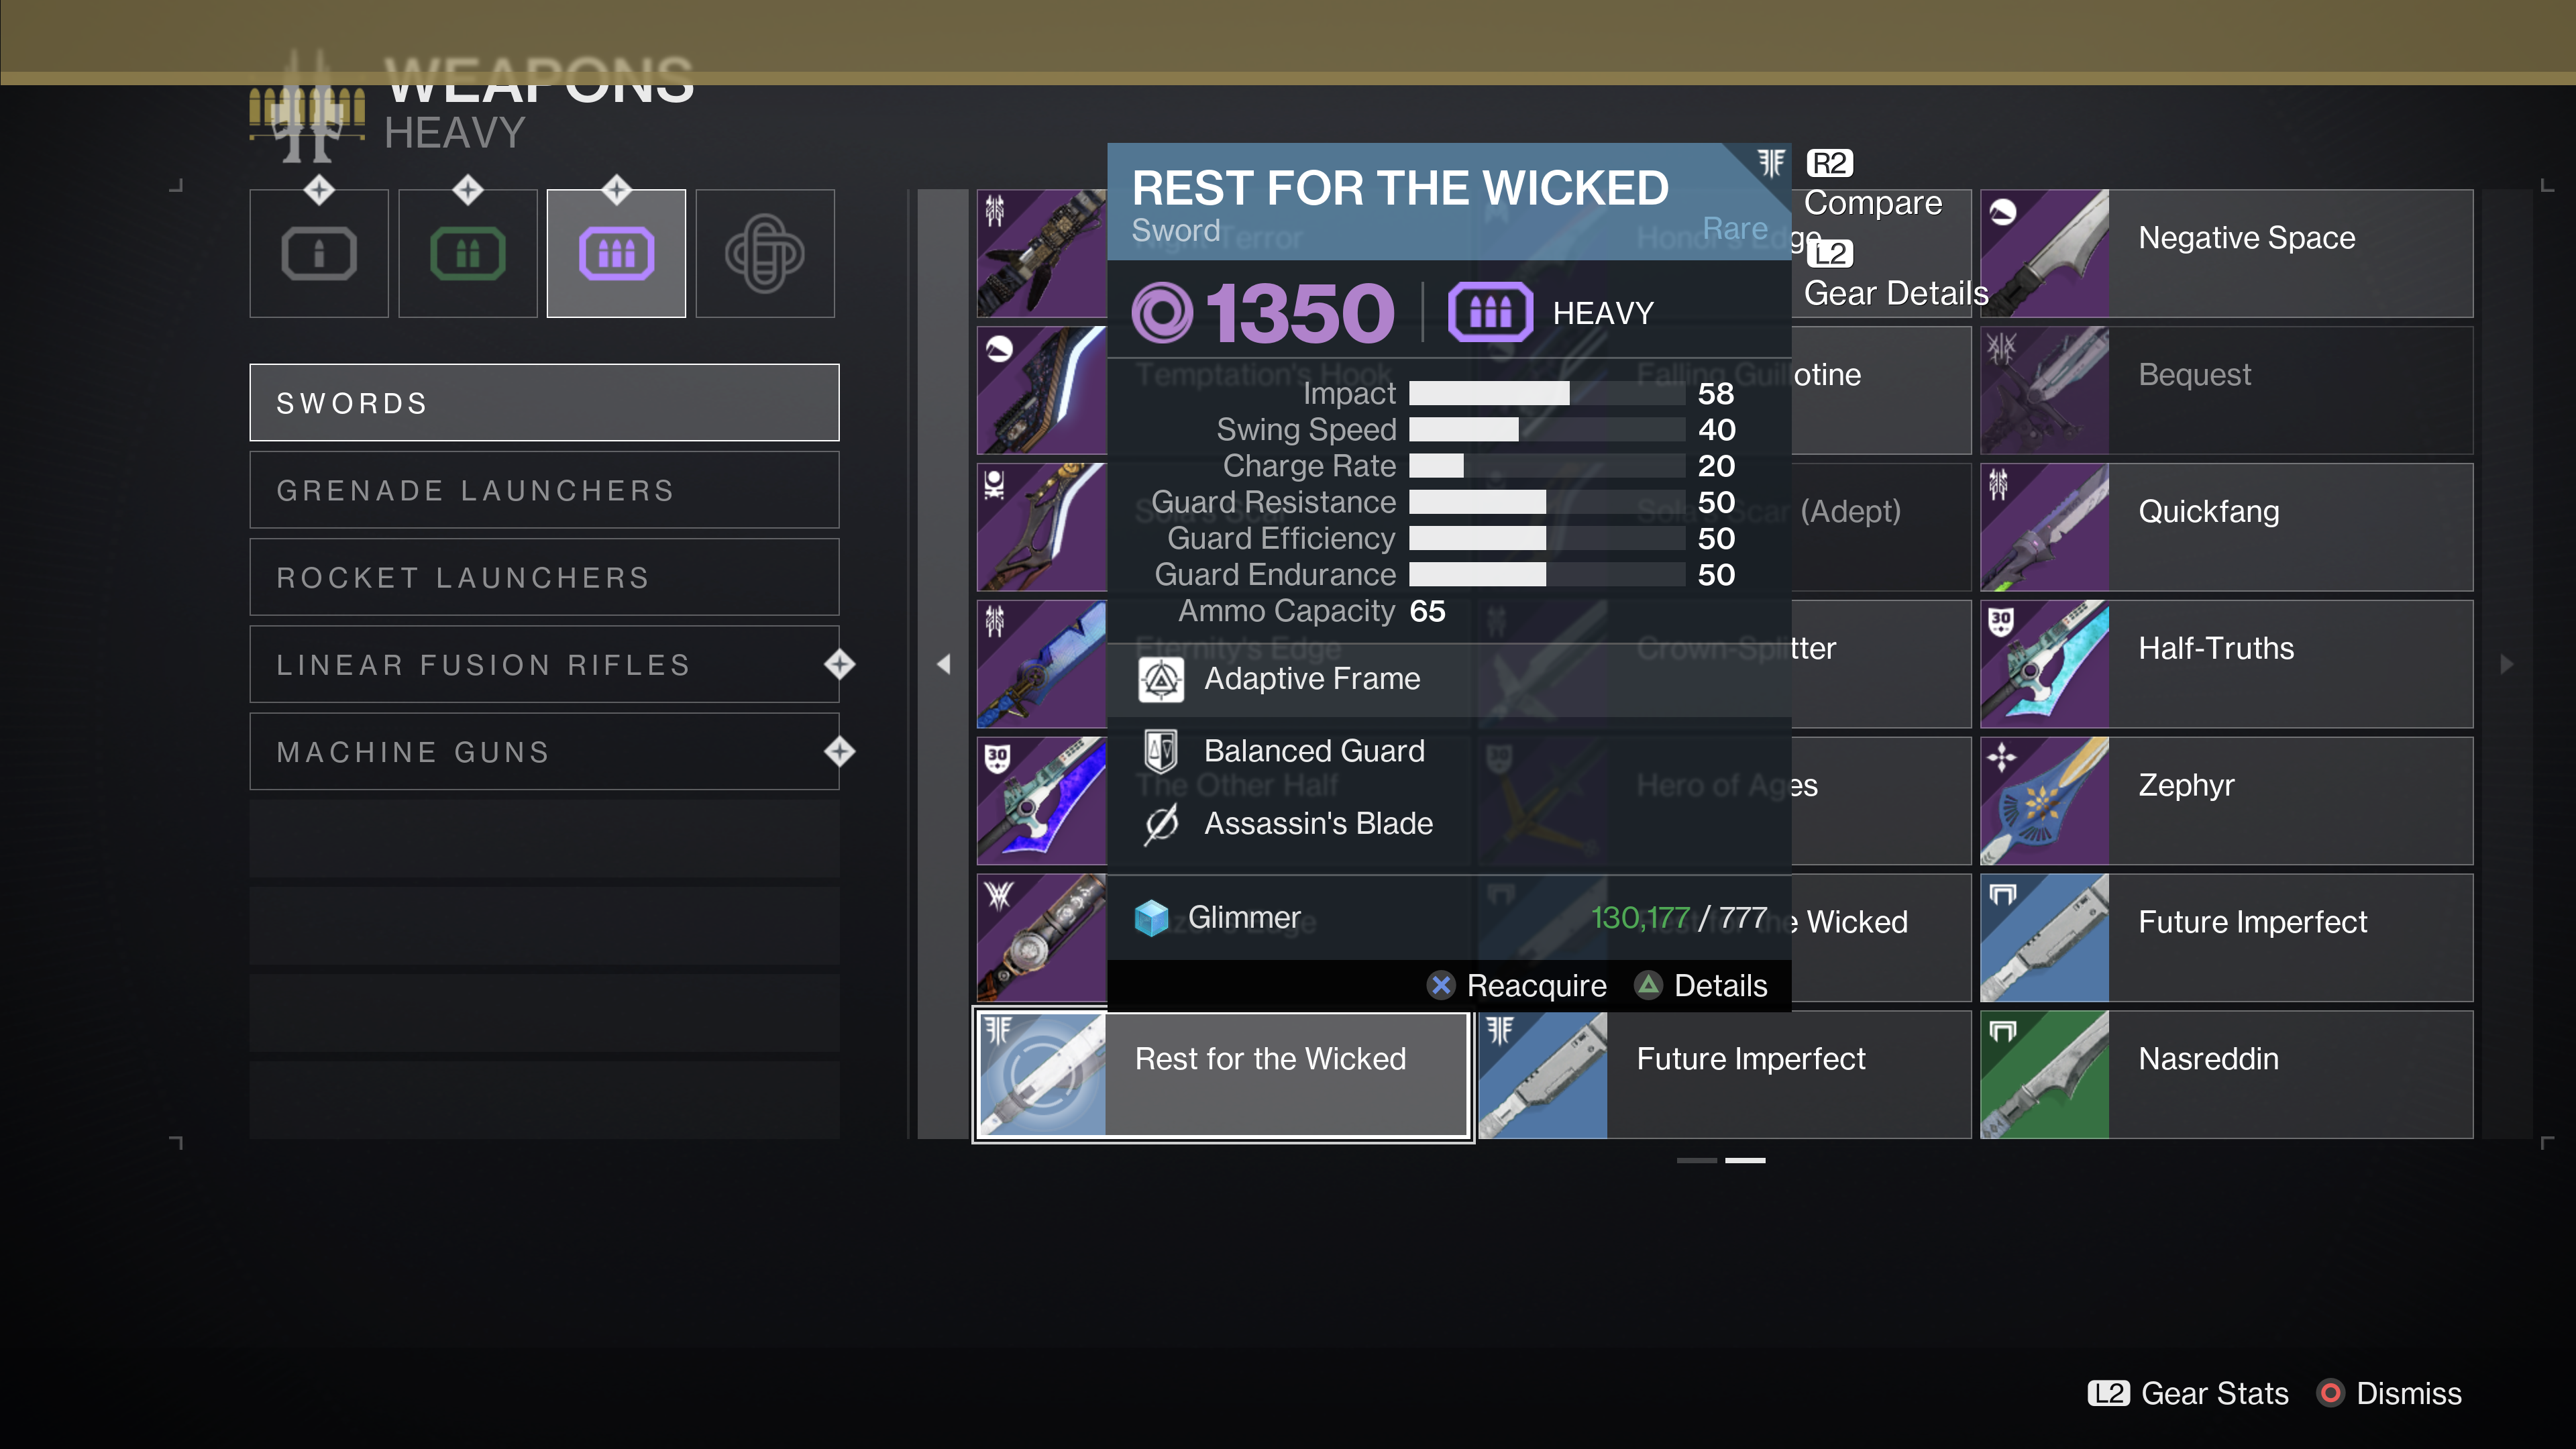
Then you must complete an Expedition with a Sword equipped – Expeditions are started from the HELM map (shown below).

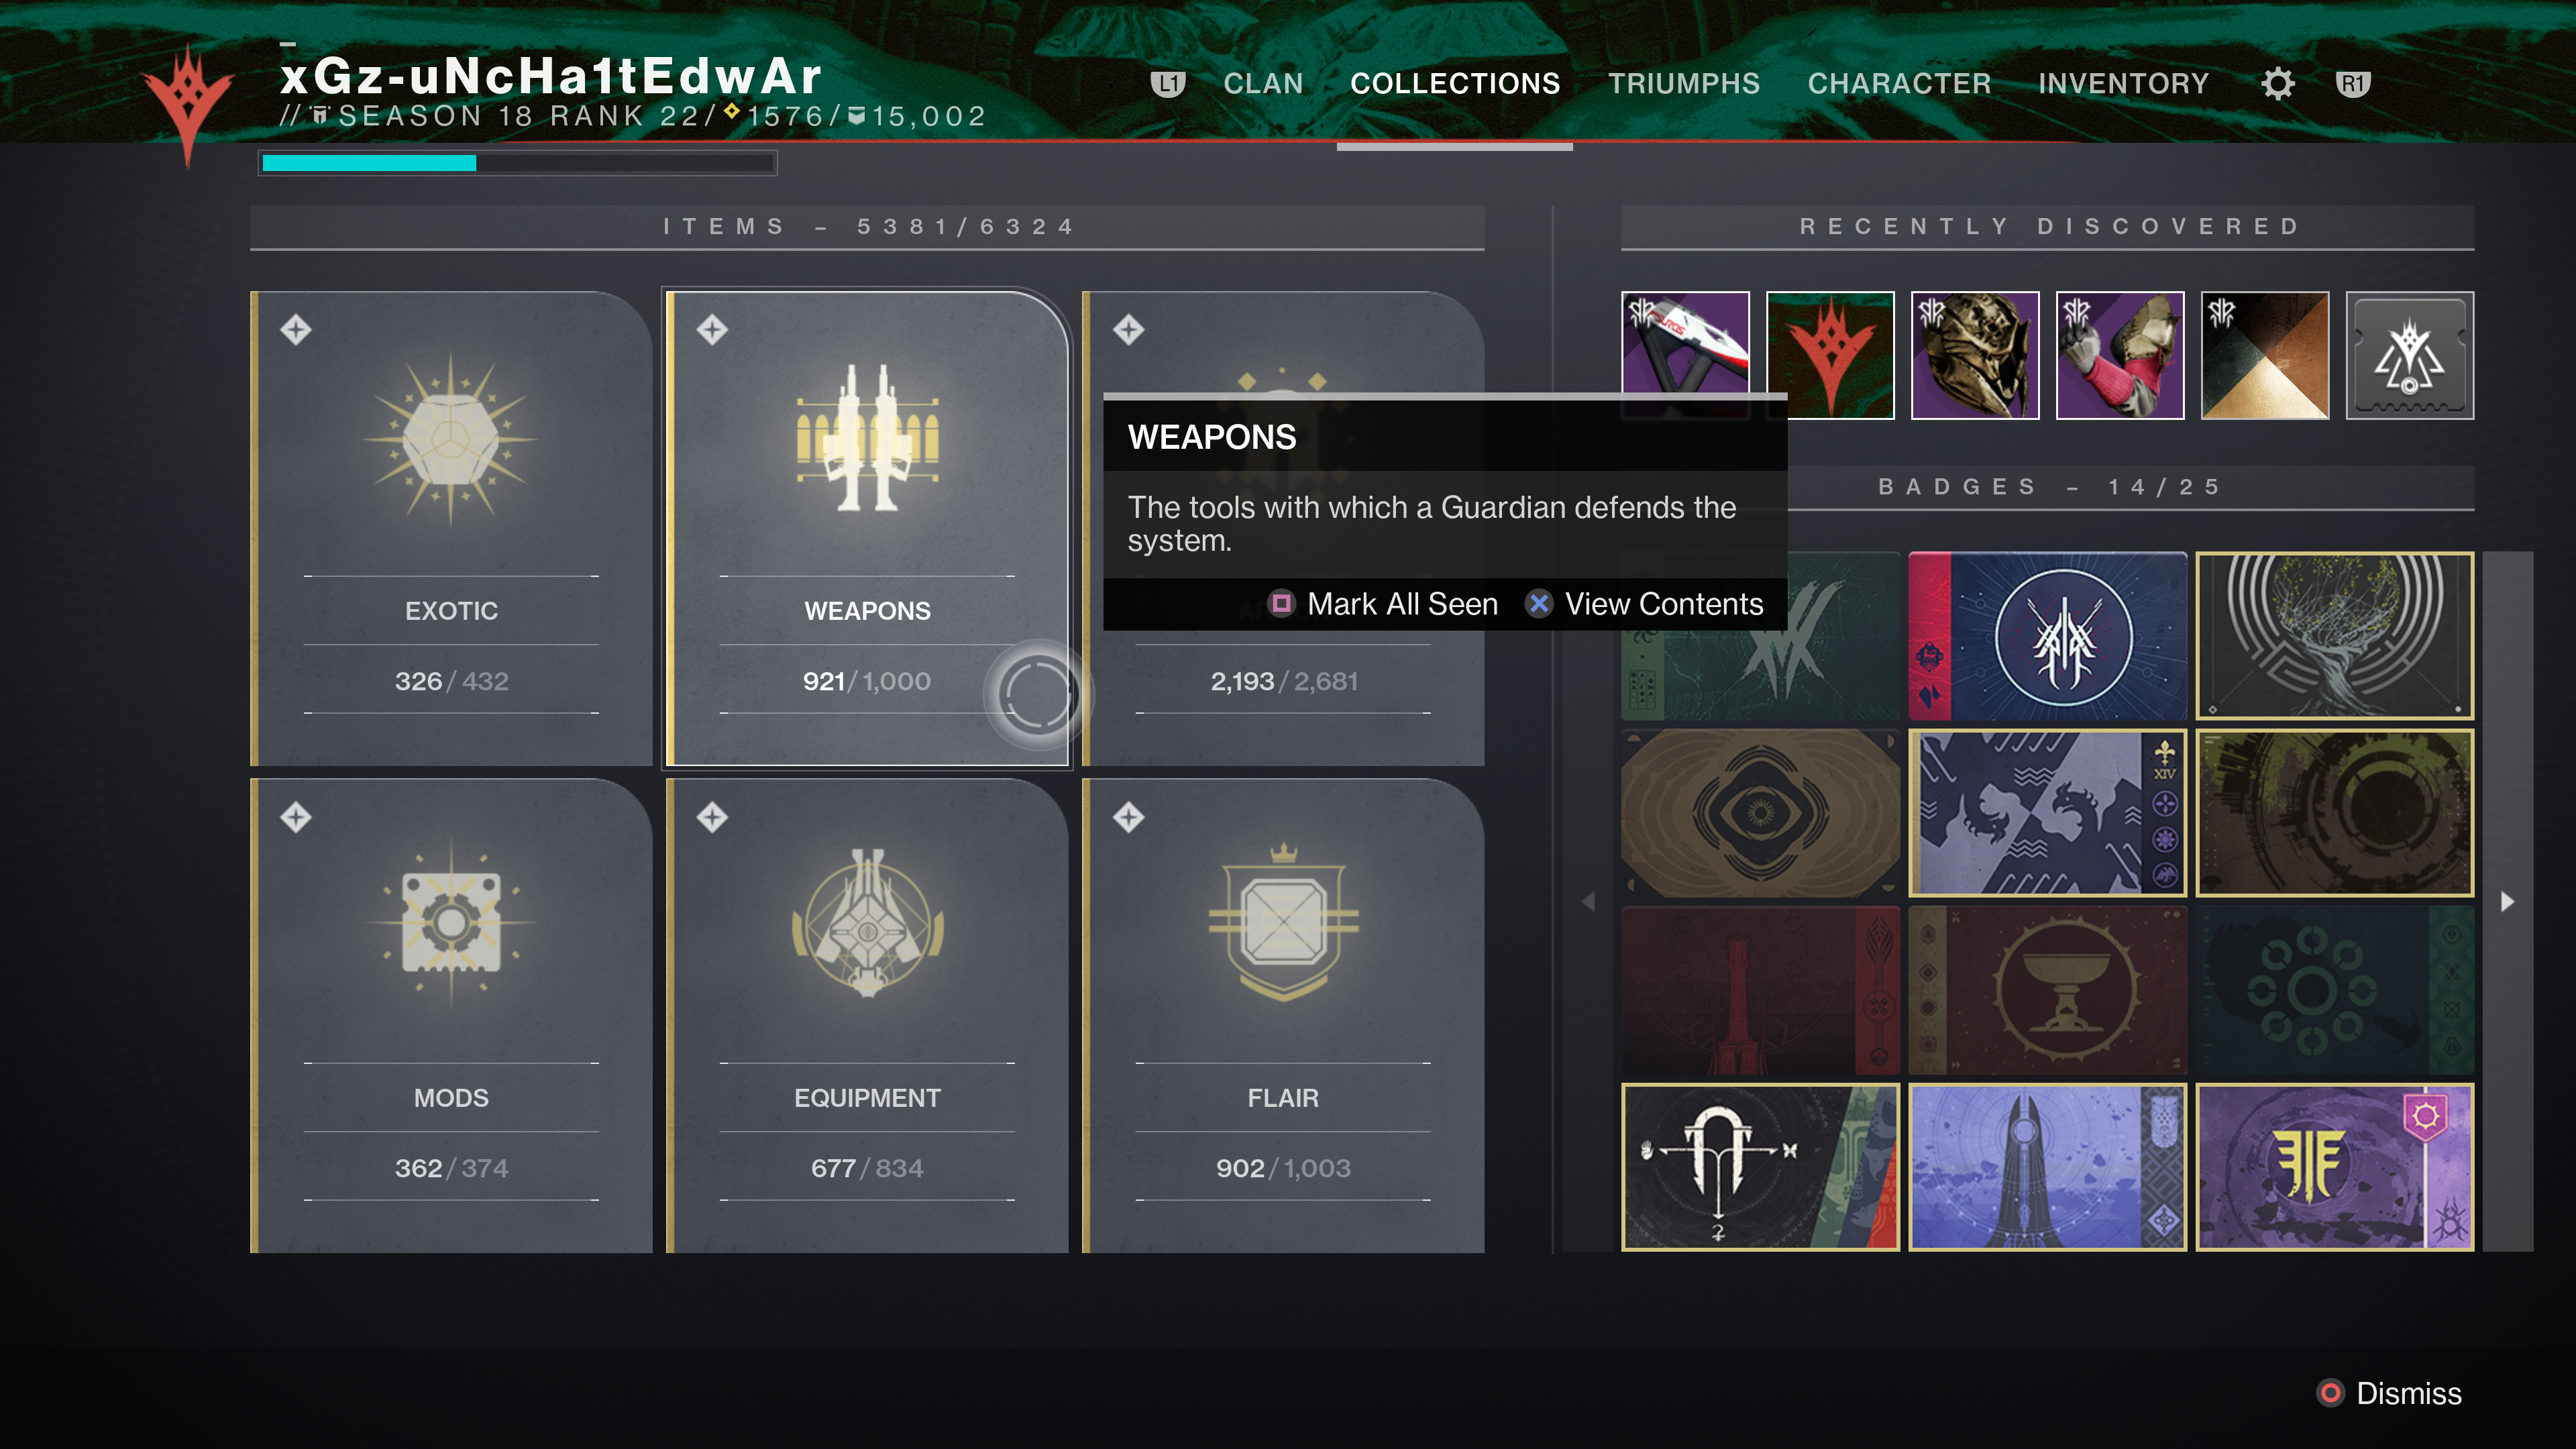
If you’re a newcomer and don’t have any Legendary Swords on hand, any Rare Swords you’ve collected from World Drops or Activity Rewards can be reacquired through the Collections screen (shown below), but at a lower level.
To avoid lowering your level during the expedition, play the activity normally, then equip the sword before it ends to count progress for that stage.
Once the expedition is complete, the fourth stage will be revealed.

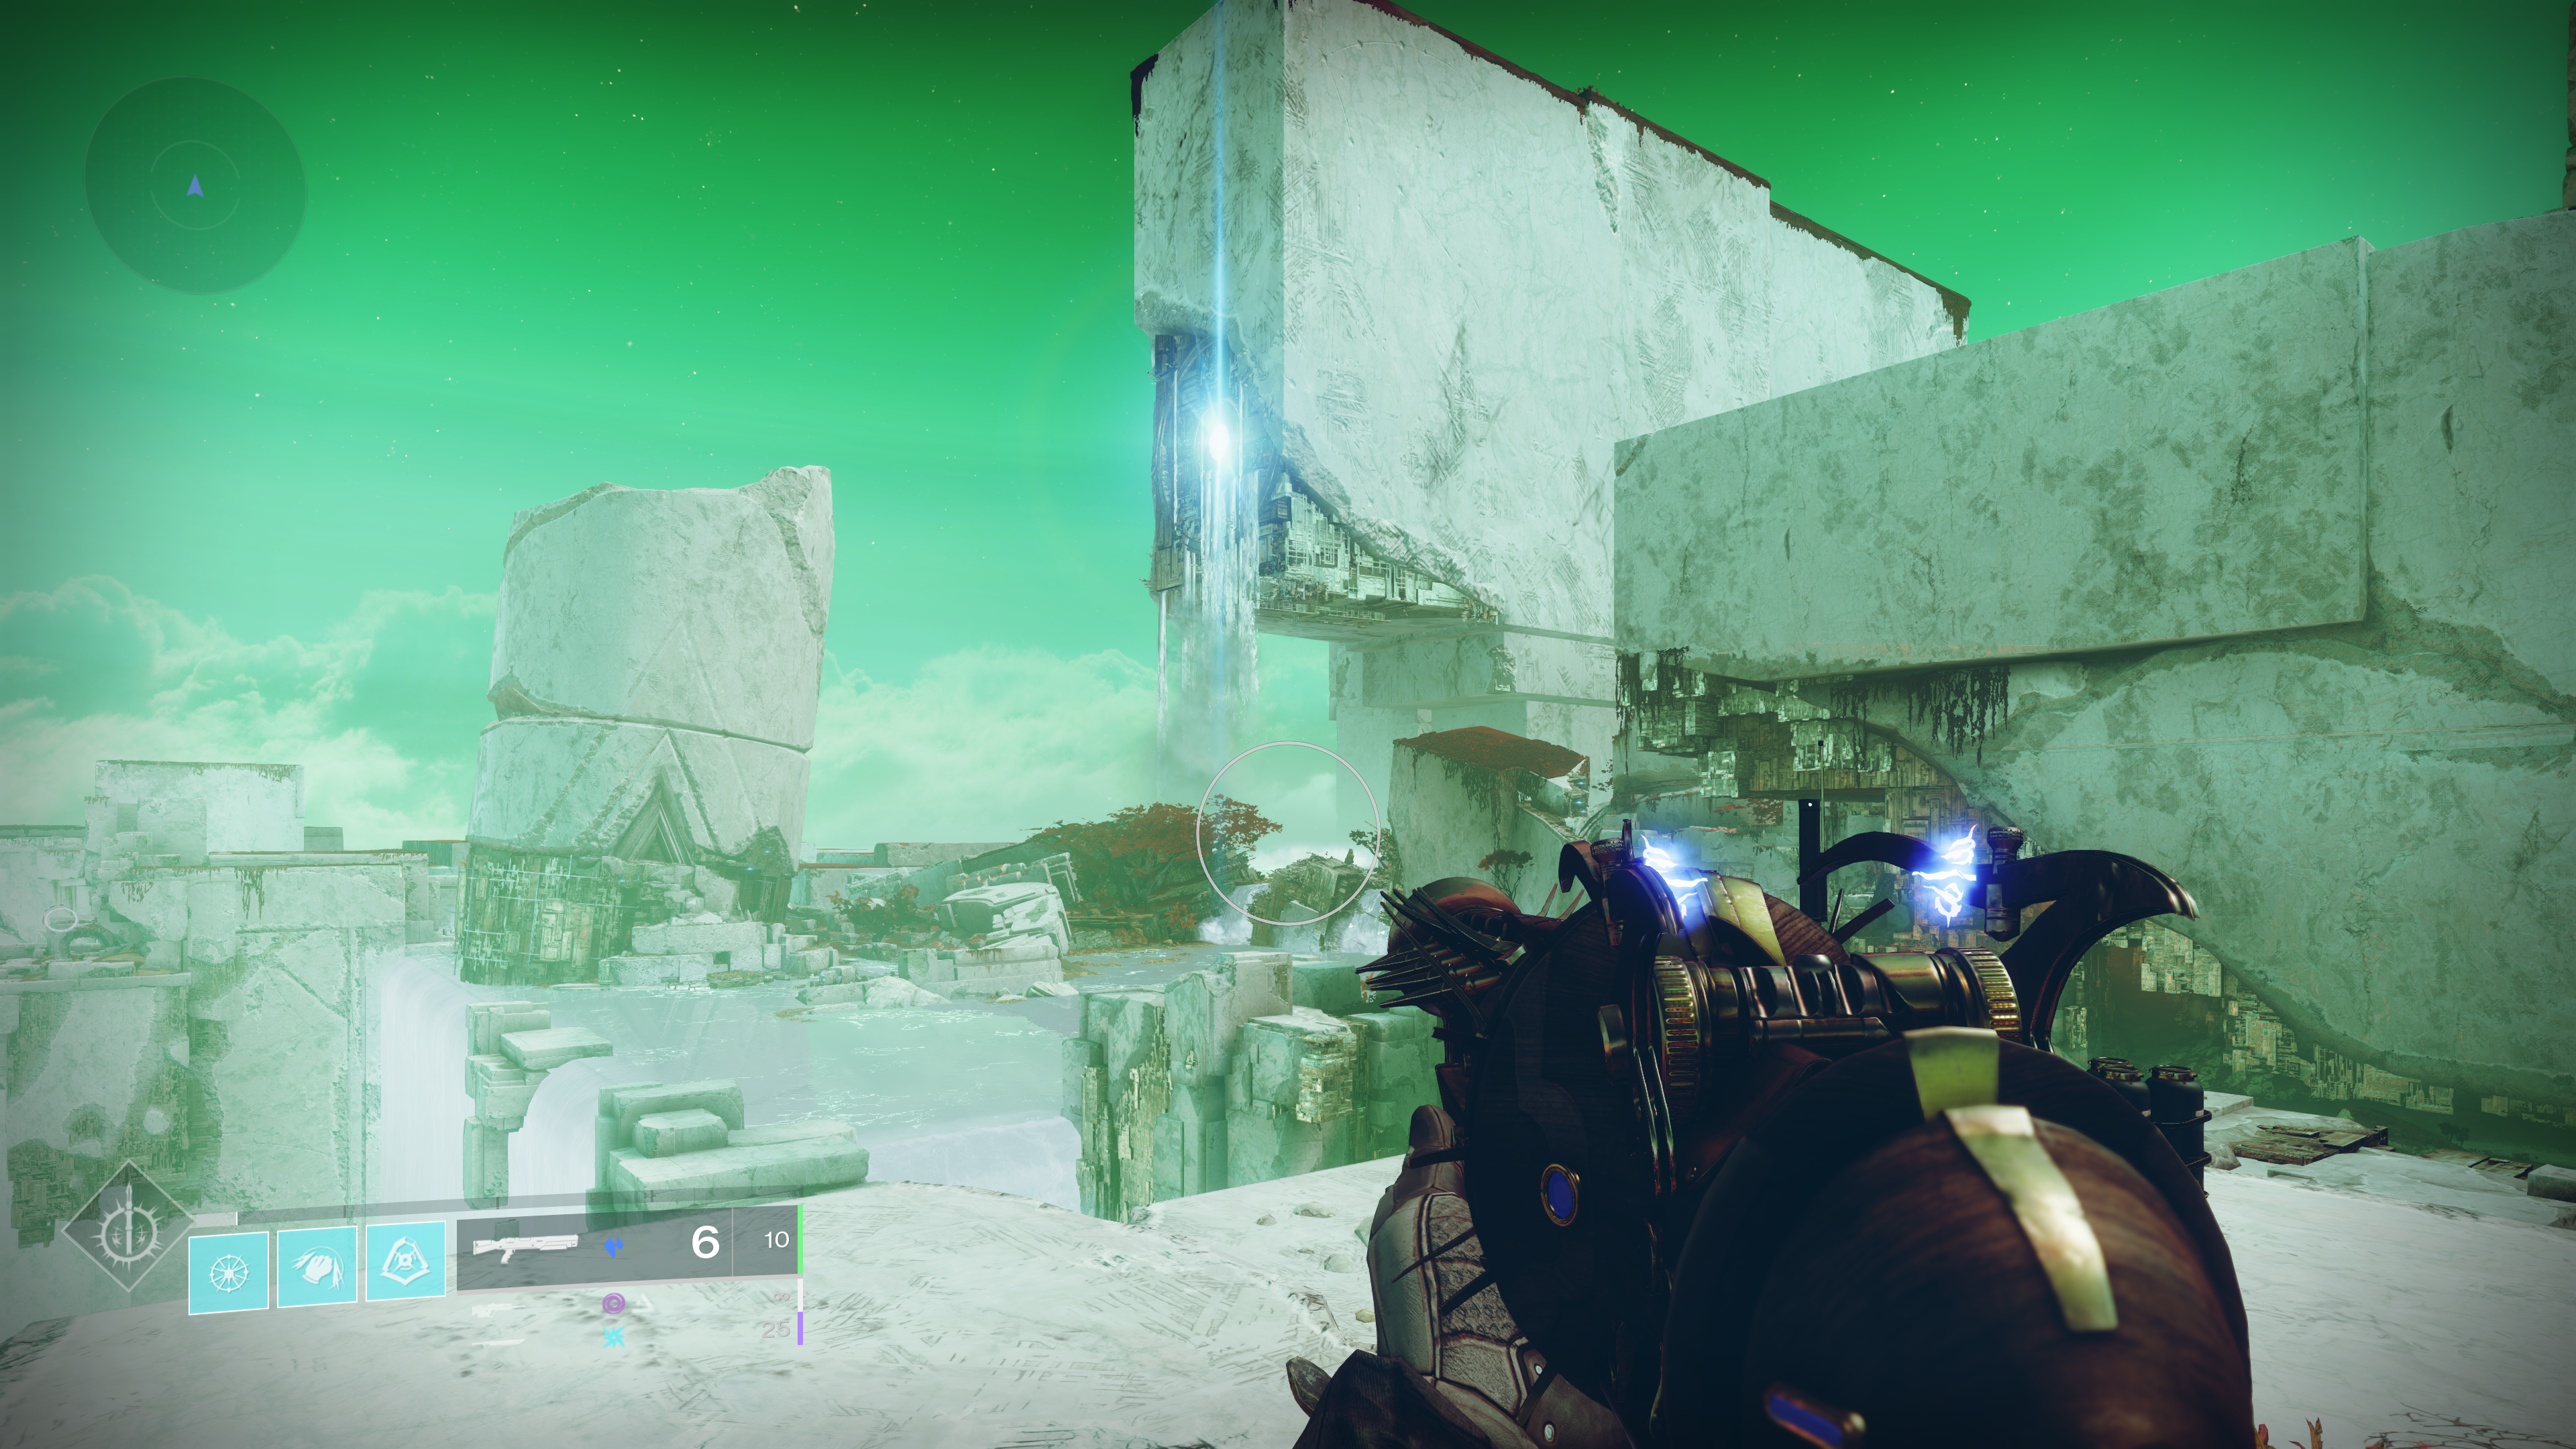
For this next step, you’ll head to the Cistern on Nessus, to the cylindrical structure visible on the left side of the screen from where you land.
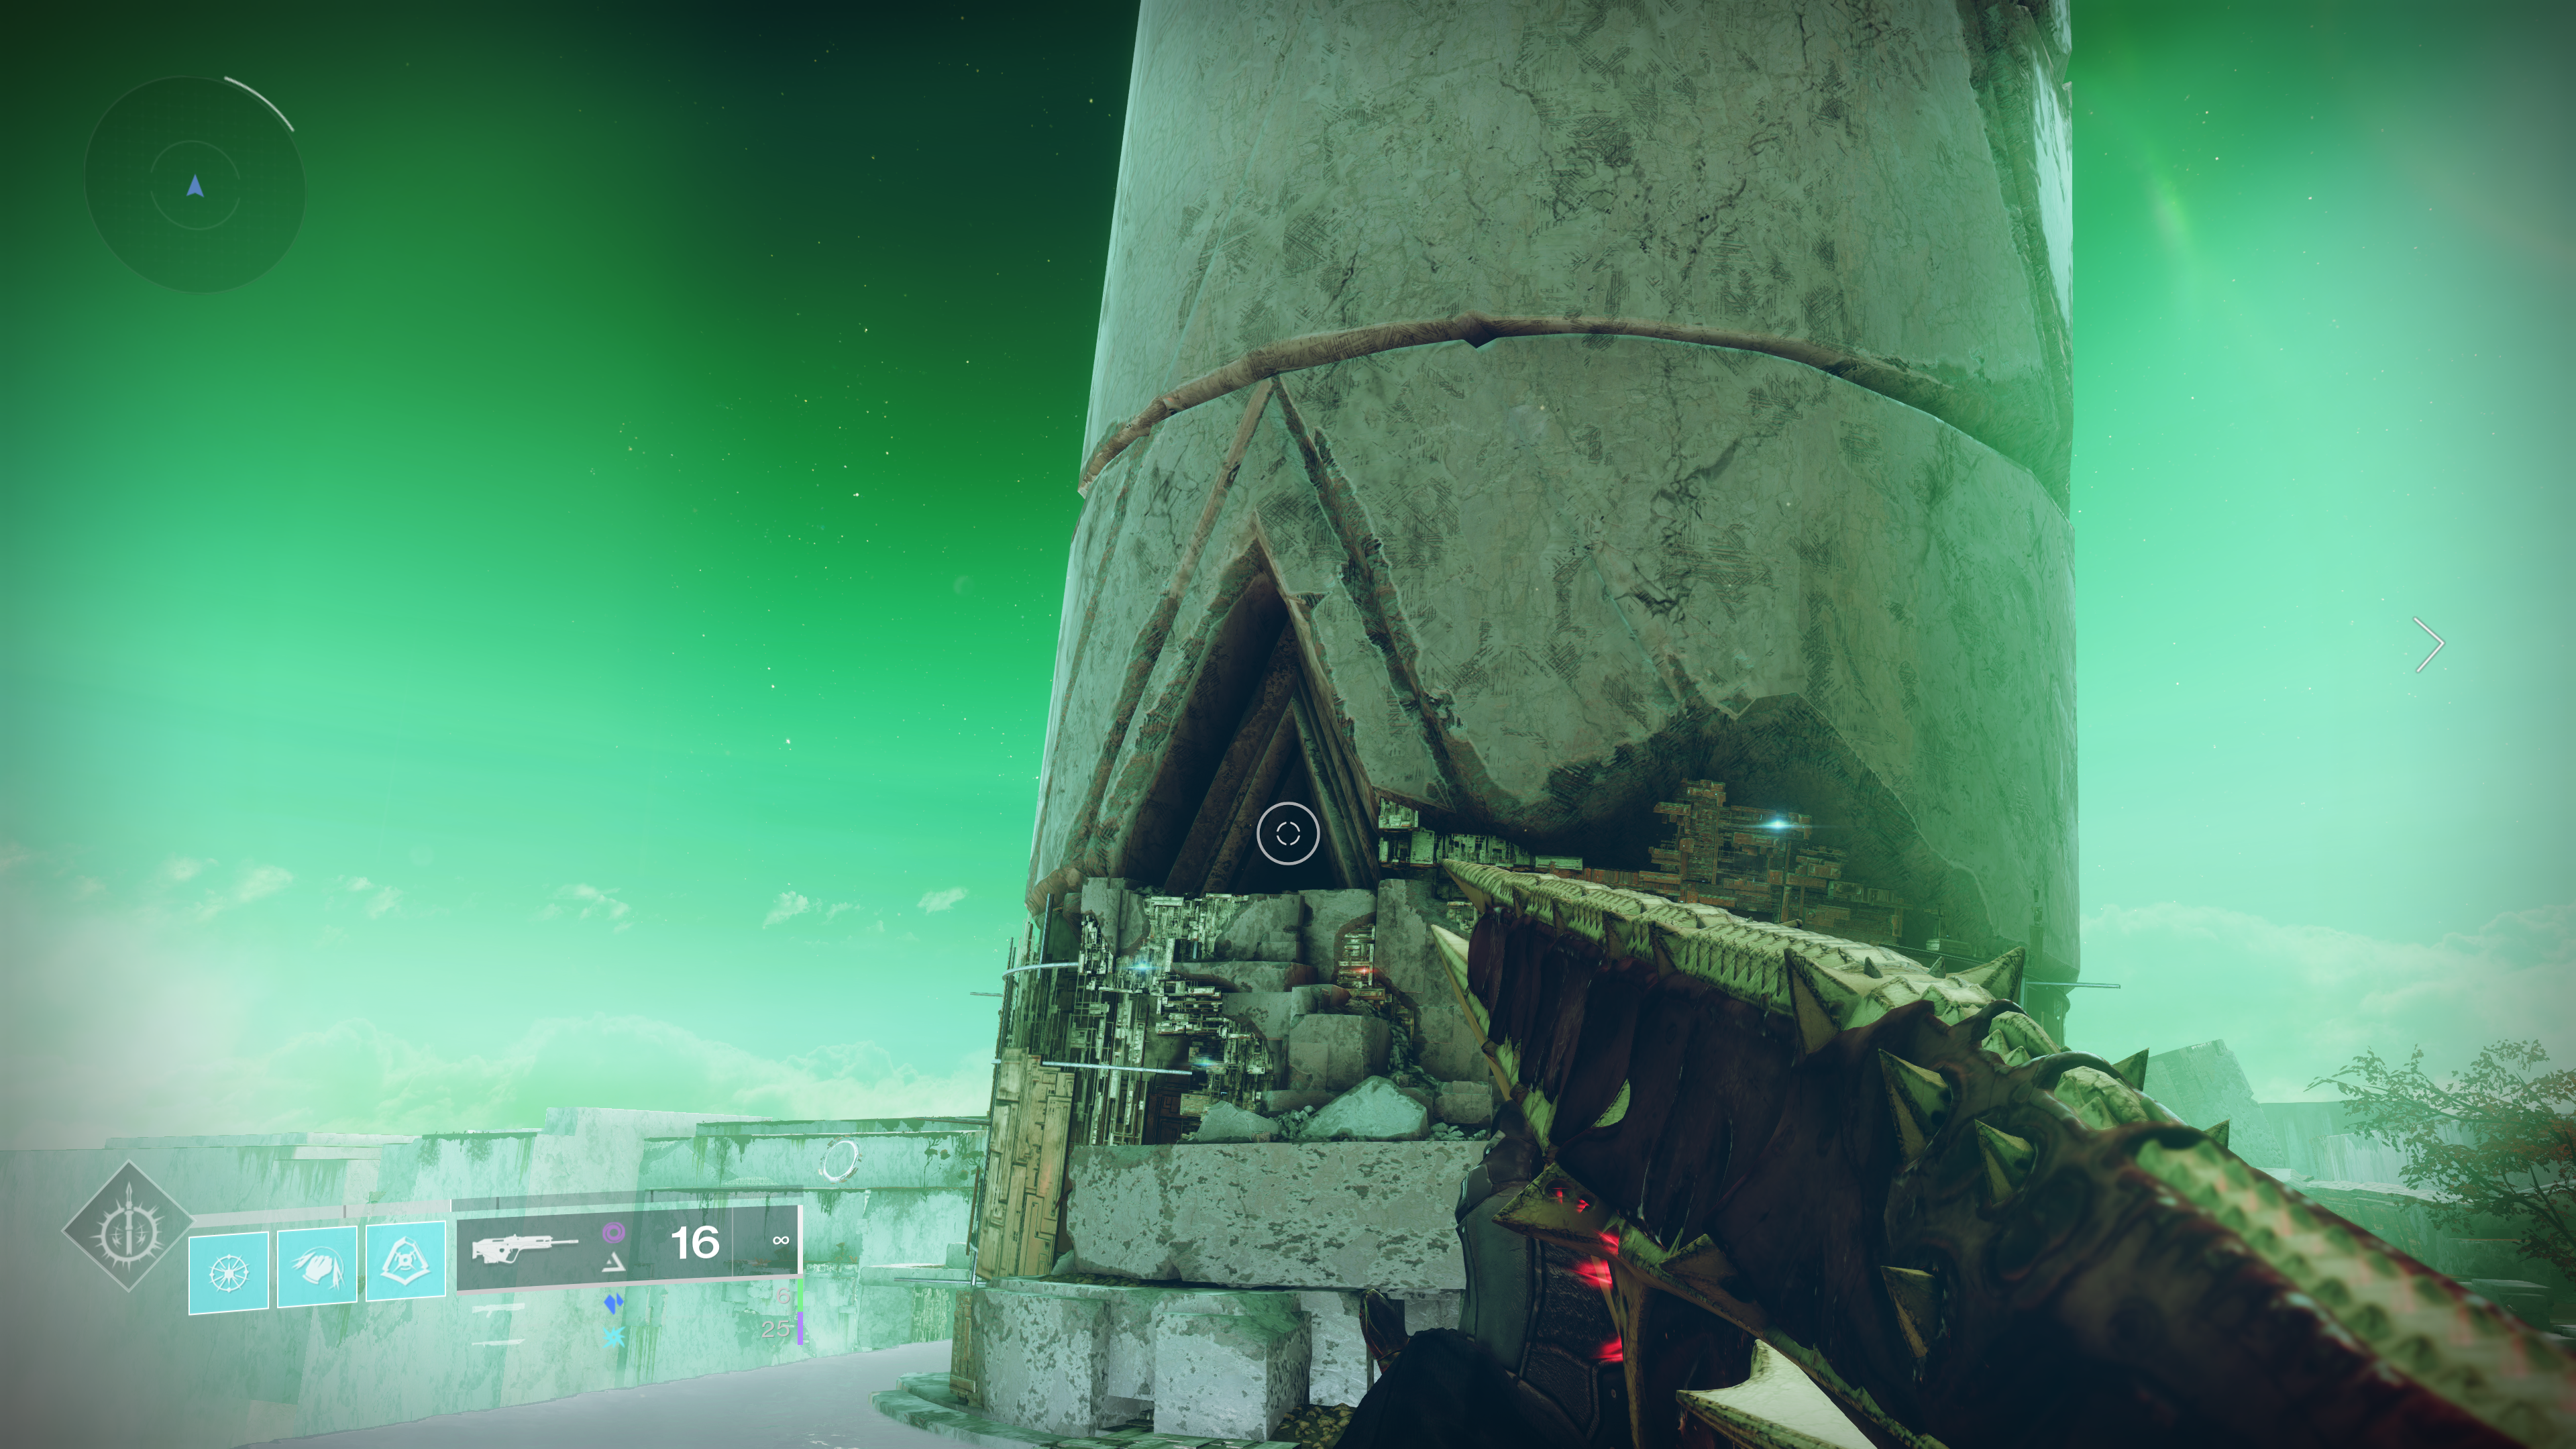
Once you’re there, go up to the pyramid-shaped door.
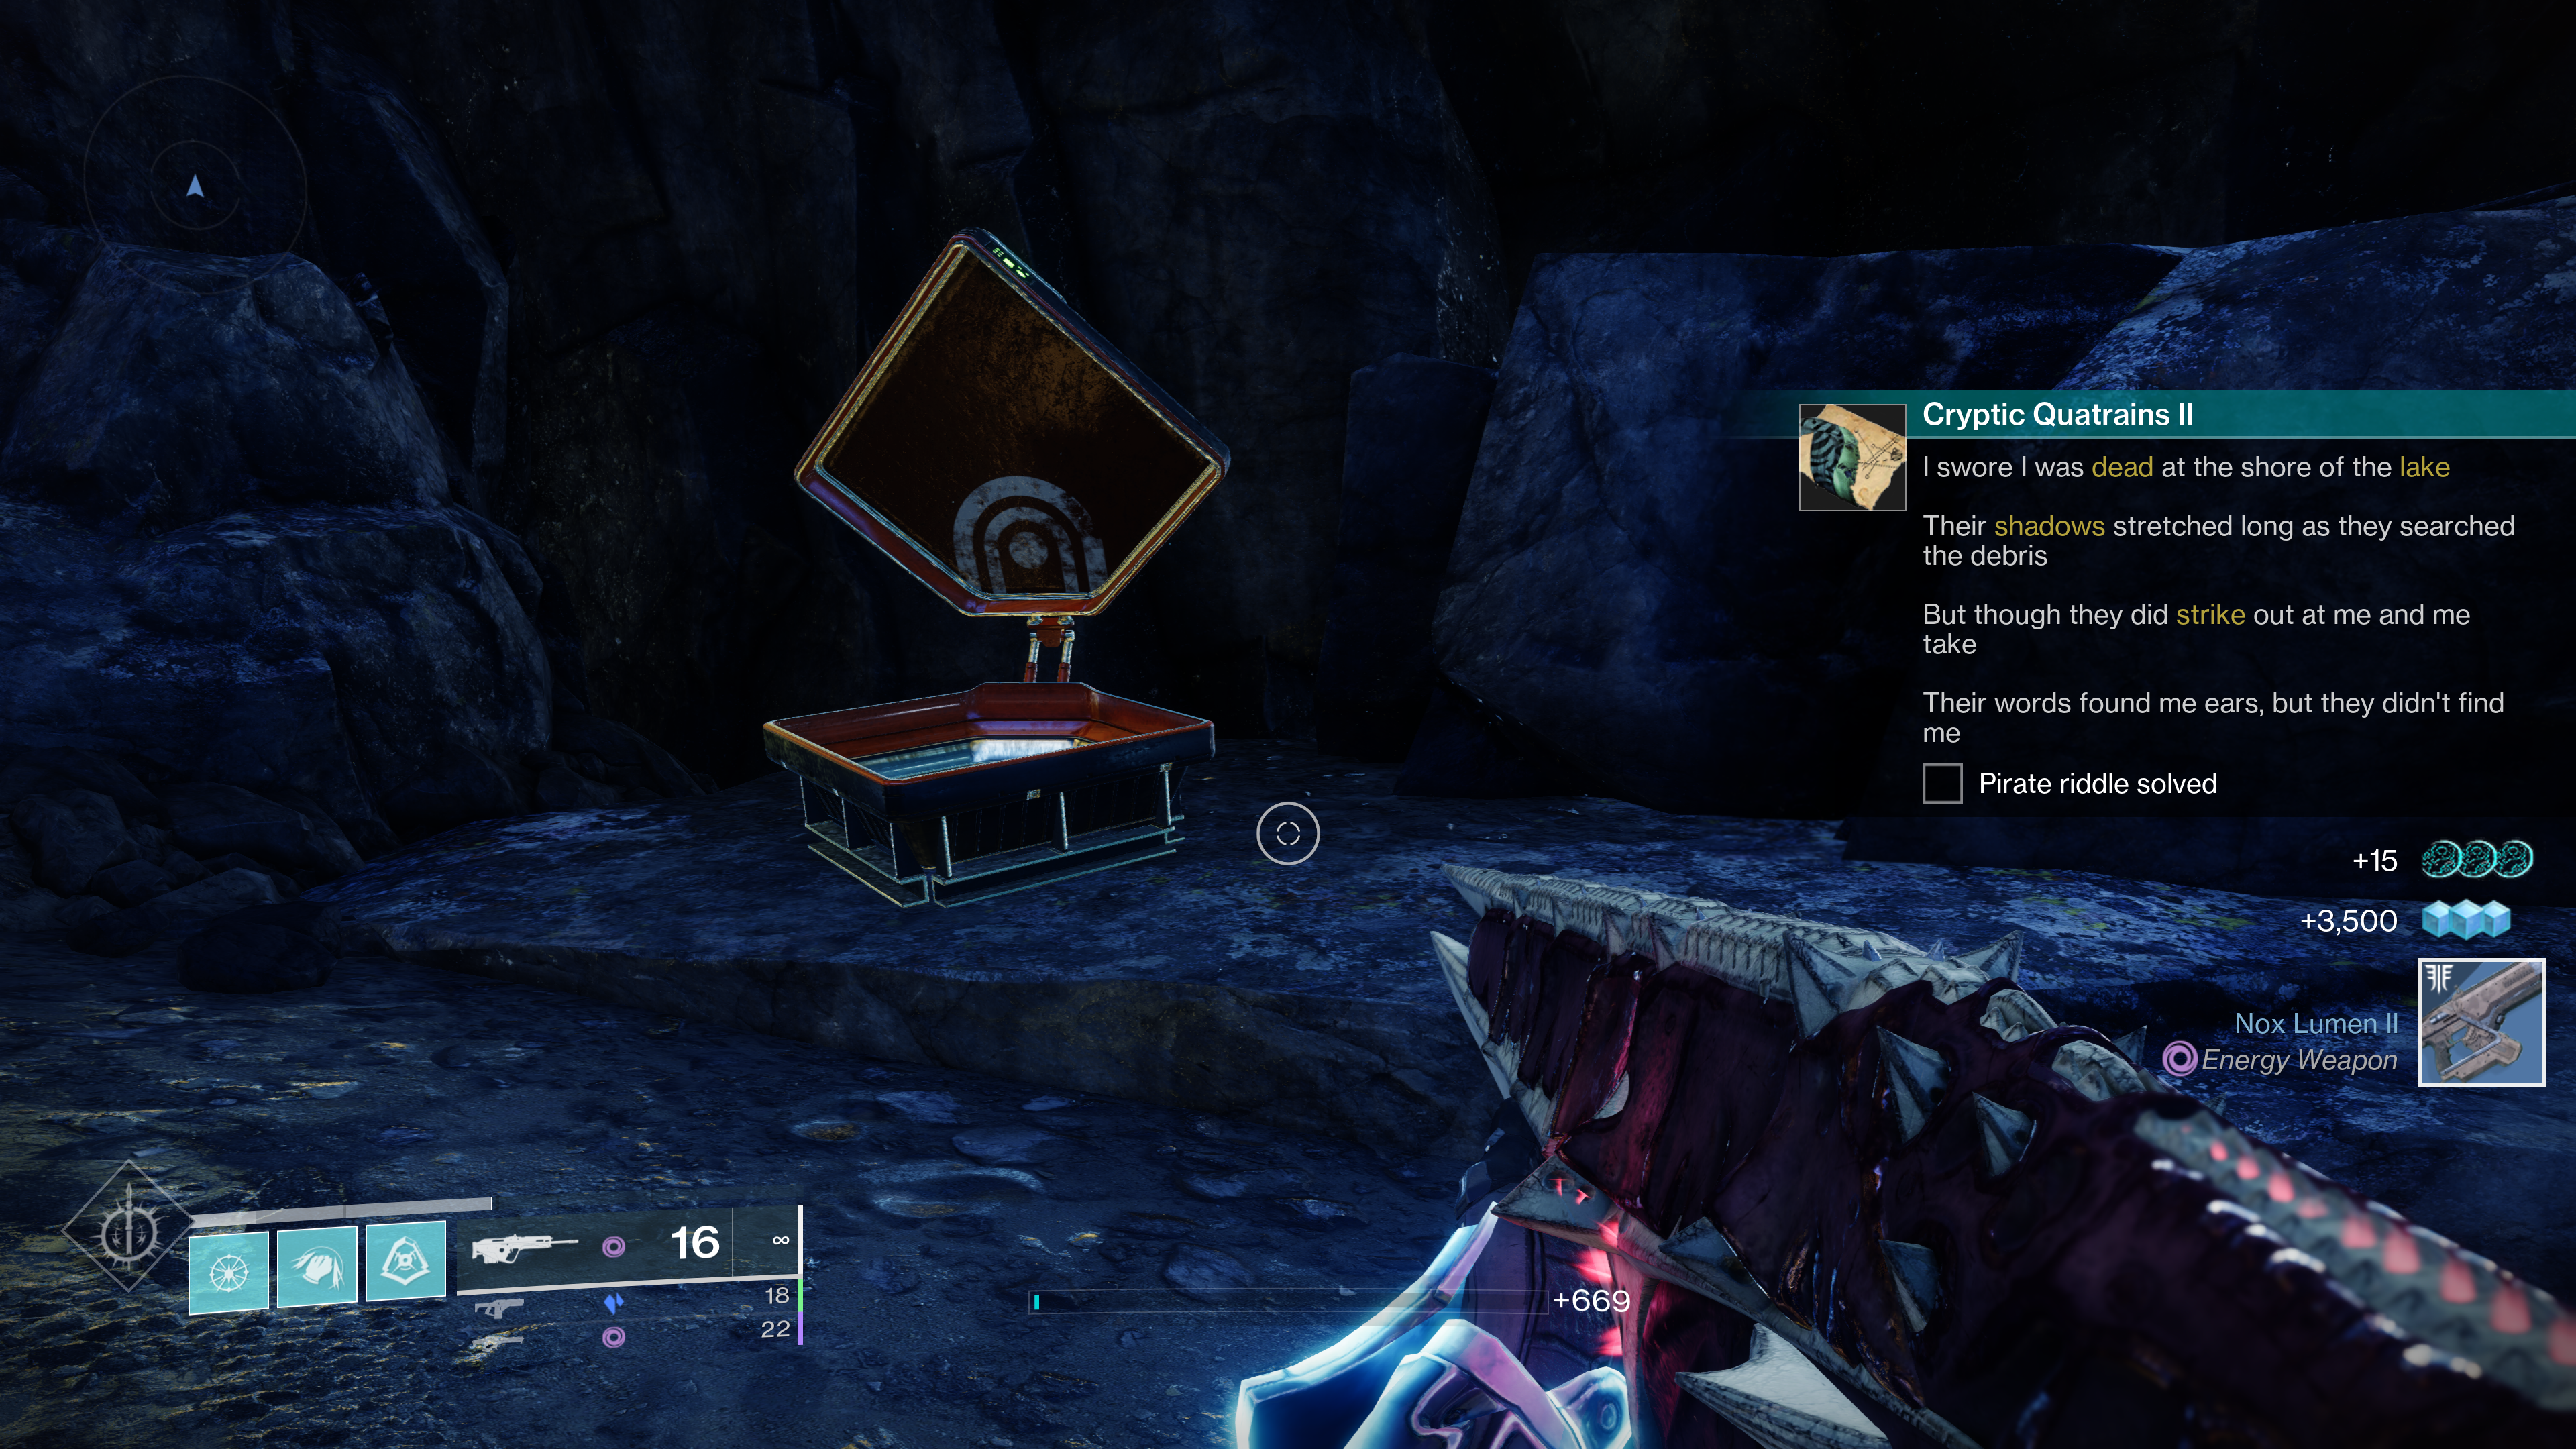
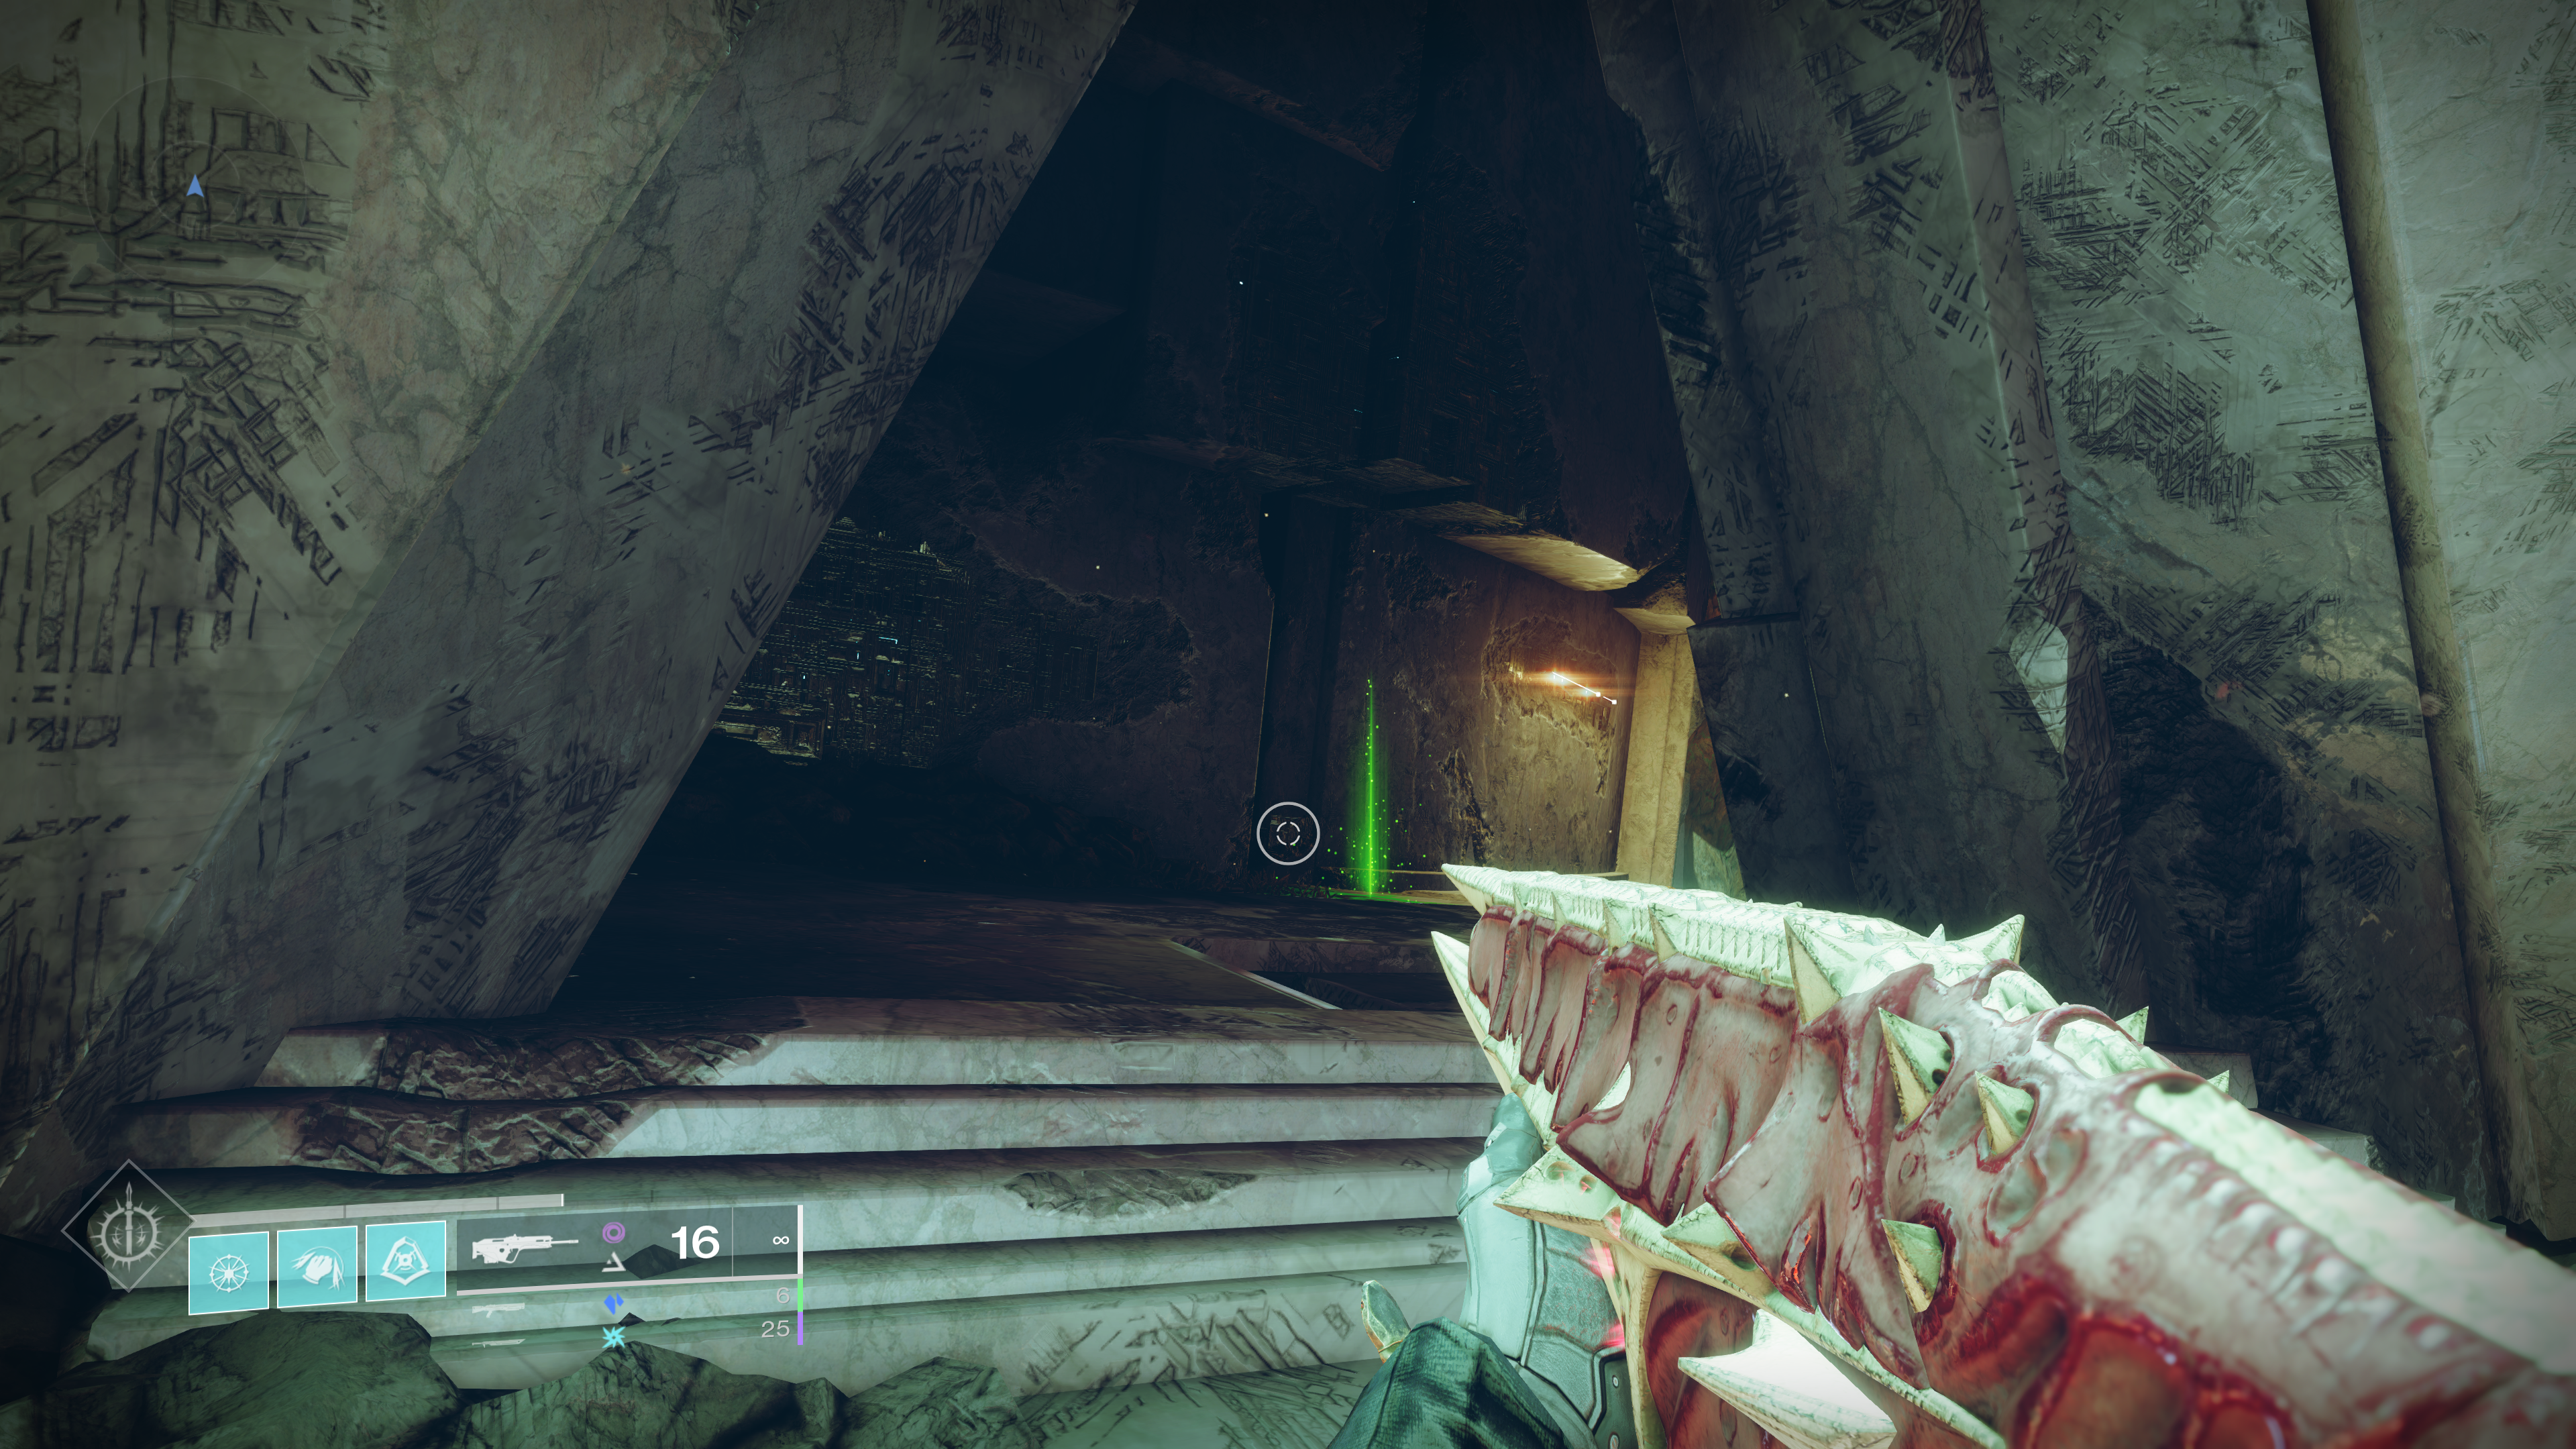
Inside is a green glow emanating from the ground – examine it to unlock the fifth and final stage.
This next step no longer requires a destination jump as it also takes place on Nessus.
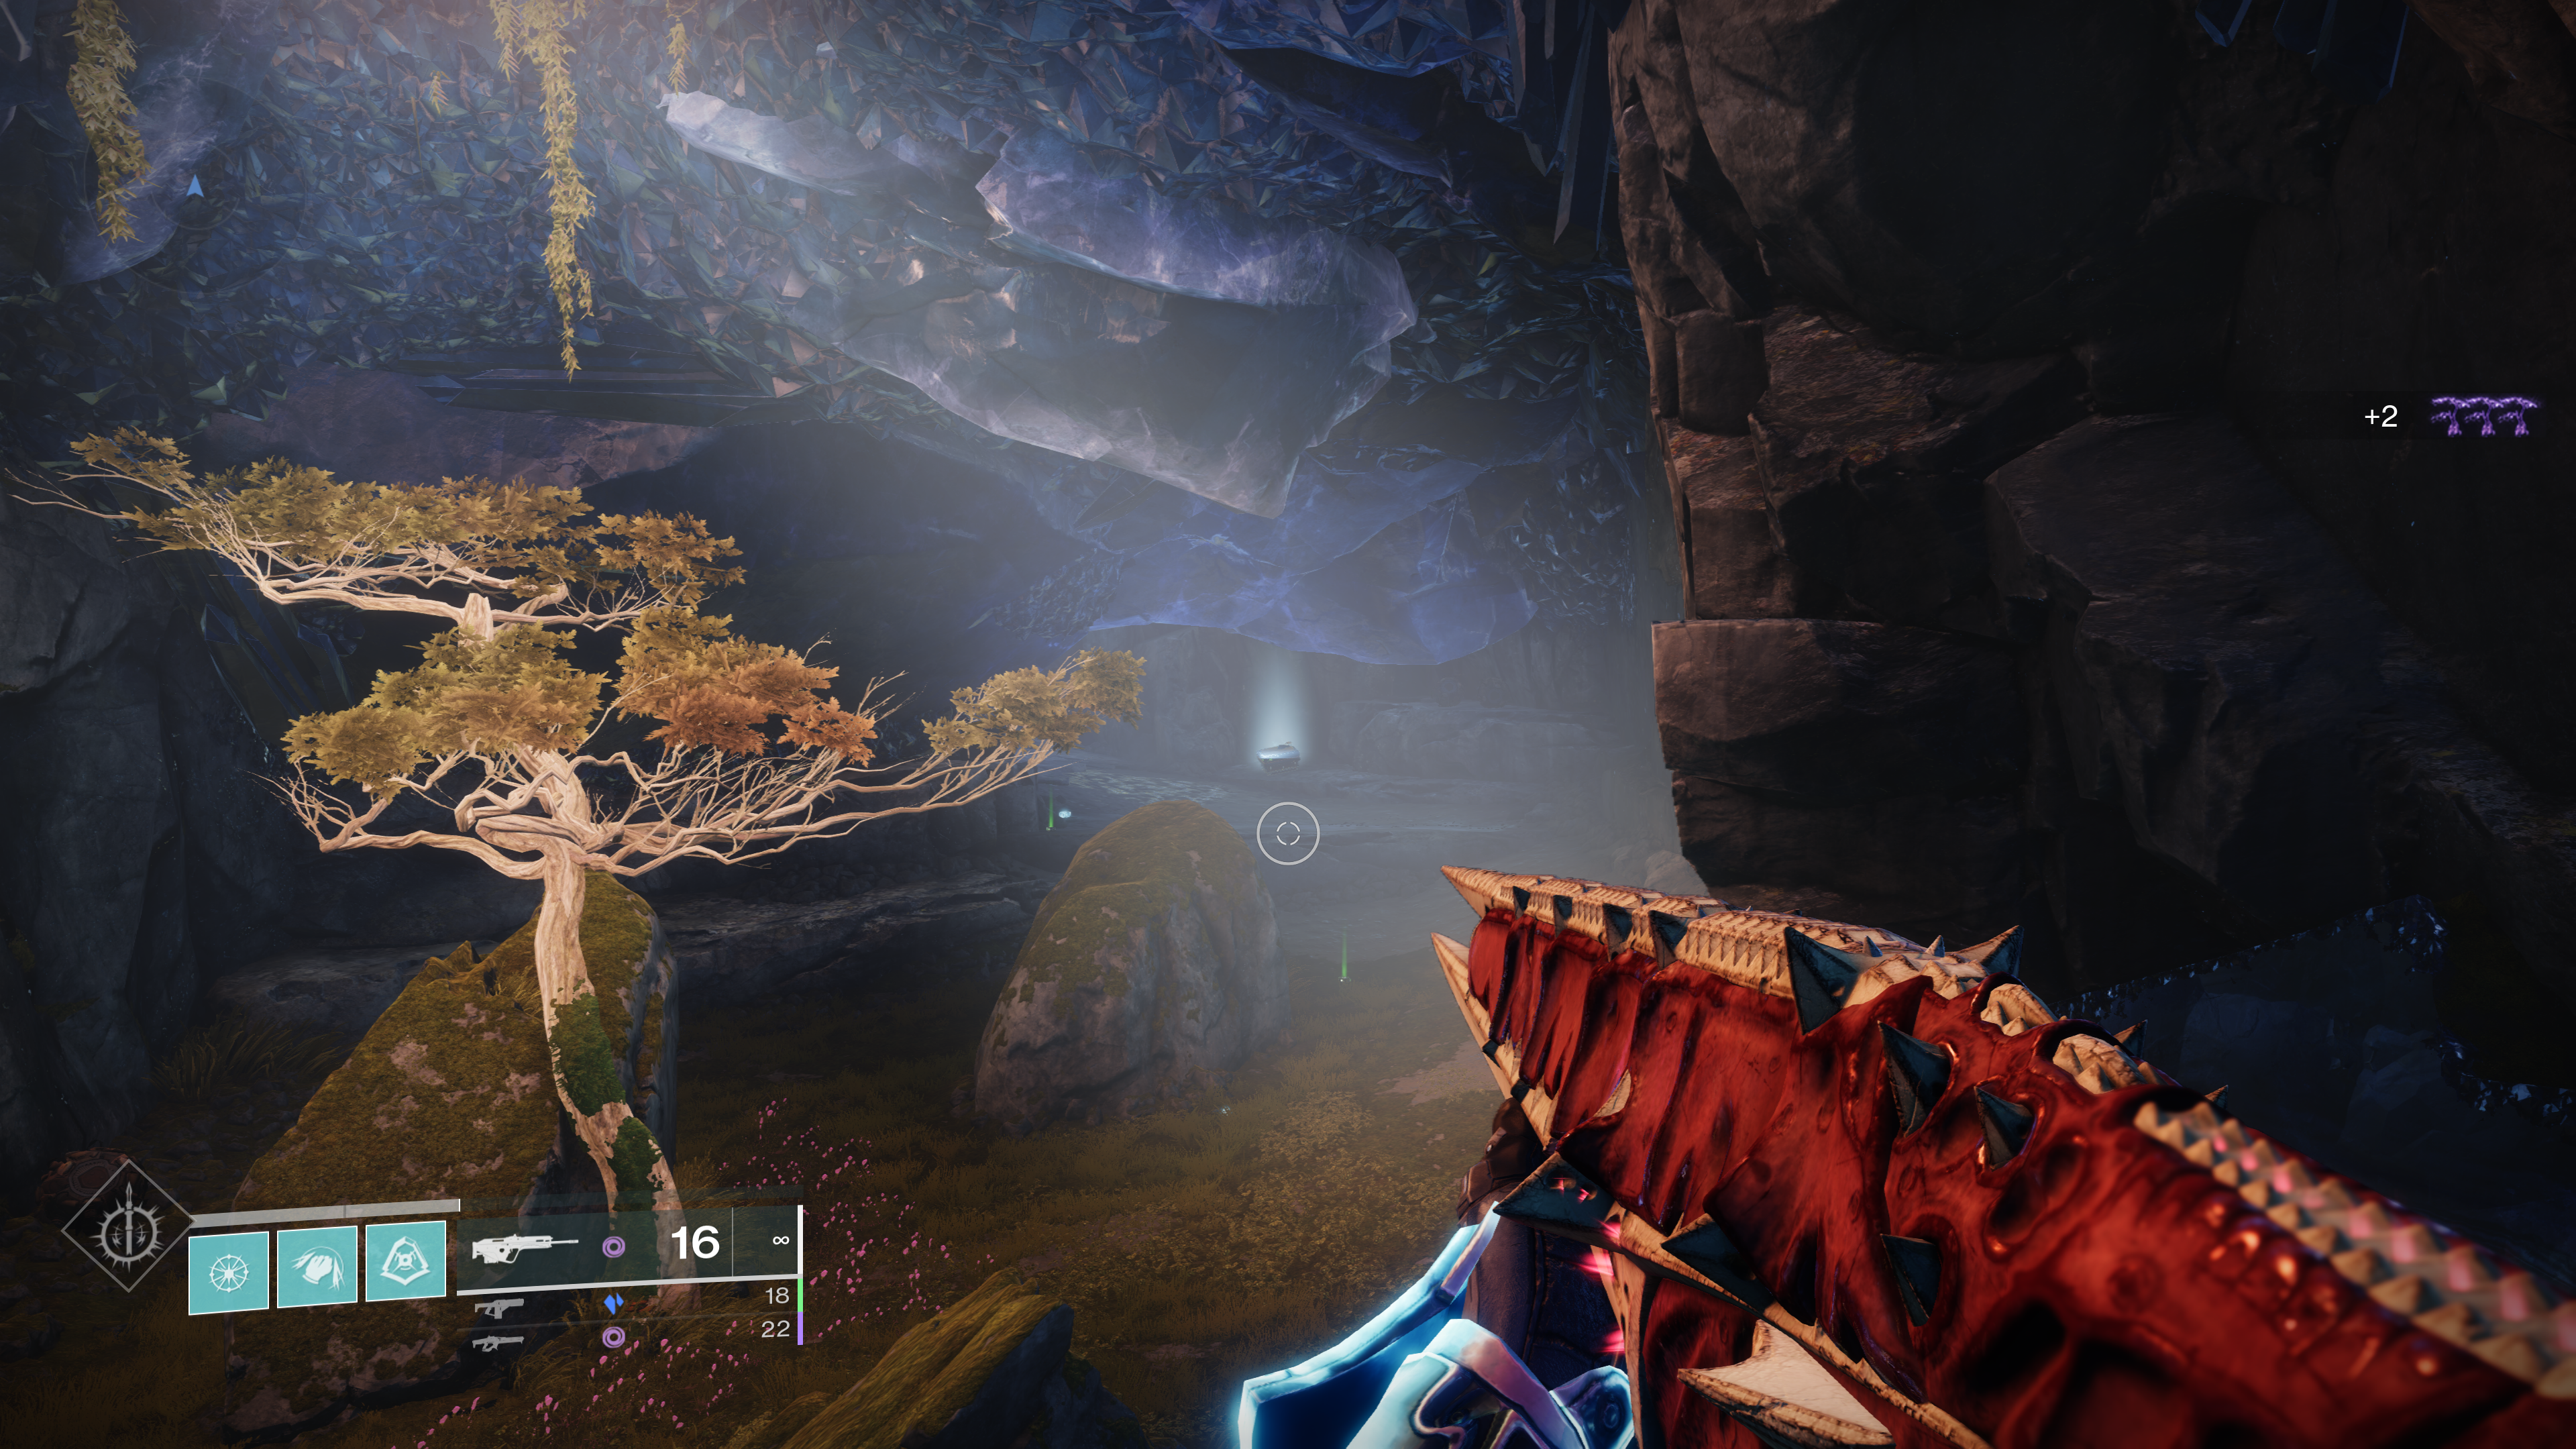
Exit the structure, above the large debris sitting outside and in front of the large red tree (pictured below).
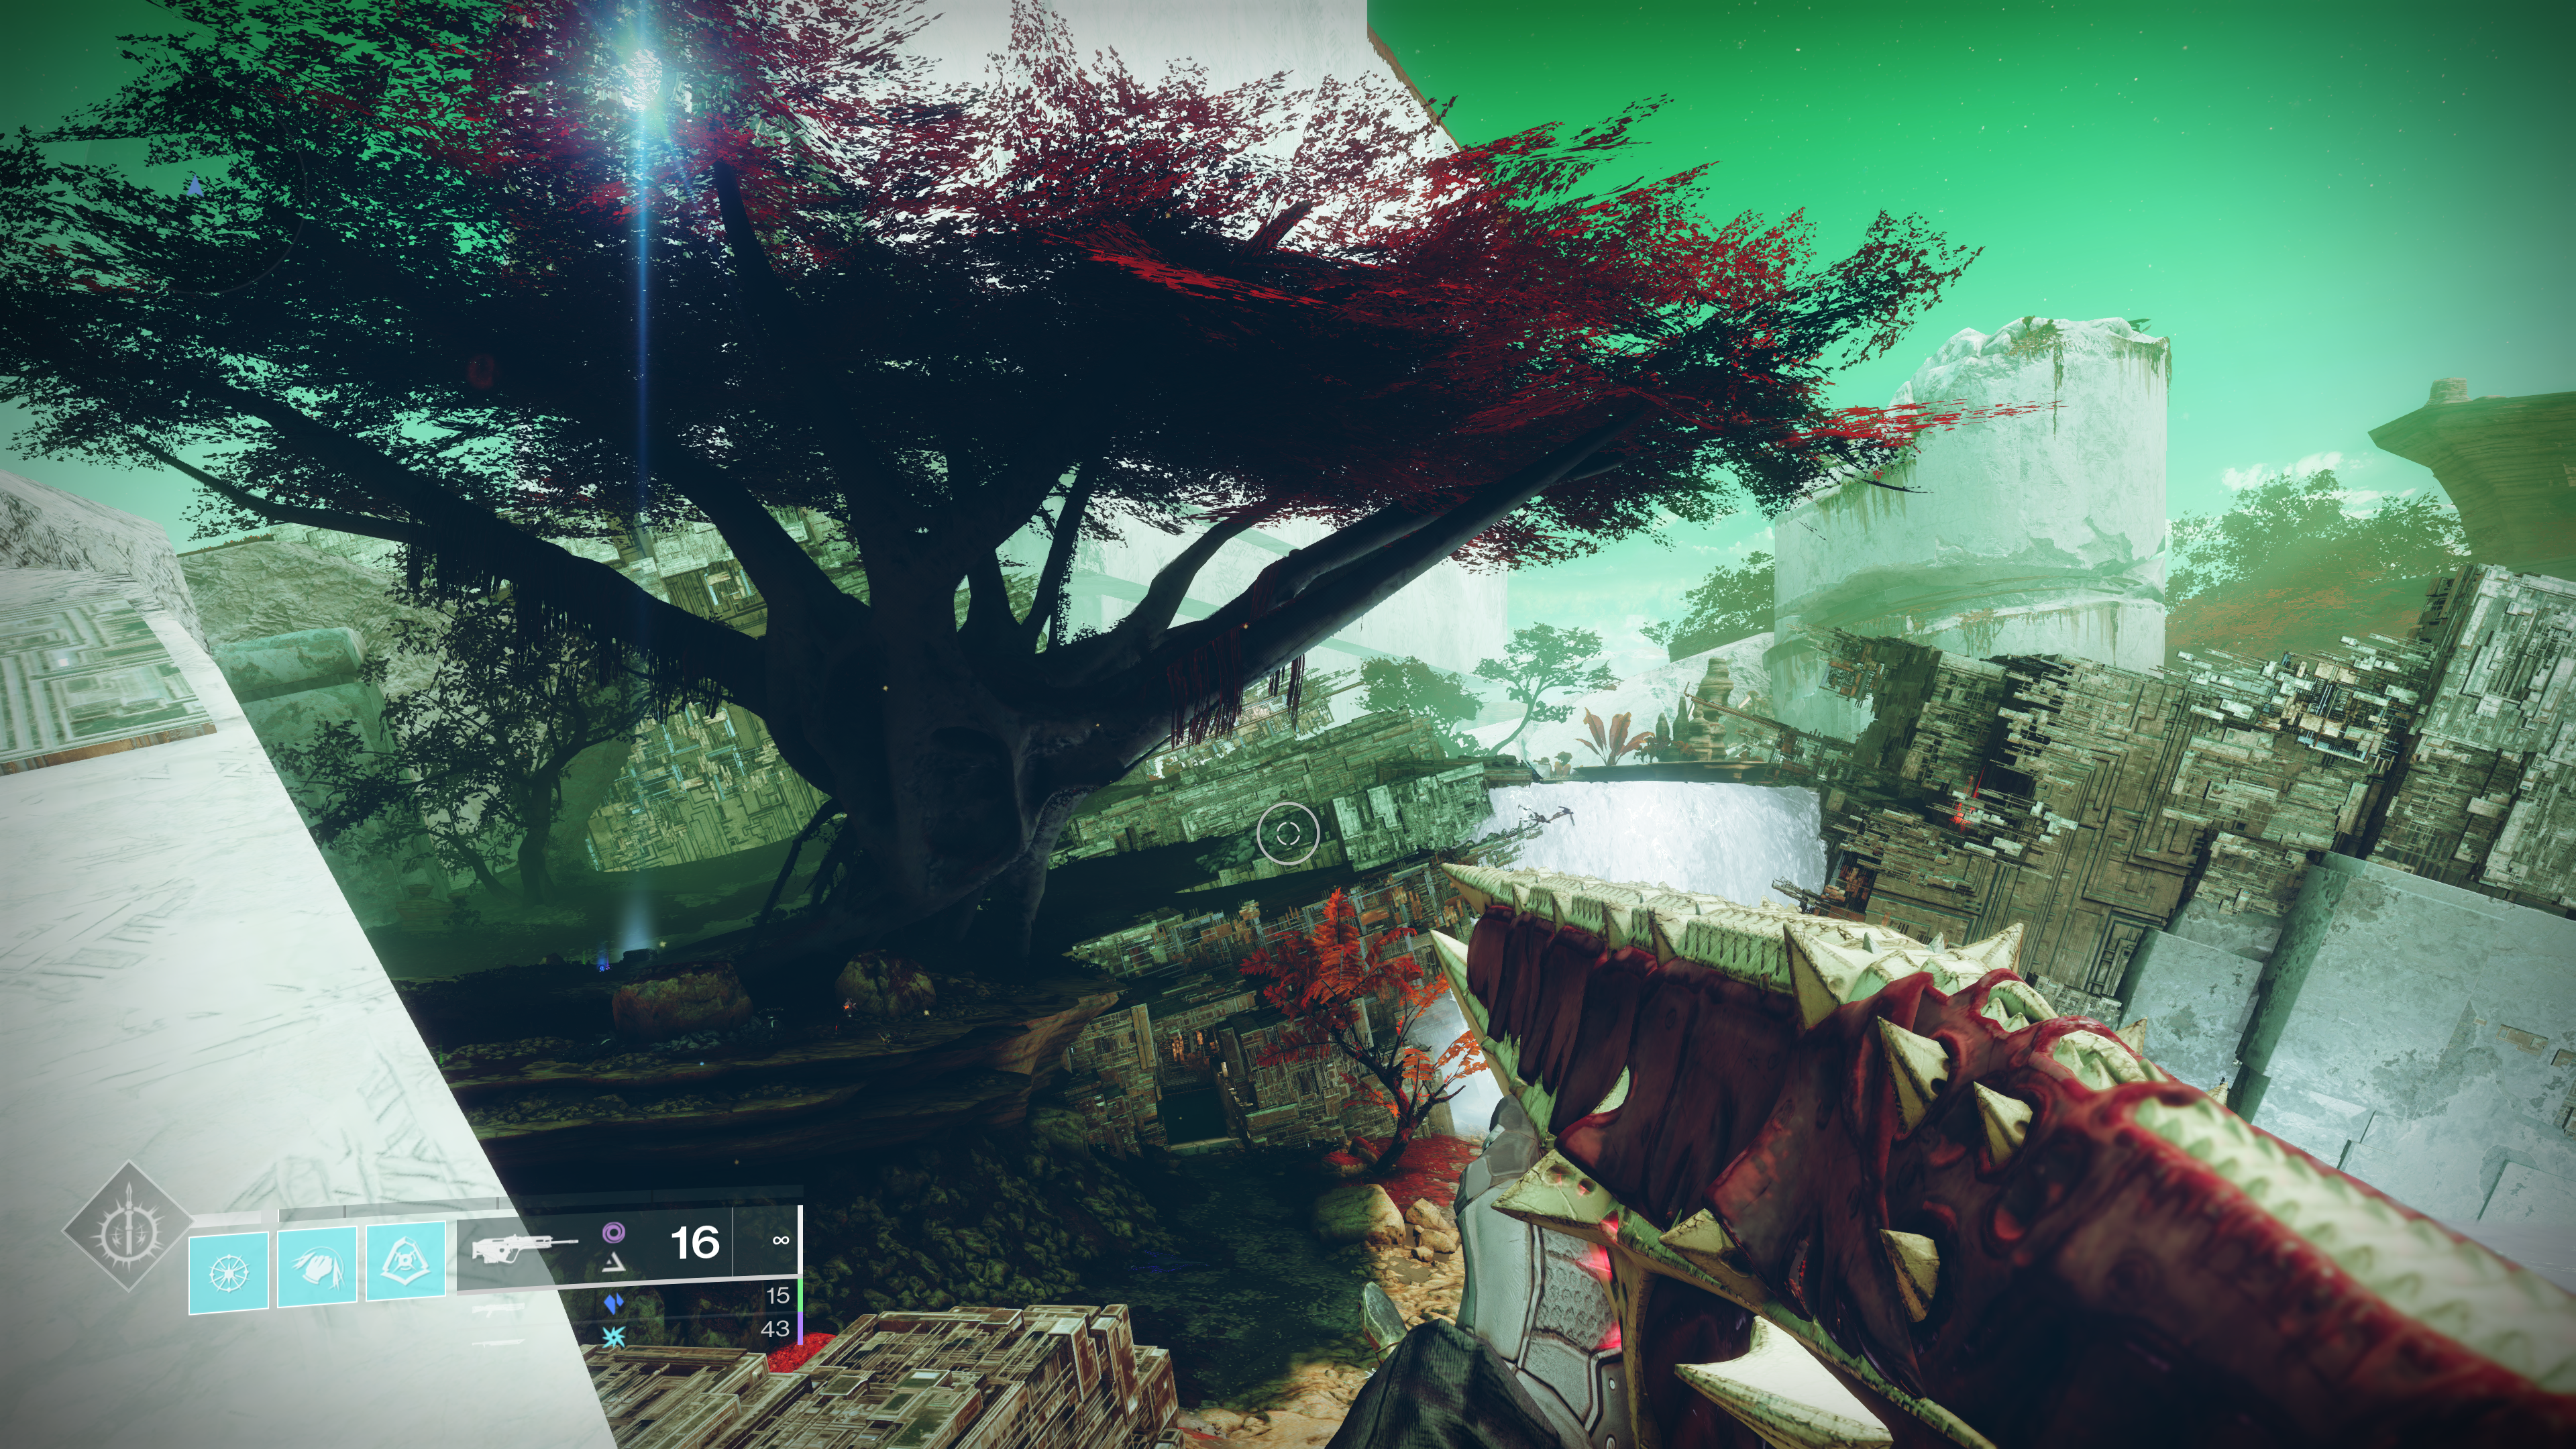
Beyond the tree seen are a set of Vex structures – climb them to face an open pool of Radiolaria on the other side; the cylindrical structure you visited earlier should be behind you.
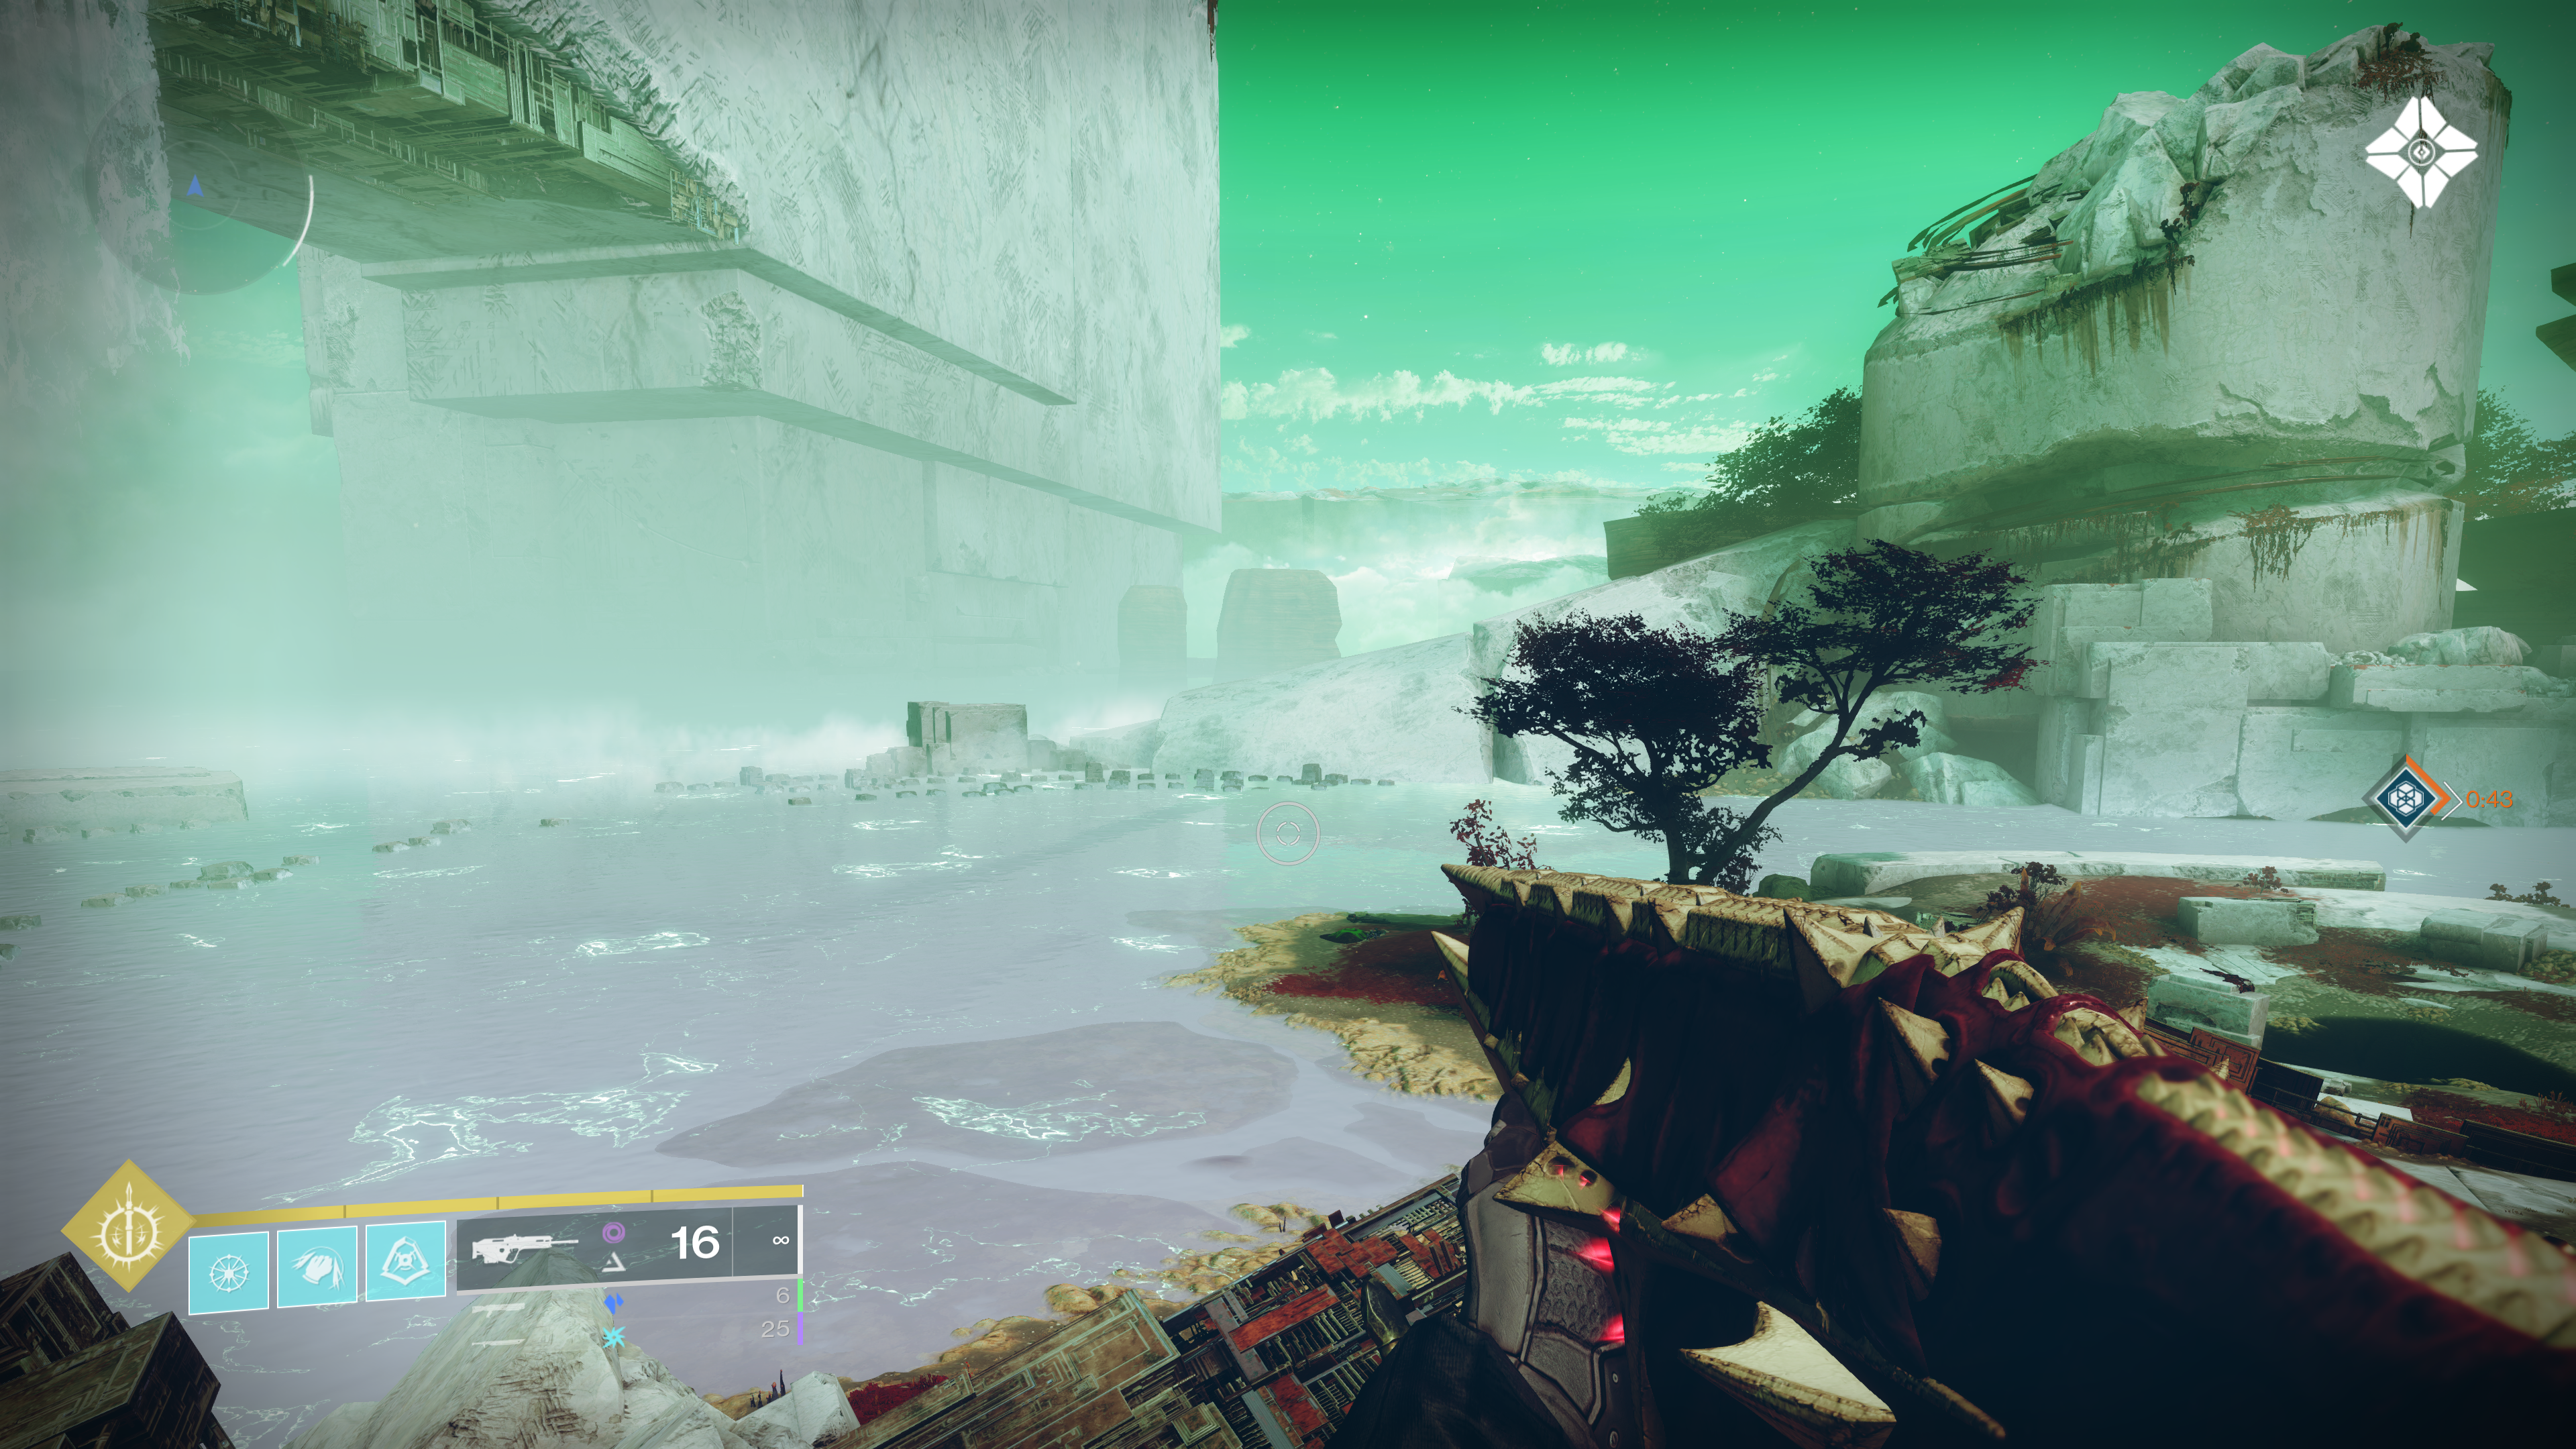
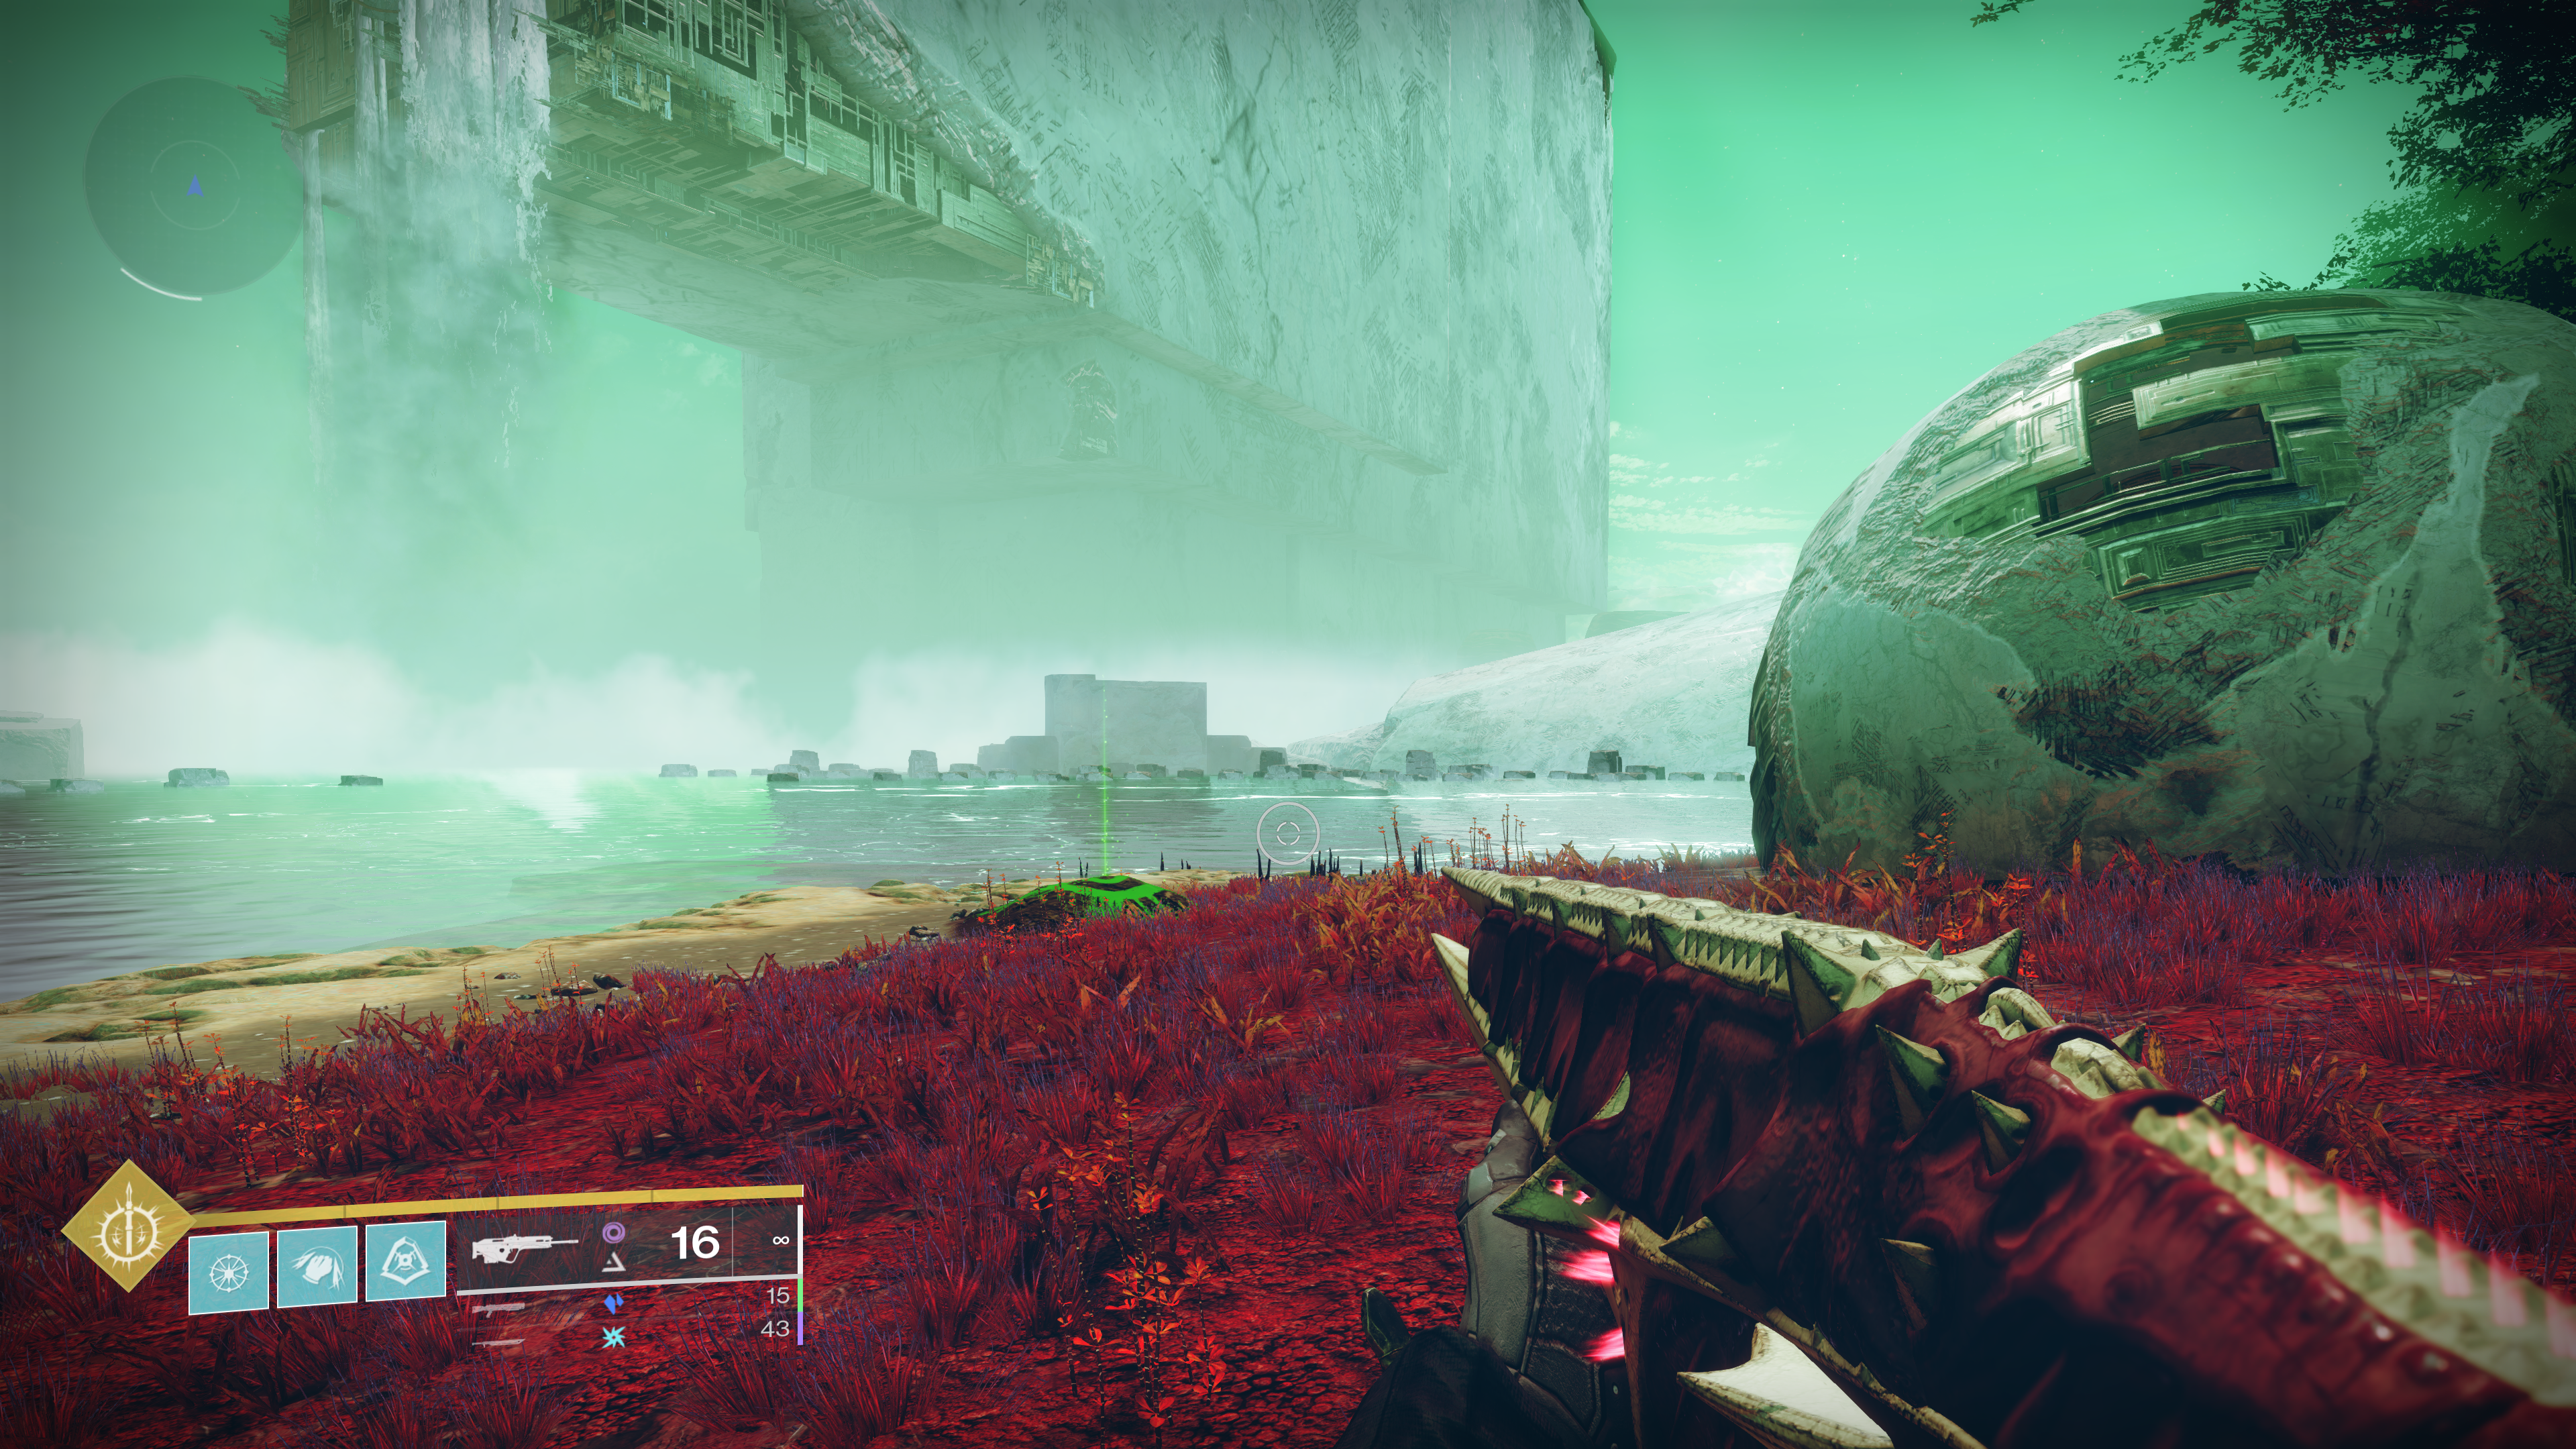
Head to the shore near Radiolaria, and next to a spherical structure will be your dig site – dig and loot your treasure!
Upon completion, you’ll receive progress for the Beacon Orientation Triumph, as well as a second Raw Cipher Fragment, but there’s still a lot to do.
Keep reading to learn how to acquire and complete the third Cryptic Quatrain quest, as well as unlock the raw cipher for the Captain’s Atlas.
Destiny 2 Cryptic Quatrain 3 Quest Steps, Puzzle & Location
Check back soon to find out how to complete the quest steps, puzzles, and location of the third and final Cryptic Quatrain quest, unlocked by reaching Rank 16 on the Star Chart Seasonal Vendor.
How to Acquire Raw Cipher for Captain’s Atlas
Raw Cipher is unlocked by completing all three Cryptic Quatrains quests. After completing the first game, a new option will appear in the Captain’s Atlas next to the existing treasure maps, indicating that the first of two shards has been acquired.
Check back soon to find out what the raw number is and how to use it.
Table of Contents